In this tutorial, we will show you how to use Docker containers on your Synology NAS.
Docker is a super easy-to-use virtualization platform many app developers use to package their software. It is a great choice because it gives developers a consistent platform from which everything is known to work. It removes the underlying operating system and its packages from the equation.
This virtualization is great for devices like the Synology NAS, as you don’t have to install software directly on the operating system, and the containers can remain separated.
Synology has made running Docker containers a straightforward process by providing an application called “Container Manager“.
This container manager allows you to easily download, install, and manage any Docker container you want to run on your NAS.
The only thing to be careful about running containers on a Synology is the amount of RAM that is available.
Using Docker on the Synology NAS
In the following sections, you will learn how to use Docker Containers on your NAS. These steps are super simple and give you an idea of how to run any container.
Installing the Synology NAS Docker Container Manager
1. To install and use Docker containers on your Synology NAS, you must have an application called “Container Manager” installed.
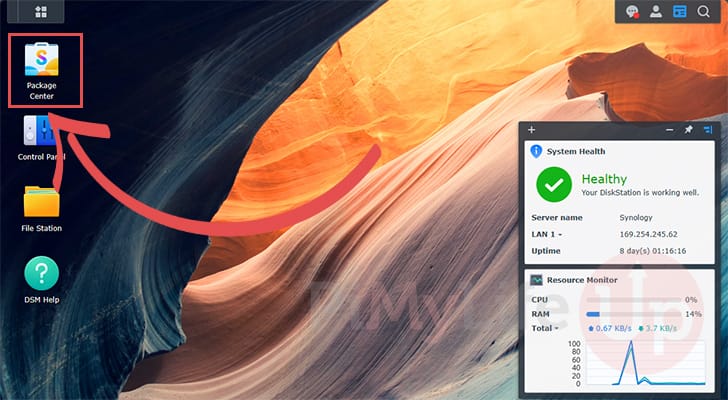
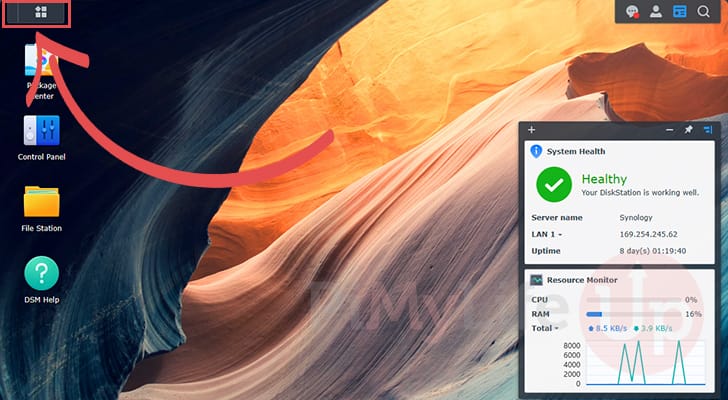
To install this application, open the “Package Center“.
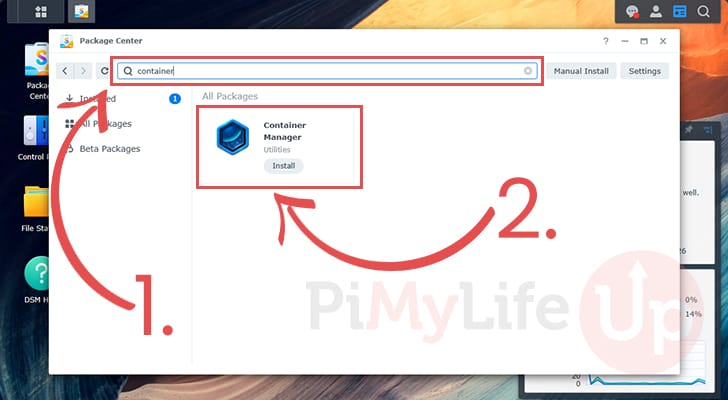
2. With the package center open, use the search at the top of the screen and type in “container” (1.).
Eventually, you should see “Container Manager” appear within the list. Click the “Install” button to proceed.
How to Open the Docker Container Manager on a Synology NAS
3. Once you have the Container Manager installed, using it to set up Docker Containers on your Synology NAS is a straightforward process.
To open this new application, click the icon in the top-right corner.
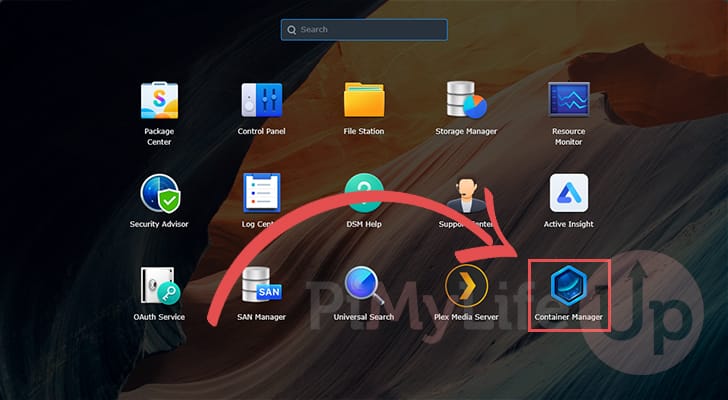
4. With the application list open, find and click the icon labeled “Container Manager“.
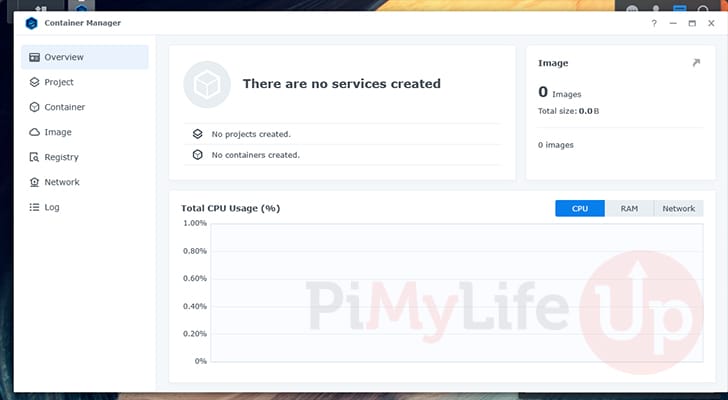
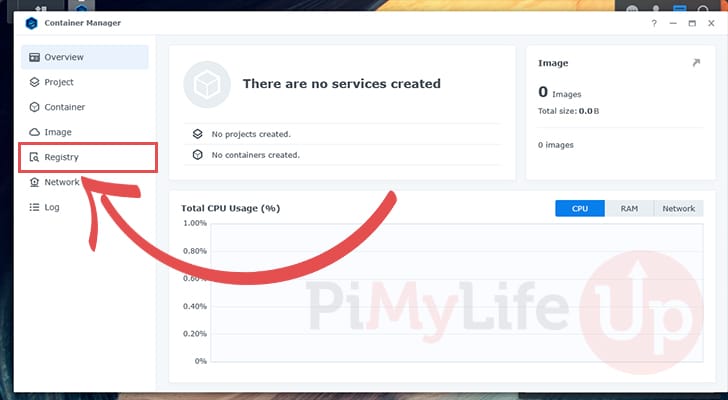
5. You now have the Container Manager open and can use it to install and manage Docker Containers running on your Synology NAS.
Our next section will show you how to install a Docker container using this manager.
Adding a Docker Container to your NAS
6. In this section, we will walk you through adding a Docker Container to your Synology NAS. The steps will differ depending on the container you install, but they should give you a good idea.
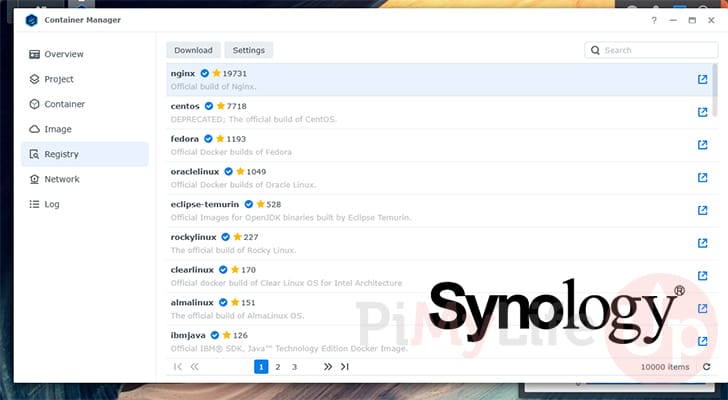
To begin, you must download a Doker image to your Synology NAS. To do this, go to the “Registry” tab using the sidebar.
Downloading a Docker Image
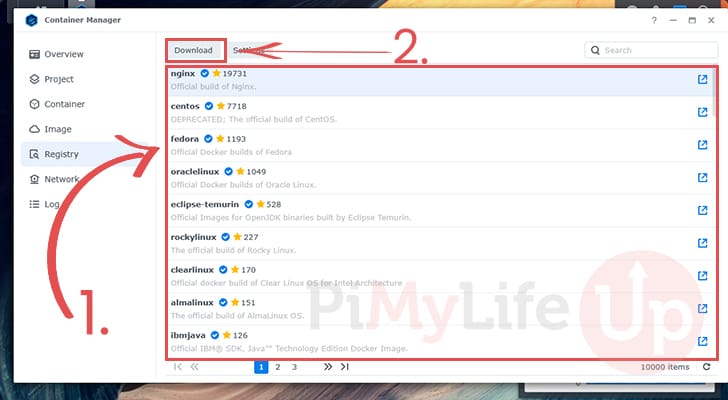
7. The registry tab contains a large list of containers that can be easily installed (1.). If you are looking for a particular service, you can also use the search box at the top-right corner.
Once you have selected a container to run on your Synology, click the “Download” button (2.).
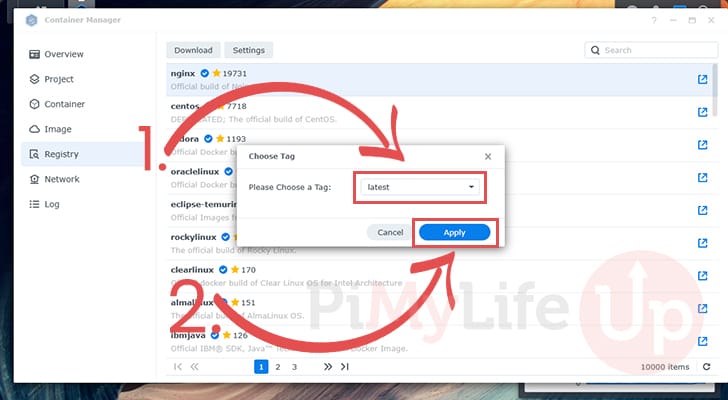
8. After selecting the container you want to install, you will be prompted to choose a tag (1.). You will be fine sticking with the “latest” tag for most Docker containers.
Once you are happy with your selection, click the “Apply” button (2.) to download the Docker image to your Synology NAS. These will be stored within a “Docker” share that the Container Manager set up during installation.
Setting up a Docker Container on the Synology NAS
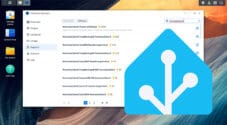
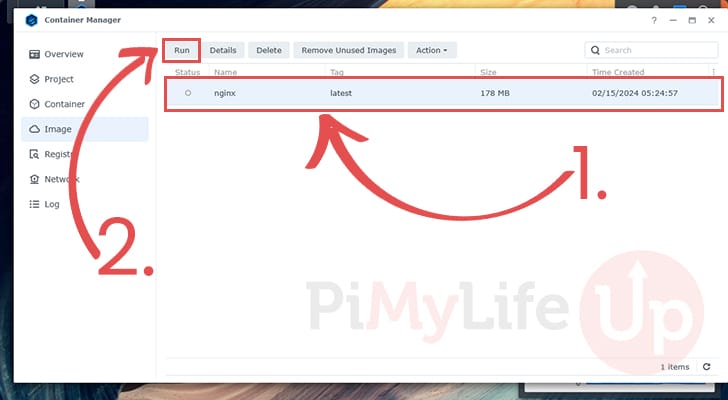
9. After a Docker image is downloaded you will be automatically taken to the “Image” tab. Even though you have an image downloaded it won’t set up a container automatically.
In this list, you should see the Docker image you just downloaded. Click the container to select it (1.).
After selecting an image, click the “Run” button (2.) to begin setting up this Docker container on your Synology NAS.
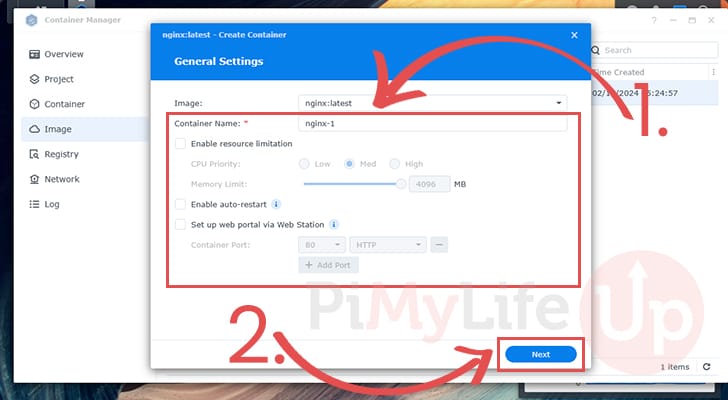
10. This first screen allows you to configure general settings for your Docker container (1.). For example, you can limit the amount of memory this container can use and enable auto-restart.
Once you have finished configuring these settings, click the “Next” button to continue (2.).
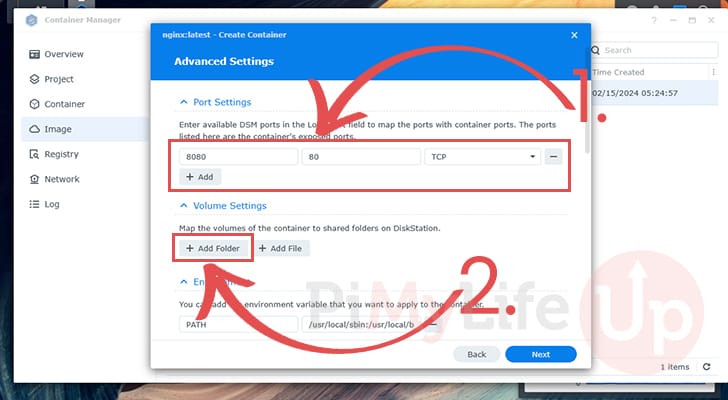
11. You will now get have a chance to configure some advanced settings for your Docker container. These settings are super container dependant so it helps to look up what you might need to set here.
The first setting lets you specify the ports (1.) that should be exposed from your container. The value on the left-hand side is the port that will be made available on your Synology NAS. The value on the right is the one you want exposed from the Docker container.
After setting your ports, you may want to add a volume to be mapped to your Docker container. Click the “Add Folder” button (2.) to browse for folders on your system. A Docker container can only see files and folders that have been mapped to it.
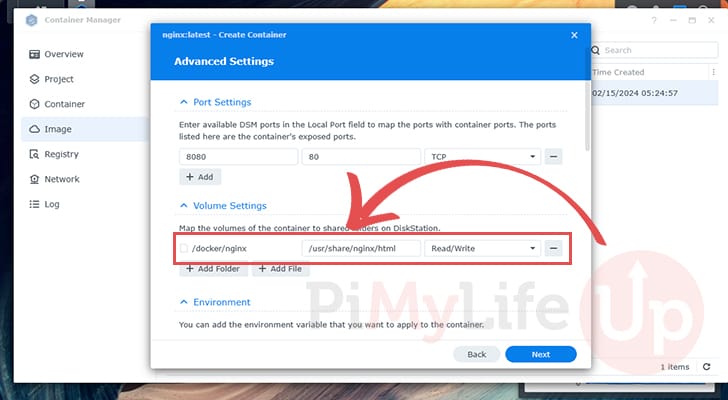
12. After adding a folder from your Synology NAS, specify where it will be mounted within your container. The box on the right-hand side allows you to specify this location.
Once you are happy with everything, click the “Next” button.
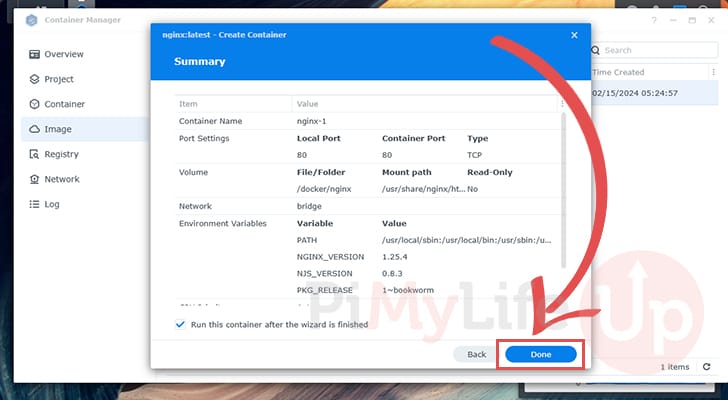
13. Before the Docker Container is set up on your Synology NAS, you will receive a quick overview of your settings.
If everything looks correct, click the “Done” button to start up the container.
Managing your Docker Containers
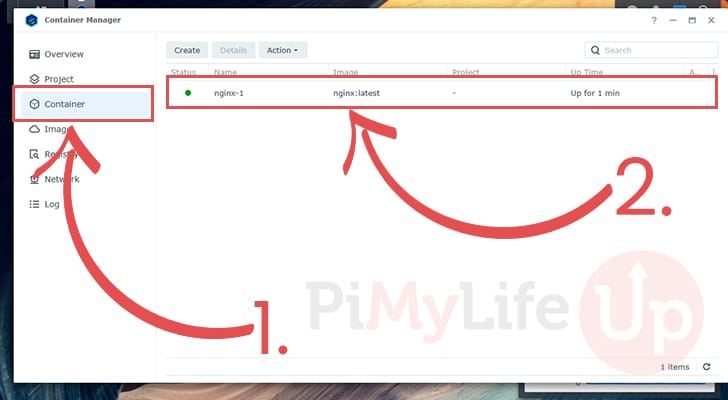
14. The Container Manager makes checking on your Docker Containers a straightforward process. Use the sidebar to change to the “Container” tab (1.).
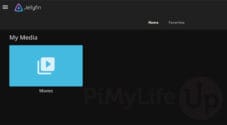
In our case, you can see that we have the NGINX Docker Container up and running on our Synology NAS (2.).
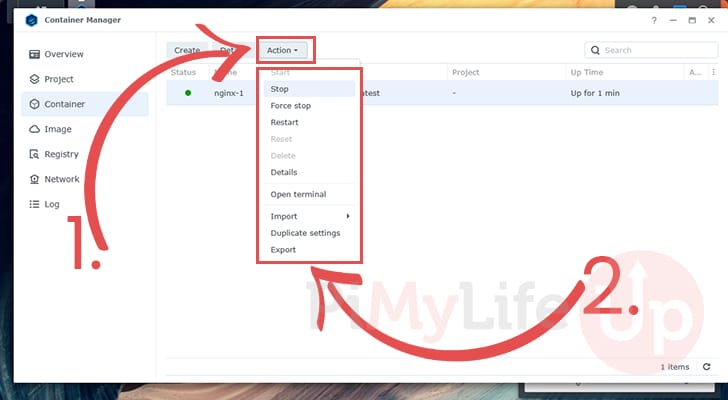
15. To control a container, click the “Action” button (1.) with the container selected.
You will now see numerous options that you can use to control this container on your system (2.). This includes the ability to stop, restart, delete, or even open a terminal on the container.
If your container stopped for any reason, this is also the same menu you will use to start it again.
Conclusion
Hopefully, at this stage, you will have a good understanding of how to install and use Docker containers on your Synology NAS.
Synology has made using Docker on your NAS very easy by including a container manager in the operating system.
If you have any issues with getting containers installed and working, please feel free to leave a comment below.
Please feel free to comment below if you have any questions about getting Docker containers running on your NAS.
If you found this guide to be helpful, we recommend checking out our many other Synology NAS tutorials.