In this tutorial, we will be showing you how you can run internet speed tests from your Synology NAS.
An internet speed test is an excellent way to check how well or poorly your internet is performing. It gives you data that you can view to see when your network performance is struggling during certain parts of the day.
There are various easy ways to run a speed test. You can even do it through your favorite web browser using a service like Ookla or Google.
However, if you want to easily track your internet speed and have it graphed automatically, you will want to set up a service such as Speedtest tracker.
Your Synology NAS is a great device for running internet speed tests, as it should be connected over ethernet. You would also typically keep it running.
Luckily, Synology supports Docker on its devices, so running a service such as Speedtest tracker will be relatively easy.
Installing and Running an Internet Speed Test Tracker on your Synology NAS
Over the following sections, we will walk you through installing and running an Internet Speed Test tracker on your Synology NAS.
We will be using Speedtest Tracker, a software that provides an easy-to-use dashboard for performing internet speed tests.
Preparing your Synology NAS
1. Before you begin this guide, you will need to have the Container Manager installed on your NAS. This application is what will give you access to Docker.
If you haven’t installed this software, follow our guide on installing the Container Manager on your Synology NAS.
Creating a Folder for the Speed Test Tracker Container
2. Our first task is to create a directory where we will store the Compose file for the Internet Speed tester on your Synology NAS.
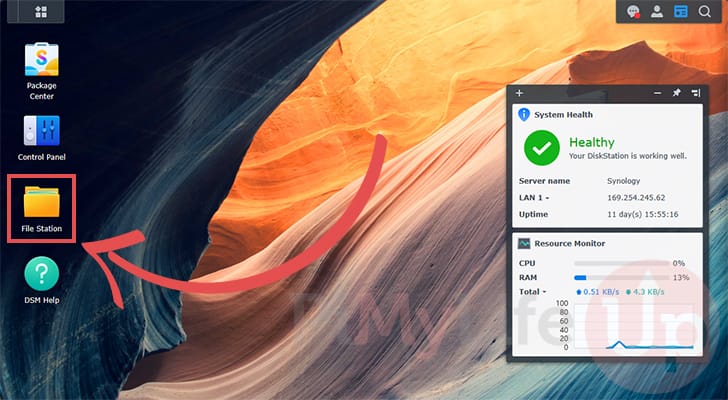
To start this process, open the “File Station” application.
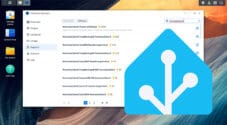
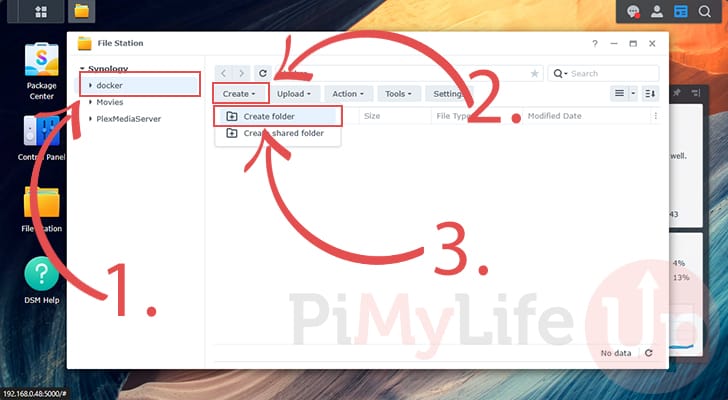
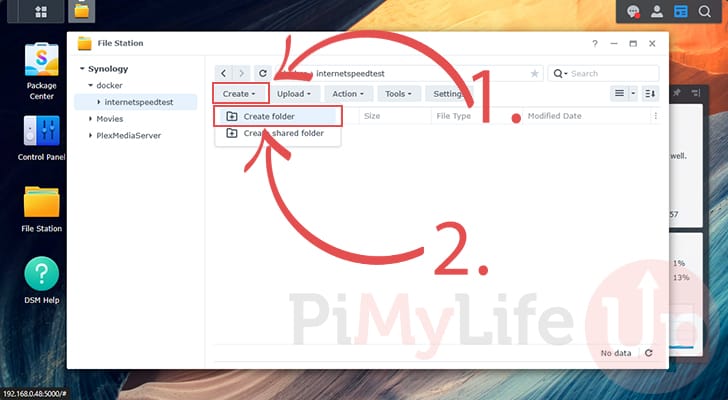
3. With the File Station open, use the side bar to change to where you want to store these files. In this example, we will swap to the “docker” share (1.) created when we installed the Container Manager.
Once you are in the right directory, click the “Create” button (2.) and then the “Create Folder” option (3.).
4. Name this first folder “internetspeedtest” (1.) and then click the “OK” button (2.).

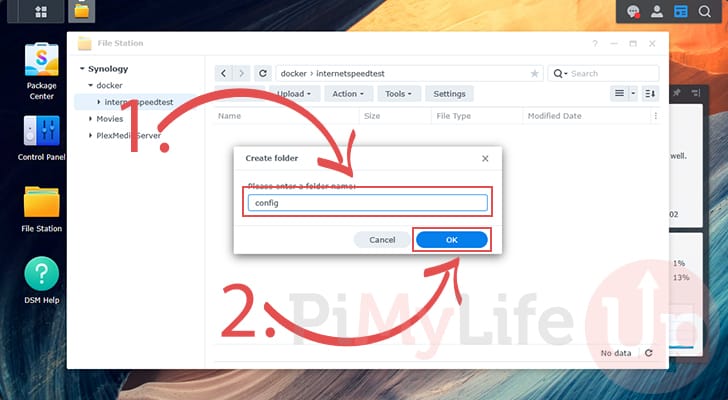
5. Enter the “internetspeedtest” directory you just created, and then open the “Create Folder” dialog again.
6. Now that the create folder dialog is open again type in the name “config” (1.), and then click the “OK” button (2.).
Installing the Internet Speed Test Tracker on the Synology NAS
This section will walk you through installing the Internet Speed Test Tracker on your NAS. Luckily, the Container Manager makes the following steps easy to follow.
Opening the Container Manager
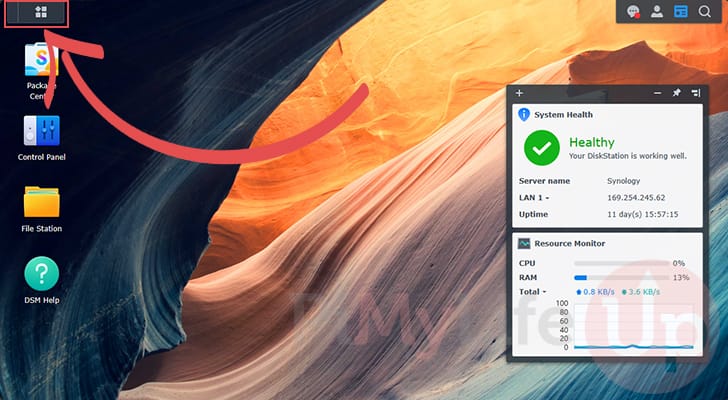
7. With the folders created, we can install the Internet Speed Test Tracker on our Synology NAS.
To start this process, open the application screen by clicking the button in the top-left corner of the screen.
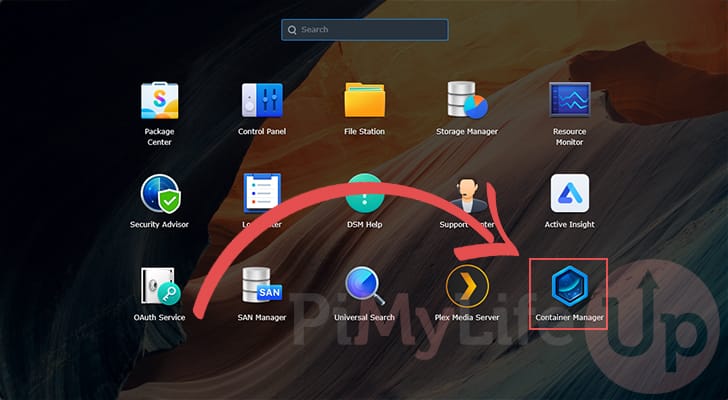
8. Within the Applications screen, find the program called “Container Manager” and click it.
Creating a New Project
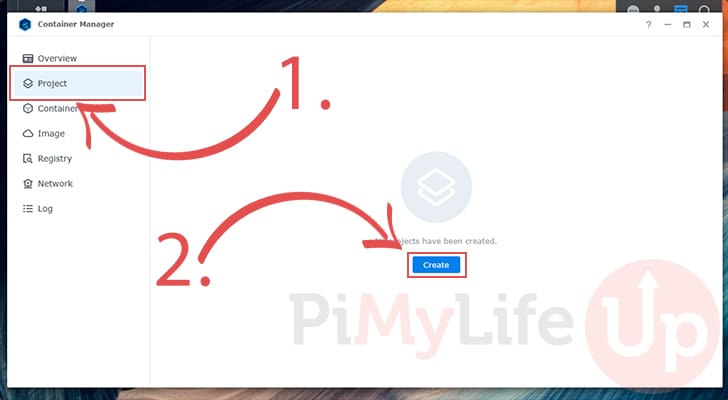
9. With the Container Manager open, swap to the “Project” tab (1.).
Once you are on the “Project” tab, click the “Create” button (2.).
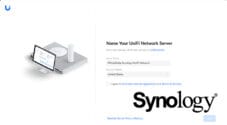
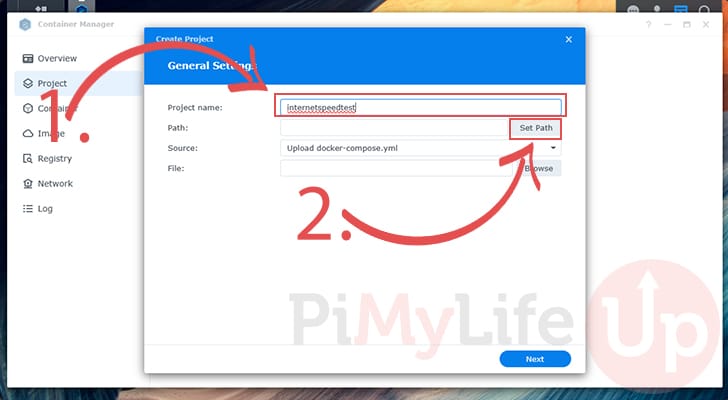
10. The first thing you will want to do is assign this project a name (1.). For this guide, we recommend naming this project “internetspeedtest“.
After naming the project, we will want to select where the Internet Speed Test Tracker is stored on our Synology NAS. To select this path, click the “Set Path” button (2.).
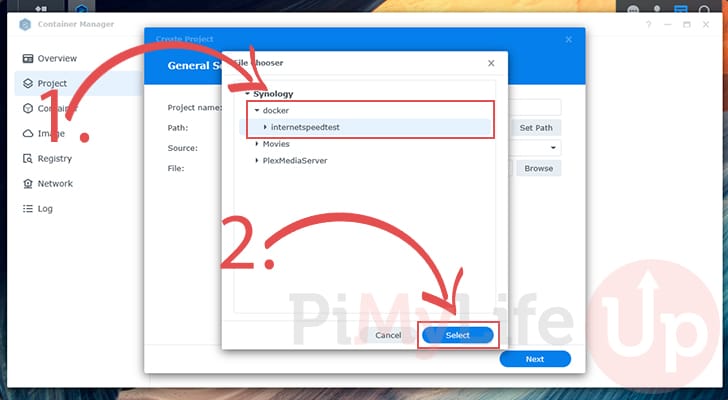
11. With the new dialog open, find the directory called “internetspeedtest” and select it (1.).
Once the folder has been selected, click the “Select” button (2.).
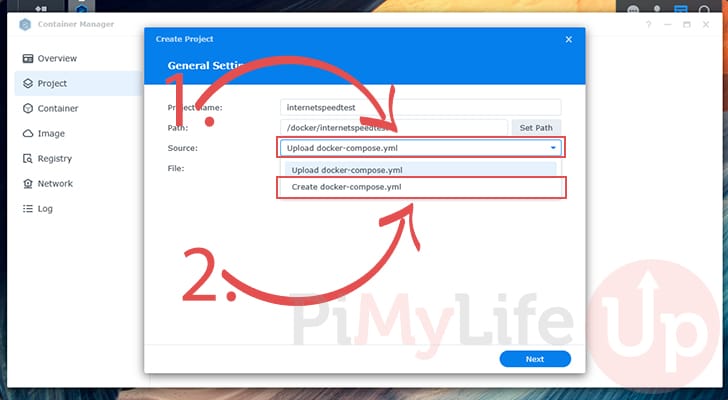
12. We now want to change the dialog so it will let us enter our own Compose configuration for the Internet Speed Test software on our Synology NAS.
Click the select box (1.) and change the option to “Create docker-compose.yml” option (2.).
Filling out the Compose File for the Internet Speed Test Tracker
13. Now that the Source text box is available, type out the following lines (1.). These lines tell Docker on the Synology NAS how to download and run the Internet Speed Test tracker.
After filling out the configuration as shown below, click the “Next” button (2.) to proceed.
version: '3.4'
services:
    speedtest-tracker:
        container_name: speedtest-tracker
        image: lscr.io/linuxserver/speedtest-tracker:latest
        ports:
            - 8080:80
            - 8443:443
        volumes:
            - ./config:/config
        environment:
            - DB_CONNECTION=sqlite
        restart: unless-stoppedCopy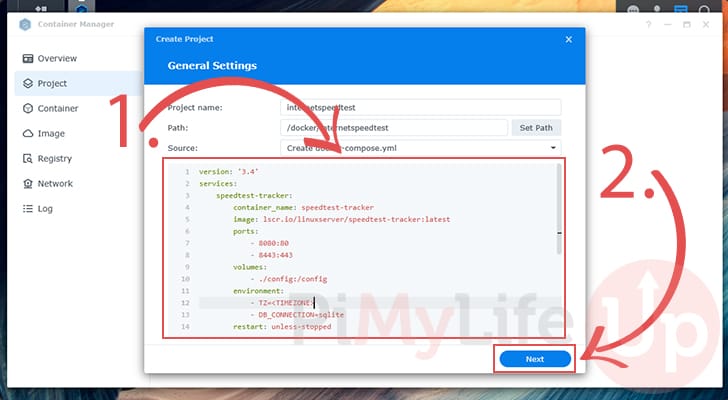
Finishing the Container Setup
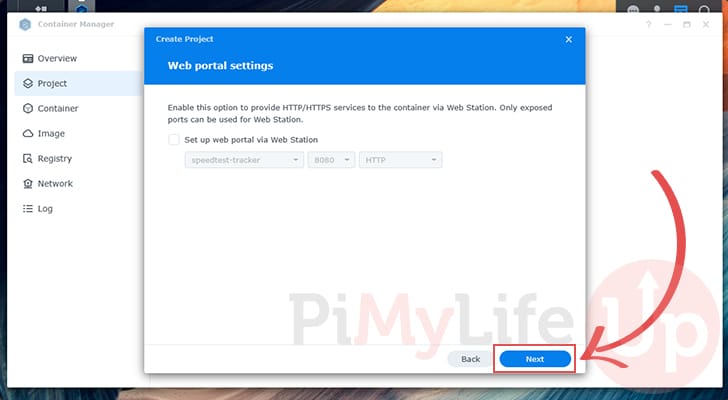
14. You will now see another screen asking if you want to set up web portal settings.
As we don’t intend on using this functionality, click the “Next” button.
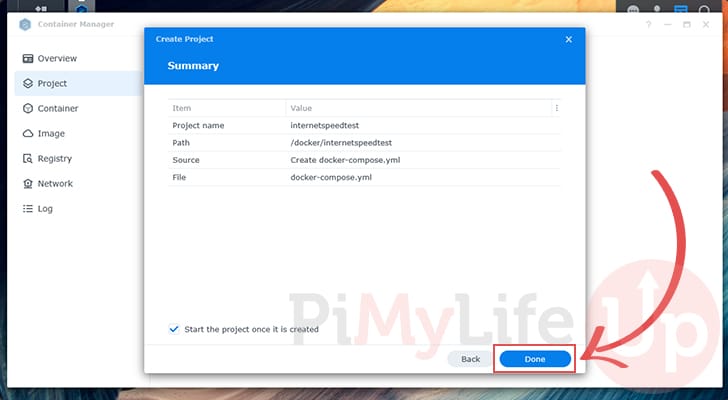
15. We can finally start the Internet Speed Test Tracker on the Synology NAS by clicking the “Done” button.
The software will start as soon as you close this dialog.
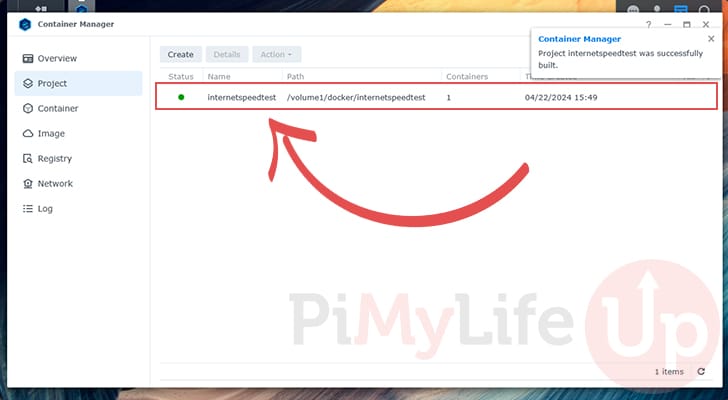
16. Below, you can see that the Internet Speed Test Tracker container is now up and running on our NAS.
You can tell everything is working correctly as the status light is green.
Using the Internet Speedtest Tracker running off your Synology NAS
17. Now that you have the Internet Speedtest Tracker up and running on your Synology NAS, you will want to know how to access its web interface.
Within your favorite web browser, you will want to go to the following address. Replace “<IPADDRESS>” with the IP of your NAS.
http://<IPADDRESS>:8080Logging in and Changing the Default User
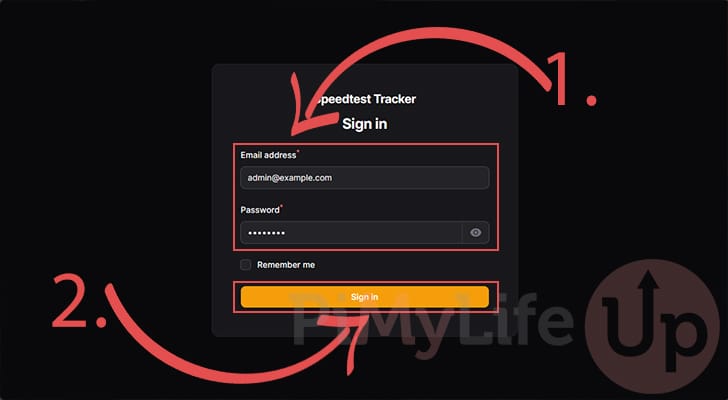
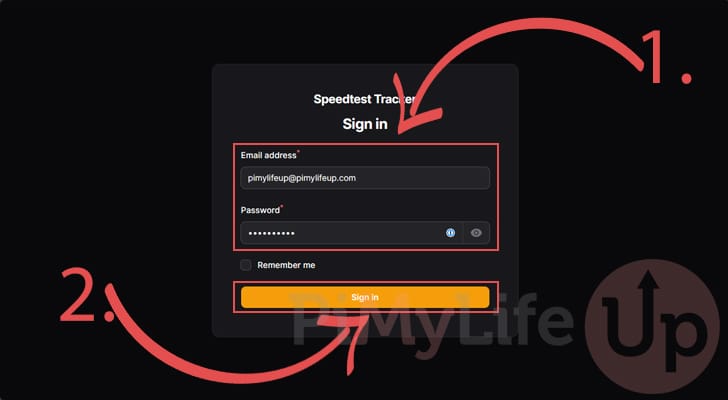
18. Upon going to the address above, you will be greeted with the following screen asking you to log in.
Use the email “admin@example.com” and the password “password” as the default login details (1.).
After filling out these details, click the “Sign in” button (2.).
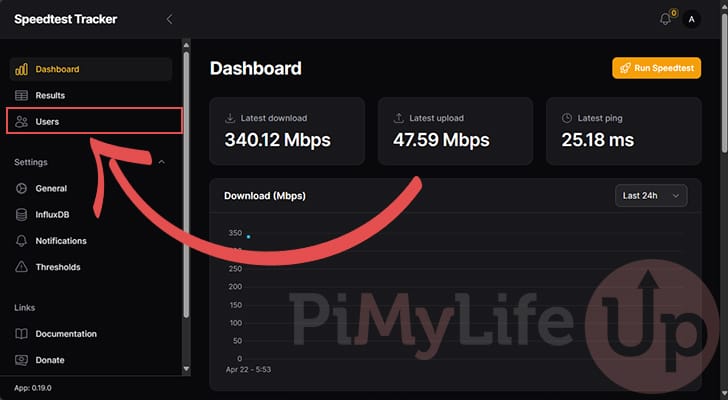
19. The first thing you should do is change your admin account’s default email and password.
Use the sidebar to change to the “Users” screen.
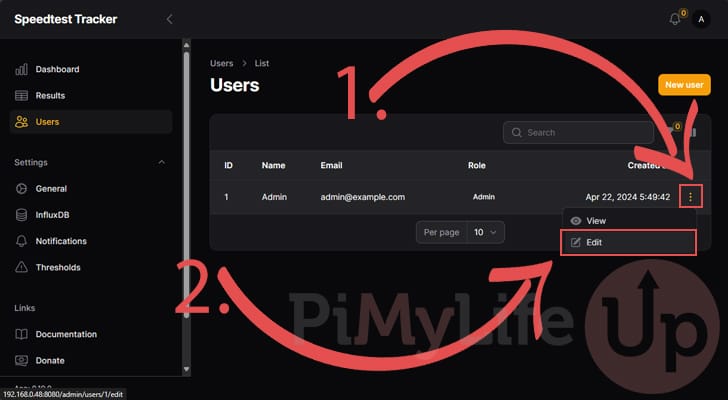
20. On the user’s screen, look for the admin user and click the kebab icon (1.).
Clicking this icon will bring up a context menu. Click the “Edit” option (2.).
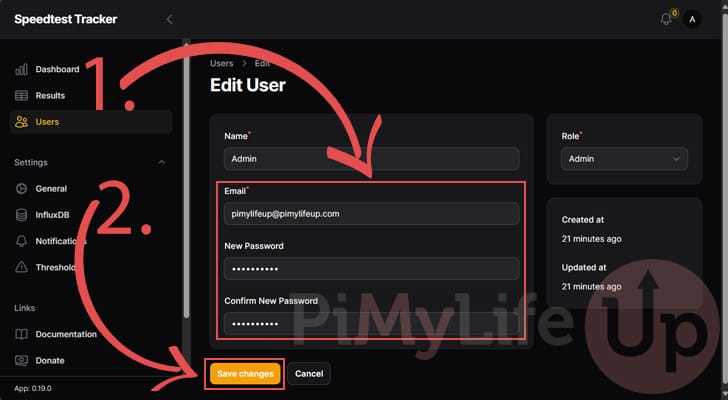
21. On this next screen, fill out a new username and password you will use to access your Synology NAS’s Internet Speed Tester (1.).
Once you have filled out this information, click the “Save changes” button (2.)
22. As we cganged the user we are currently using, you will be logged out and need to log back in.
Running a Speedtest from the Interface
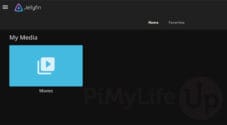
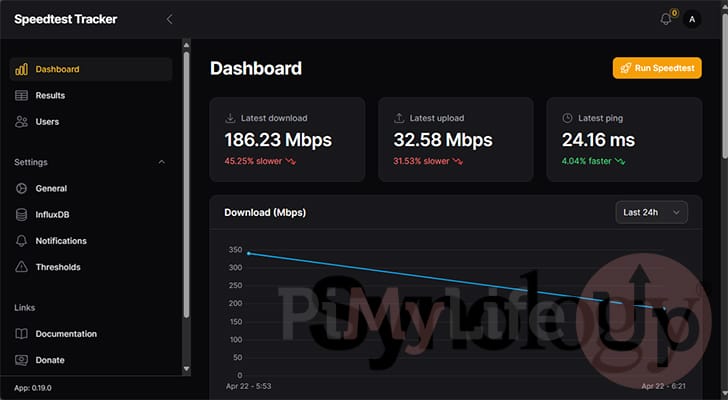
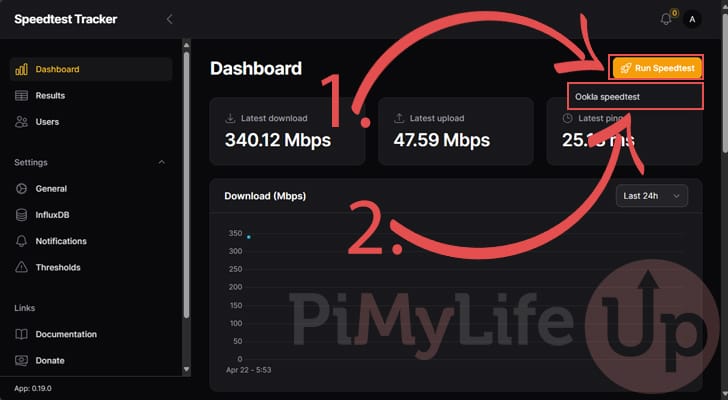
23. You will now want to see how easy it is to run an internet speed test from your Synology NAS.
With the Speedtest Tracker software open, click the “Run Speedtest” button (1.) in the top-left corner. In the options that appear, click the “Ookla speedtest” option (2.).
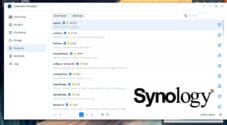
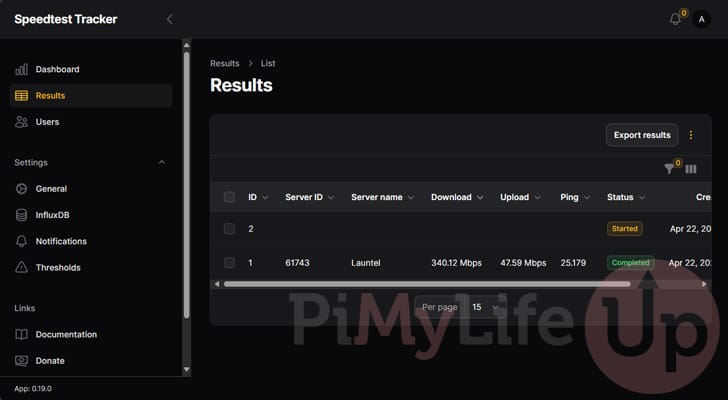
24. You can check the status of your internet speed tests by going to the “Results” screen.
Below, you can see that we have already run one internet speed test from our Synology NAS, and another is in progress.
Updating the Synology Internet Speed Test Settings
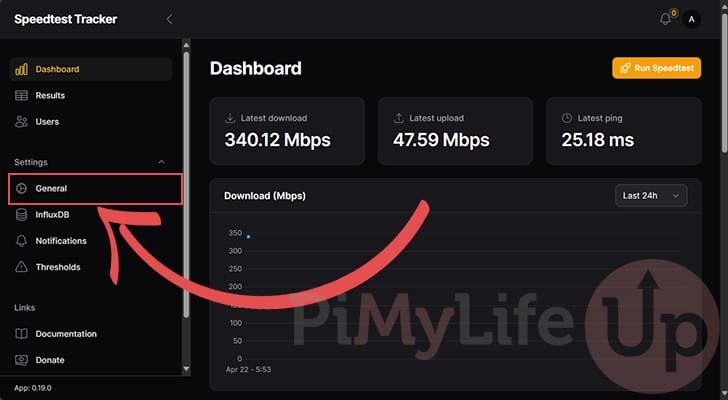
25. By default, the speedtest tracker does not automatically perform tests. Luckily, this software makes it simple to change this behavior.
Using the sidebar, change to the “General” tab.
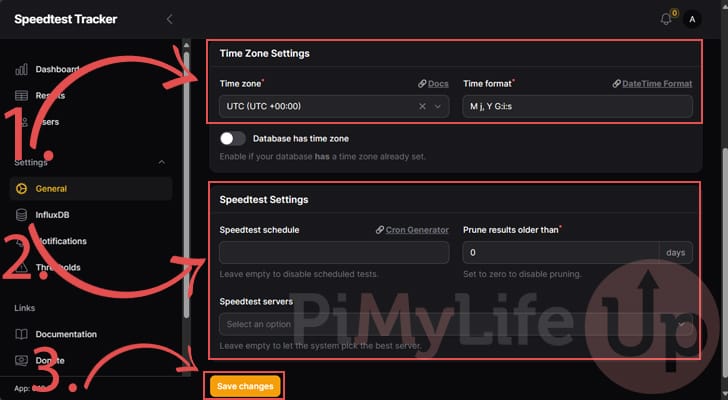
26. On this screen, you will want first to take your time and set the time zone (1.). Setting this option will help your Synology NAS’s speed tests match up with where you live.
After setting your timezone you will want to look at the “Speedtest Settings” screen (2.). Use this screen to set a schedule, adjust when results are pruned and even select the servers for the software to use.
If you are unsure what to fill out for the “Speedtest schedule” you can check out our guide on the crontab. For example, if you want to run a test every hour, you should use “0 * * * *” in this field.
Once you are happy with your settings, click the “Save changes” button (3.).
Conclusion
Hopefully, at this stage of the tutorial, you will have successfully set up an internet speed tester on your Synology NAS.
In particular, we chose to use the Internet Speed Tracker software, which provides a nice web interface and keeps track of previous tests.
Please feel free to comment below if you have issues getting this tester working on your NAS.
If you found this tutorial to be helpful, we highly recommend checking out our many other Synology NAS tutorials.