In this tutorial, we will go through the steps on how you can install and configure Cloudflare tunnel on Home Assistant.
If you require external access to your Home Assistant installation, Cloudflare Tunnel is an excellent free option. Alternatively, you can use something like Nabu Casa, but it does involve a monthly or annual fee.
A Cloudflare tunnel allows you to securely route traffic from your internal private network and expose it to the internet. This setup will help protect your device from direct exposure to the internet and does not require opening ports on your router. This service is currently free but requires you to own or purchase a domain name.
There are limitations to the usage of Cloudflare. For example, you need to avoid sending heavy amounts of data, such as video, via Cloudflare. You can find more information in Cloudflare’s terms.
This guide will show you all the steps to setting up the Cloudflare Tunnel on your Home Assistant installation. However, there are a few things that you will need to have set up before we begin. We describe these requirements in the section below.
Prerequisites
Before you start this tutorial, you must have a few things setup and ready to go. I will quickly go through everything you will need to get started.
Firstly, you will need to own a domain name. A domain name will be how you access your Home Assistant setup. If you already own a domain name, you can always use a subdomain, for example, homeassistant.exampledomain.com. I recommend using the Cloudflare Register, Namecheap, or another reputable domain name provider if you don’t already own a domain.
Secondly, you must set up a Cloudflare account with your chosen domain. You can point a domain from another provider to Cloudflare. I recommend familiarising yourself with the dashboard and the available services, particularly the Zero Trust Dashboard.
Lastly, Home Assistant must be set up on a local device such as the Raspberry Pi. You will need to ensure that add-ons are available on your setup. Otherwise, you may need to look at setting up Cloudflare tunnels on a different device and using that to access your Home Assistant installation.
Installing the Cloudflare Tunnel Add-on on Home Assistant
Installing Cloudflare Tunnel is relatively straightforward, thanks to a third-party add-on. This section will take you through the few steps of installing the add-on. Check out the next section if you need to configure the plugin.
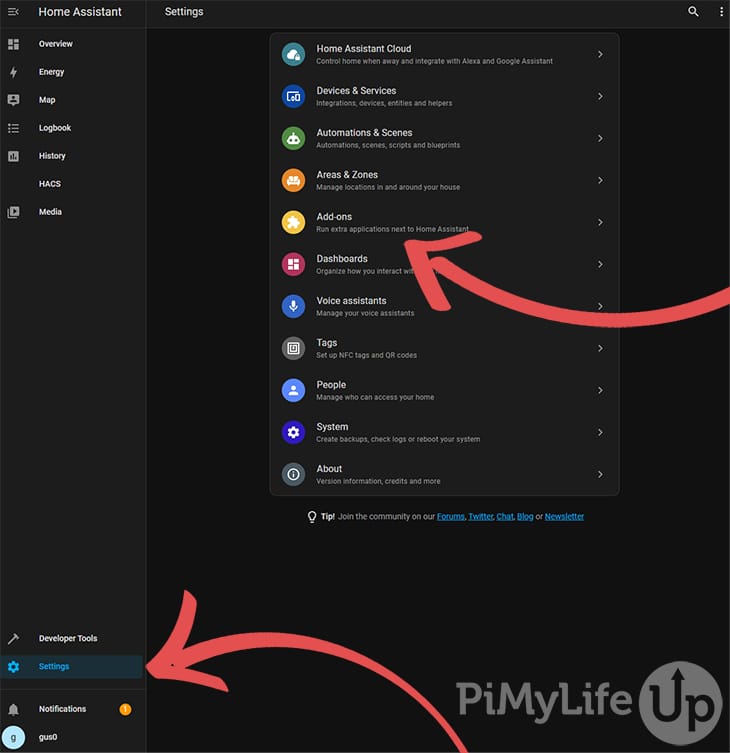
1. Inside your Home Assistant web UI, click Settings and select the Add-ons menu item.
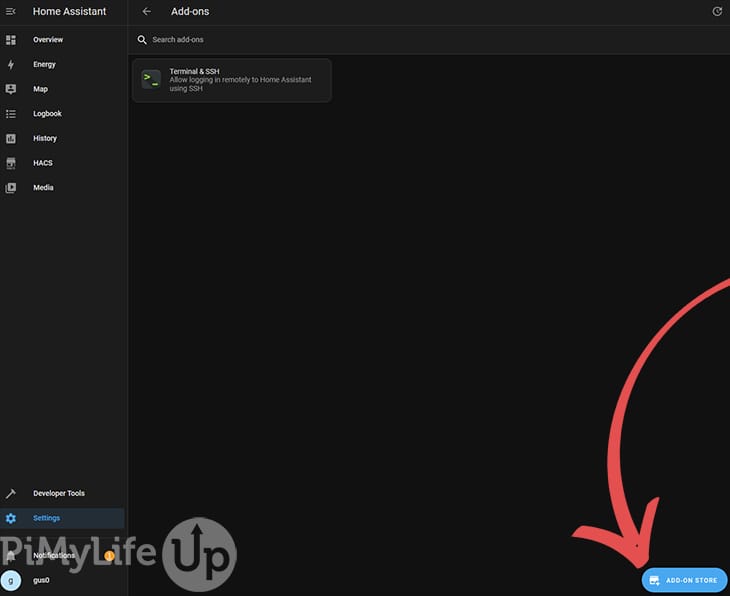
2. Now click on the add-on store button.
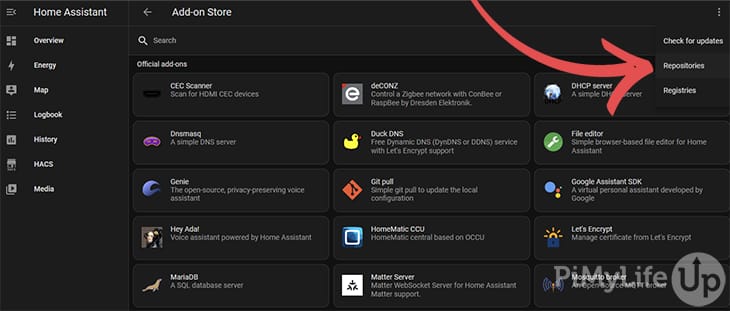
3. On this page, click the kebab menu icon and select repositories.
4. In the add field, enter the following URL. This URL points to the add-on repository for the unofficial Cloudflared add-on. We need it to be able to find and install the add-on.
https://github.com/brenner-tobias/ha-addons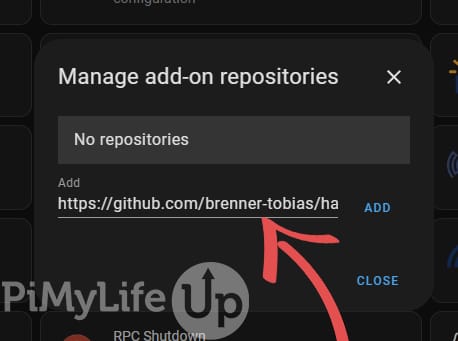
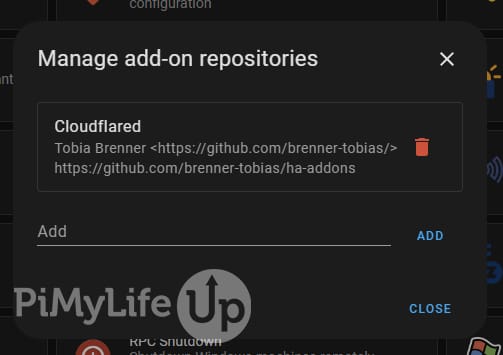
After clicking on add, you should see the repository listed.
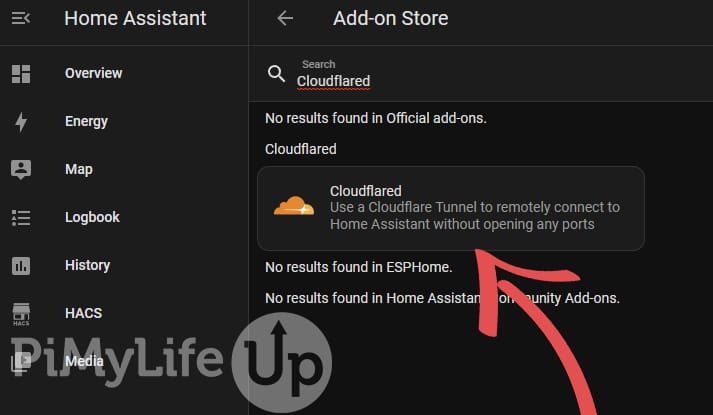
5. First, refresh the page to ensure our new repository is viewable. Either search for Cloudflared or look for it in the add-on list. Once you have found it, click on it.
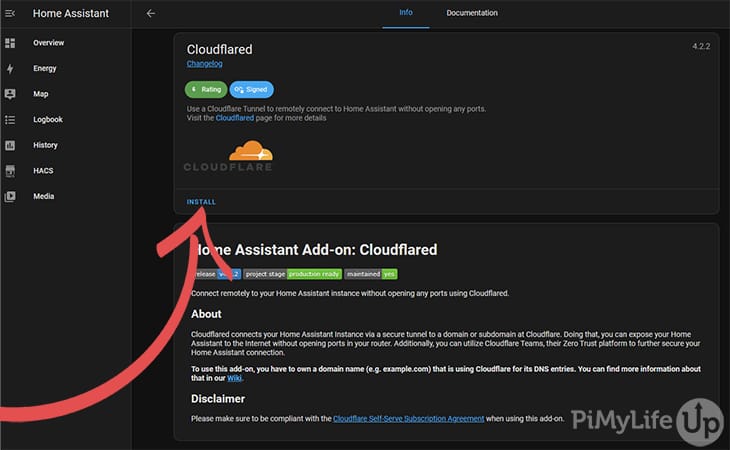
6. On this page, click on install.
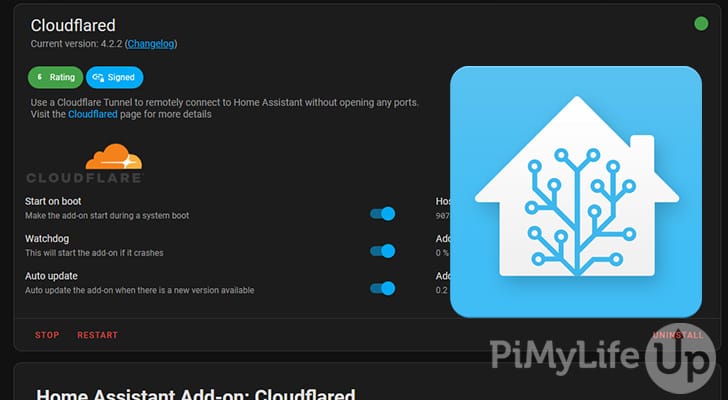
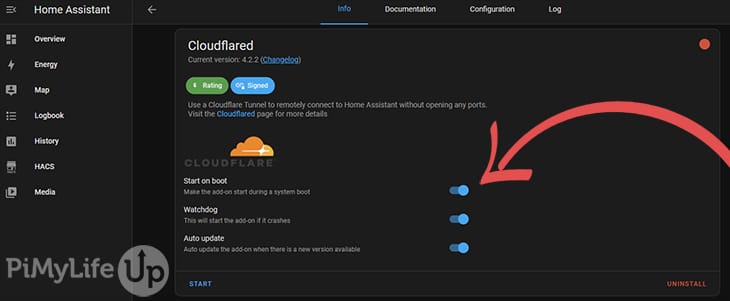
7. Once the add-on is installed, several options will appear. I recommend turning on the start on boot, watchdog, and auto update options.
Before starting the add-on, you may want to do the basic configuration first, as described in the next section.
Connecting the Add-on to Cloudflare
These steps are vital to connecting the add-on to Cloudflare so you can access your Home Assistant externally without the hassle of opening ports.
There are two different methods to connecting to Cloudflare, with Local being the easiest and Remote being more difficult. Both will achieve the same goal, but remote might better suit your needs if you have an existing Cloudflare setup.
For the easiest editing experience, I recommend installing the Visual Studio Code server on Home Assistant. Alternatively, you will need to edit the configuration YAML using a different method.
Local
1. In your preferred code editor, open up the configuration.yaml file. We use the VS Code server add-on to edit our Home Assistant files.
2. In this file, enter the following configuration lines. This config will allow our Cloudflare Tunnel to communicate correctly with Home Assistant. By default, Home Assistant will block requests from proxies.
http:
use_x_forwarded_for: true
trusted_proxies:
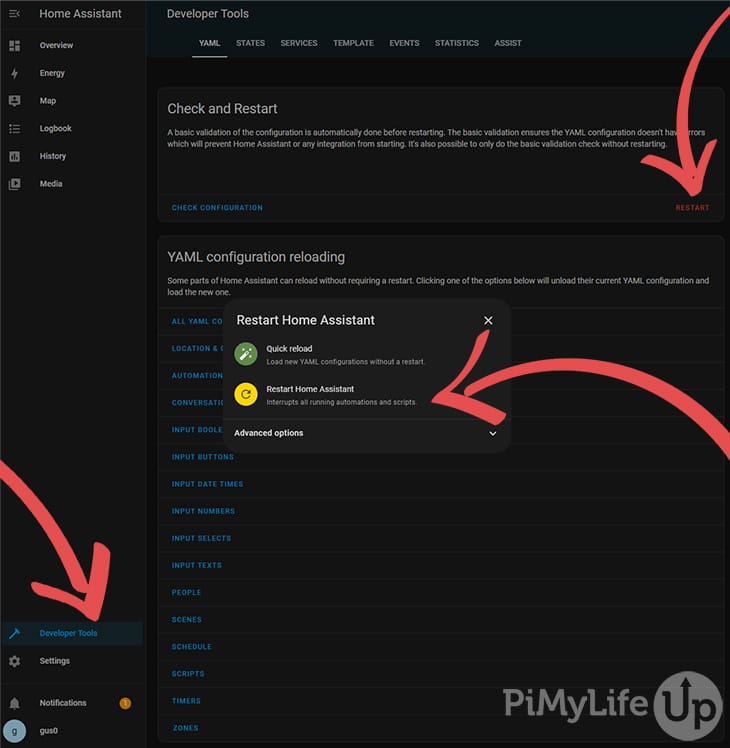
- 172.30.33.0/24Copy3. Restart Home Assistant so that the new config is correctly loaded. Go to Developer Tools, click on restart, and select the Restart Home Assistant option.
4. You will now need to set the hostname you wish to use externally. For example, it will look something like ha.mydomain.com if you’re using a subdomain or mydomain.com if you are not using a subdomain.
Go to settings and then click on the Cloudflared add-on. Next, click on the configuration tab.
On this page, enter the domain or subdomain you wish to use externally for Home Assistant. Once entered, click on save.
ha.pimylifeup.com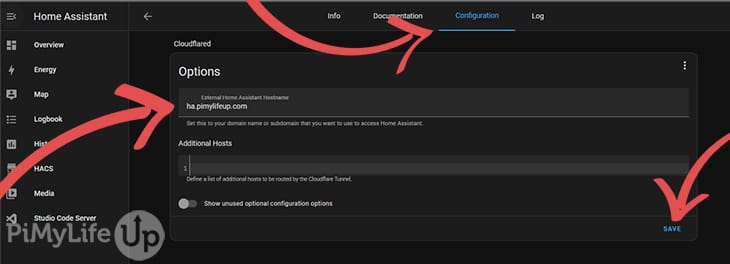
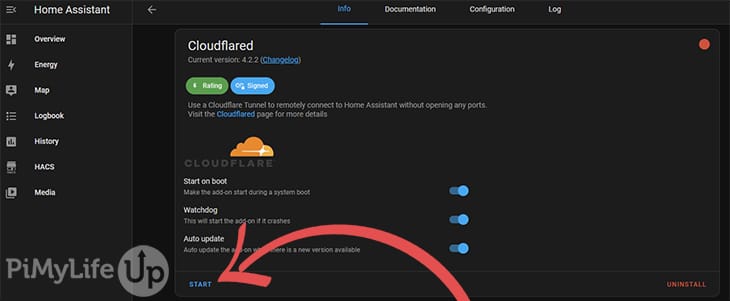
5. Start the add-on by going back to the info tab. Lastly, click on start.
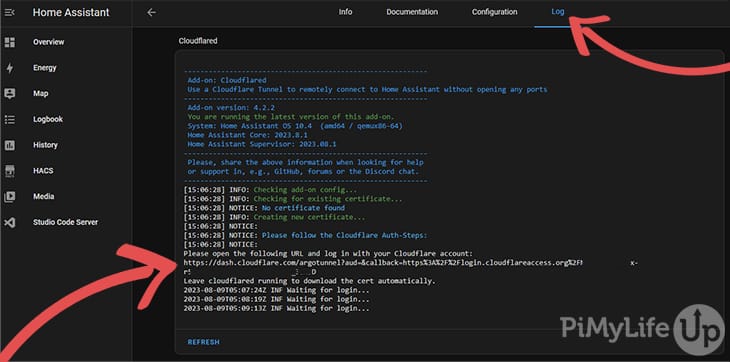
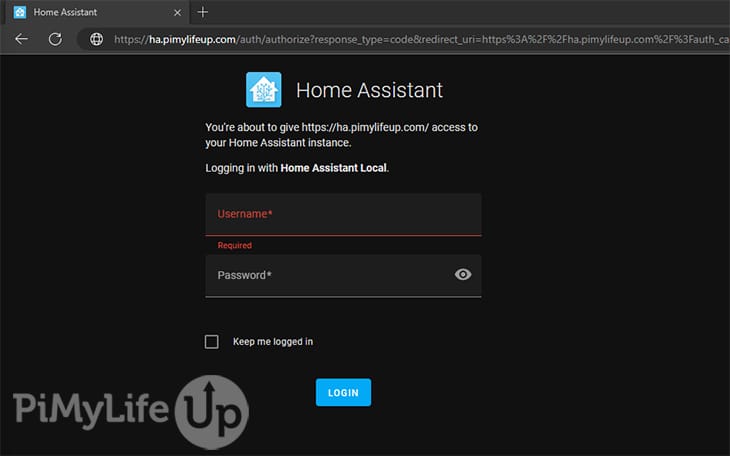
6. Once the add-on has started, go to the log tab. Inside the log list, there will be a URL that you will need to copy and paste into your browser. Follow the steps to authenticate with Cloudflare. Make sure you select the same domain you have specified in the add-on.
7. If you navigate to the domain you specified, you should now be able to access and navigate your Home Assistant installation.
Remote
1. In your preferred code editor, open up the configuration.yaml file. We use the VS Code server add-on to edit our Home Assistant files.
2. In this file, enter the following configuration lines. This config will allow our Cloudflare Tunnel to communicate correctly with Home Assistant. By default, Home Assistant will block requests from proxies.
http:
  use_x_forwarded_for: true
  trusted_proxies:
    - 172.30.33.0/24Copy
3. Restart Home Assistant so that the new config is correctly loaded. Go to Developer Tools, click on restart, and select the Restart Home Assistant option.
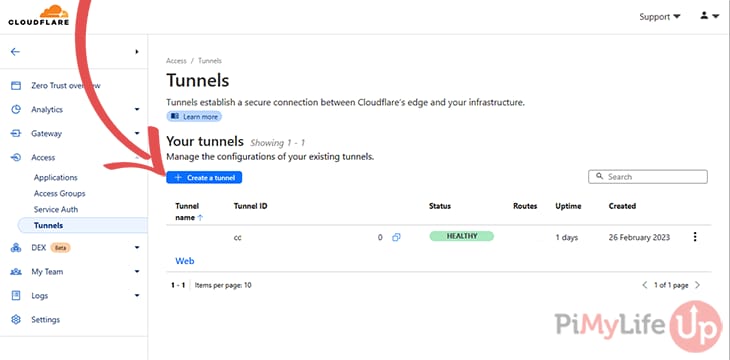
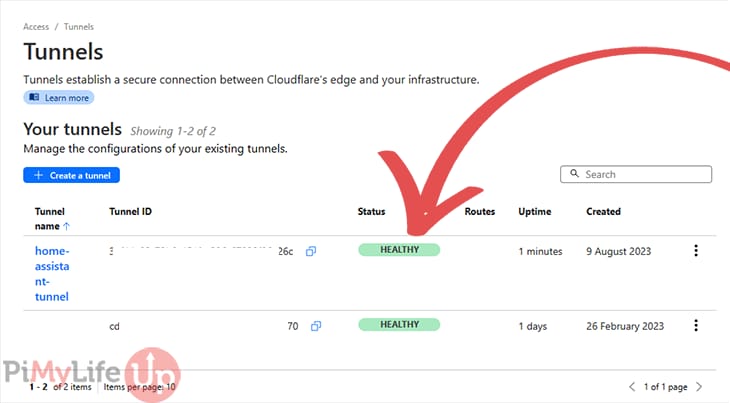
4. You will now need to go to the Cloudflare Zero Trust Dashboard. Once logged in, navigate to Access and then Tunnels.
On this page, click on Create a Tunnel.
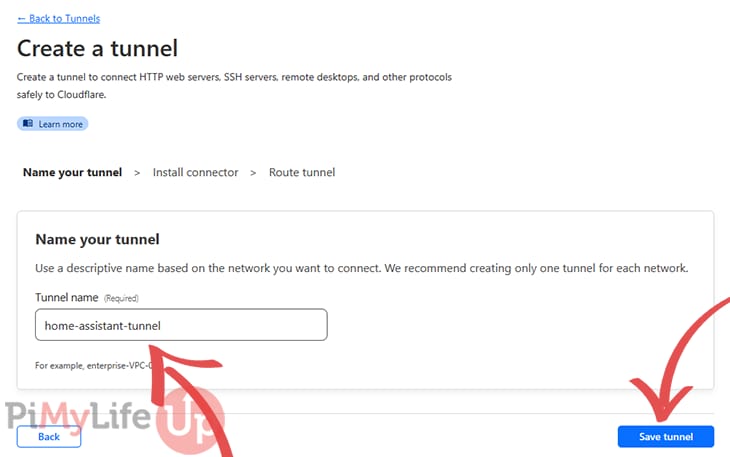
5. Select identifying name for your tunnel. For example, home-assistant-tunnel should suffice. After you have entered the name, click on save tunnel.
6. On the Install Connector screen, you should see instructions on installing the tunnel to different operating systems. You can ignore the instructions and extract the token from the code snippet. The token is a long string of numbers and characters similar to the example below.
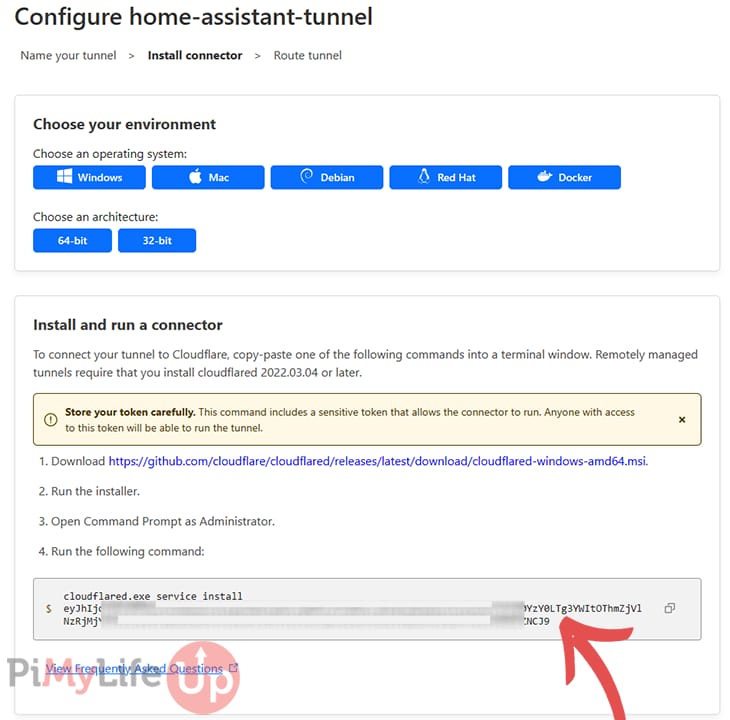
Save the code in a safe place for now.
Afterward, scroll down the page and click next.
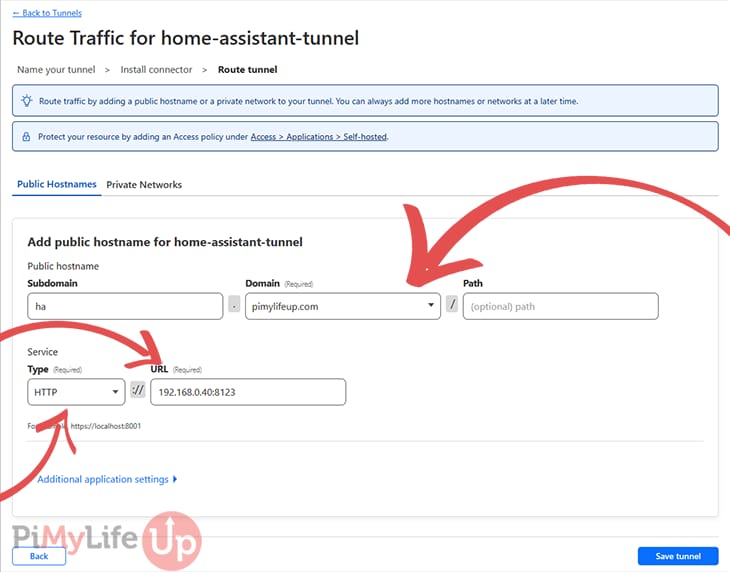
7. You will now want to enter the hostname you wish your Home Assistant to be accessible. In this example, we will set it to be ha.pimylifeup.com.
In the Service field, you will want to specify the details of your Home Assistant installation. I recommend specifying the IP and port, as this can be more stable than relying on a hostname. In our case, it will be the type of HTTP and 192.168.0.40:8123 for the URL.
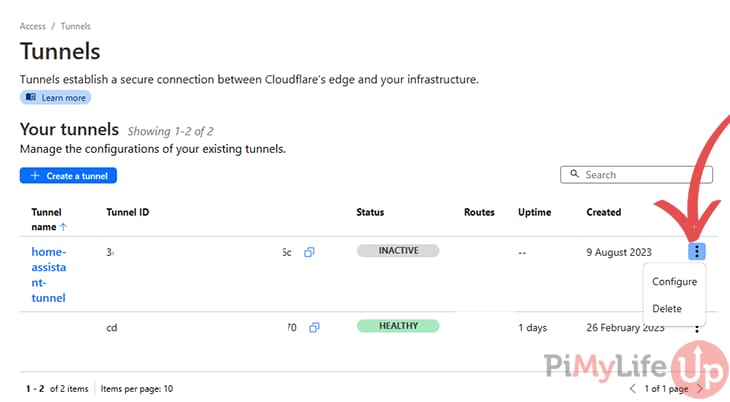
8. On the tunnel page, you will notice the tunnel is inactive. For it to be active, we will need to enter our details within the Cloudflared add-on on Home Assistant. If you need to make any changes to the tunnel, click on the three dots and click on configure.
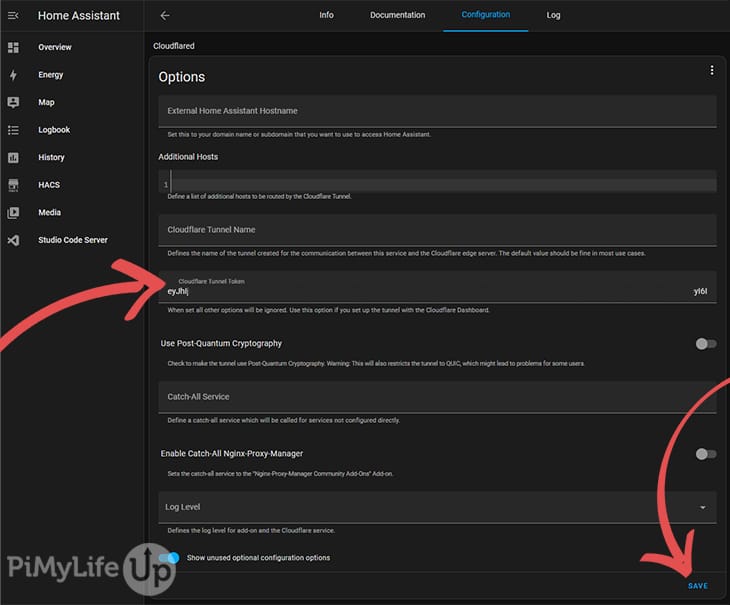
9. Load Home Assistant in your browser, go to settings and then click on the Cloudflared add-on. Next, click on the configuration tab.
Toggle the Show Unused Optional Configuration Options and enter the token we saved earlier into the Cloudflare Tunnel Token field.
Once you have done the above, click on save.
10. Start the add-on by going to the info tab and click on start.
11. You can verify the tunnel is correctly set up by navigating to the log tab within Home Assistant. Alternatively, you can check the Cloudflare Zero Trust Dashboard to see that the tunnel is now showing that it is Healthy rather than inactive.
Conclusion
You should have your Home Assistant installation accessible via the domain name you selected for the Cloudflare tunnel to run through. You can add additional security using the Cloudflare Zero Trust, but it can introduce issues, especially with the Home Assistant mobile application.
We have an ever-growing number of Home Assistant tutorials that I highly recommend checking out if you want to extend your smart home’s functionality.
If you have run into any issues with this tutorial, feel free to comment below.


Thank you! Thanks to your very clear explanation, I managed to set up a Cloudflare tunnel. If only every manual was this clear! Greetings, Hans
Beautiful, suddenly I could not connect to nabu casa anymore. Spent 3 hours looking for a solution. I ended up getting a domain on cloudflare, and thanks to your guide, in 10 minutes I had remote access again !!!
Thank you
I searched for a while before coming across this article and was pleasantly surprised at how easy you made the process. Thanks for taking the time to document your work and for making it easier on the rest of us.
haha the “kebab menu” never heard that.
anyways thanks for all you tutorials.
love your site.