In this tutorial, we will be showing you how to install Visual Studio Code on the Ubuntu operating system.
Visual Studio Code has become one of the most popular code editors thanks to its wealth of features and extensibility.
On top of this, it is also completely open-source, meaning anyone can contribute to making VS Code even better on Linux systems like Ubuntu.
Thanks to its extensibility, you can edit almost any programming language using Visual Studio code. Some of the most popular ones are PHP, JavaScript, and Python.
Installing Visual Studio code to Ubuntu requires us to add its official package repository. The advantage of using the official repository is that you will get the latest updates.
Installing Visual Studio Code on Ubuntu
This section will walk you through the steps to install Visual Studio code onto the Ubuntu operating system.
The following steps will need to be done within the terminal. While the terminal can sometimes be daunting, these steps are relatively easy to follow. You can open the terminal on Ubuntu by pressing CTRL + ALT + T.
Preparing your system
Let us start by preparing Ubuntu to install VS Code. These steps involve updating the package list and ensuring the required software is available.
1. Our first step is to update the package list so that we can install packages without issue.
You can use the following command in the terminal to update the package cache.
sudo apt updateCopy2. Once the package list updates, we can ensure that the “curl” package is installed on our system.
We will use curl to grab the GPG key for the official Visual Studio Code repository.
sudo apt install curlCopyAdding the VS Code Repository on Ubuntu
Our next steps will add the official package repository for Visual Studio Code to our Ubuntu system. This repository is where we will download the latest version of VS Code.
3. We need to download the GPG key for the Microsoft repository. This key helps authenticate that the packages we are downloading are authentic.
Use the following command to download and store the GPG on your system.
curl -L https://packages.microsoft.com/keys/microsoft.asc | gpg --dearmor | sudo tee /usr/share/keyrings/microsoft-archive-keyring.gpg >/dev/null
Copy
4. Once we have downloaded the GPG key, we can move on to adding the repository for VS Code to our Ubuntu system.
Add this repository by using the command below in the terminal.
echo "deb [arch=amd64 signed-by=/usr/share/keyrings/microsoft-archive-keyring.gpg] https://packages.microsoft.com/repos/vscode stable main" | sudo tee  /etc/apt/sources.list.d/vscode.list
Copy
5. Since we have made changes to the sources list, we need to update the package cache list using the command below.
When the update runs, it will fetch a list of packages available from the VS Code repository.
sudo apt updateCopyInstalling VS Code on Ubuntu from the Official Package Repository
After adding the VS Code repository installing and updating the code editor to Ubuntu is now a straightforward process.
6. Installing Visual Studio Code to your Ubuntu device is as straightforward as using the following command in the terminal.
sudo apt install codeCopyOpening Visual Studio Code on Ubuntu
With Visual Studio Code now installed on the Ubuntu operating system, you can now open the code editor.
The following steps will show you how you can open the editor by using either the terminal or desktop.
Opening VS Code using the Terminal
Opening Visual Studio Code from within the terminal is super straightforward and one of the fastest ways to open the code editor on your system.
1. To open VS Code from the terminal, you must use the following command.
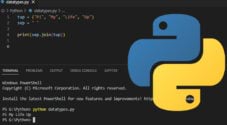
codeCopy2. Visual Studio Code should now be open on your Ubuntu system. You can use it to start editing your code with ease.
Opening Visual Studio Code from the Desktop
Opening Visual Studio Code from the Ubuntu desktop requires a few simple clicks. If you are familiar with Ubuntu, you will find this process easy to understand.
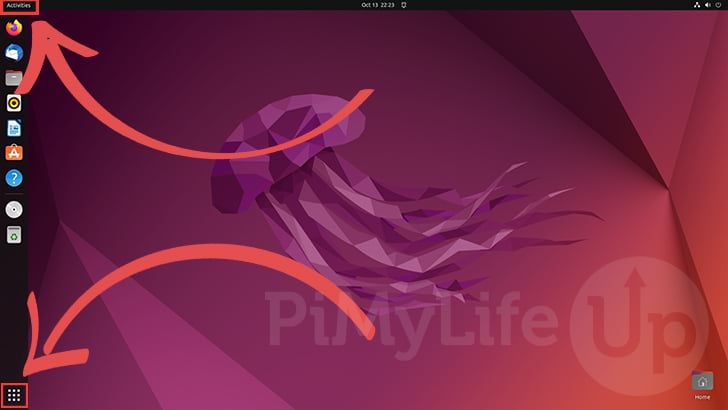
1. To begin, you must open the activities screen on your Ubuntu device.
You can open this screen by clicking the top or bottom left of your screen.
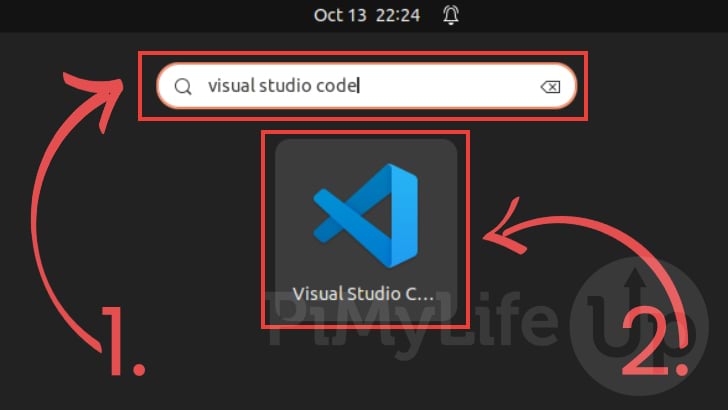
2. On this screen, use the search box to look for “Visual Studio Code” (1.).
Once you see VS Code appear as an option (2.), click it to open up the code editor on your device.
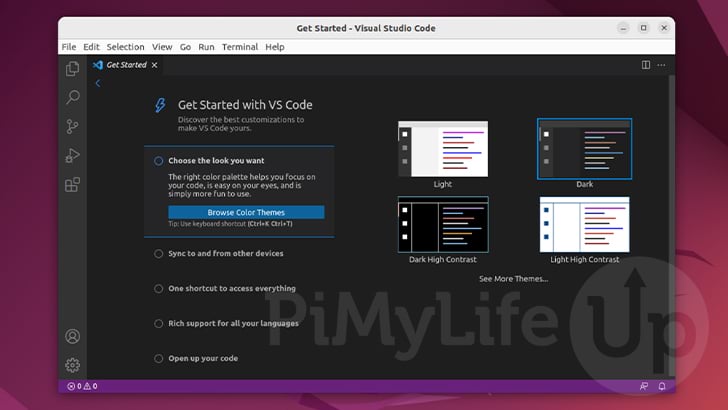
3. You now have Visual Studio Code open and running on your Ubuntu device. You can now use this to begin writing your code.
Conclusion
At this point, you should now have successfully installed Visual Studio Code on your Ubuntu device.
VS Code is one of the best code editors you can use on any system. Moreover, it can easily be extended to support almost any programming language.
Please comment below if you have questions about installing or running VS Code on Ubuntu.
We have a wealth of other Ubuntu projects that are worth checking out.


Thank you for the article