In this tutorial, we will be showing you how to install Composer on the Ubuntu operating system.
Composer is an incredibly powerful tool for anyone who programs using the PHP programming language. This tool provides you with a standard format for managing dependencies for your web applications.
For anyone who either develops with PHP or uses a PHP web application, you will want to install Composer.
By using Composer on Ubuntu, you can easily download and install any PHP libraries that the software relies on.
These steps for installing Composer on Ubuntu will work for any version of Ubuntu that supports PHP 7.2.5 and newer. This means you can use Composer on Ubuntu 22.04, 20.04, and more.
Preparing Ubuntu for Composer
Before we can install Composer on Ubuntu, we will need to prepare the operating system. These steps involve installing any packages required to run the dependency manager.
1. Before proceeding further with this tutorial, you will need to have PHP installed on Ubuntu.
Our guide covers installing PHP on Ubuntu as well as setting it up.
2. Before we install any additional packages, we will need to update the package list cache.
You can update the package list by using the following command within the terminal.
sudo apt updateCopy3. With PHP installed and our package list updated, we need to install some additional packages so that we can install and use Composer on Ubuntu.
When running the below command, ensure you replace “[PHPVERSION]” with the version you installed on your system.
We will use this command to ensure the PHP command line interface is installed as well as the unzip, git, and curl packages.
sudo apt install php[PHPVERSION]-cli unzip git curl gitCopyInstalling Composer on Ubuntu
Once you have finished preparing Ubuntu, we can move on to installing the Composer management tool. This process is reasonably straightforward as Composer provides its own installer.
Over the next few steps, we will download the Composer installer, verify its contents and then run it.
1. Let us start this section by downloading the Composer installer to our Ubuntu device.
To download Composer, we can use the following command within the terminal. Using this curl will save the script as “composer-setup.php” within the current directory.
curl -sS https://getcomposer.org/installer -o composer-setup.phpCopyThe “-sS” option tells curl to only print a message if an error has occurred. By default curl will output a variety of messages that you don’t need
2. With the installer script now downloaded, we should verify that its contents match what we expect.
We achieve this by first using curl to grab the expected checksum of the file from the Composer GitHub.
EXPECTED_HASH=`curl -sS https://composer.github.io/installer.sig`CopyWe can use this hash to ensure that the file somehow didn’t become corrupt during transit.
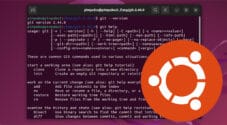
3. Now that we have the expected hash, we can run the following command. This command executes some PHP using the command line interface.
This piece of PHP starts by generating the hash for the installer script that we downloaded in step 1.
The script then checks to see if our expected hash matches that of the script we downloaded. If the hashes match, the file’s integrity is intact and can be safely used.
If the hashes don’t match, the file is discarded, and you must follow step 1 again.
php -r "if (hash_file('SHA384', 'composer-setup.php') === '$EXPECTED_HASH') { echo 'Installer Valid'; } else { echo 'Installer Corrupt'; unlink('composer-setup.php'); } echo PHP_EOL;"Copy4. After running the above command, you should see the text “Installer Verified” in the terminal.
If you see the following text you can safely continue to the next step.
Installer ValidHowever, if you see “Installer Corrupt“, then you must re-start this section.
This message indicates that the installer you downloaded was corrupted in some way. An issue like this could be caused by either storage or network issues.
Installer Corrupt5. If you have a valid installer, you can safely continue. With this step, we will be running the Composer installer on Ubuntu.
All you need to do to install Composer is to run the following command within the terminal.
sudo php composer-setup.php --install-dir=/usr/local/bin/ --filename composerCopyWe use two of the installers options to control where Composer is installed on Ubuntu as well as its filename.
First, we set the install directory to “/usr/local/bin/” by using the “--install-dir” option. By using this directory any of your Ubuntu users should be able to access Composer.
Secondly, we use the “--filename” option to save Composer as “composer” rather than the default “composer.phar“. Setting the filename ensures you can just use “composer” within the terminal on Ubuntu.
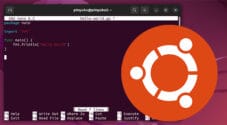
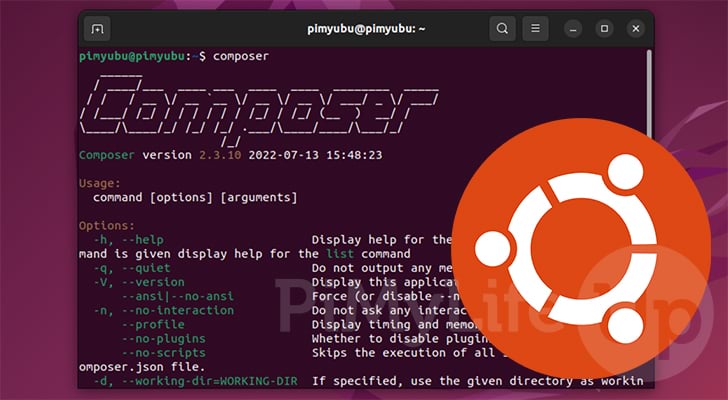
6. We can now verify that we have successfully installed Composer on Ubuntu by using the command below within the terminal.
composerCopy7. If you have successfully installed Composer on Ubuntu, you should see a message like the following after running the previous command.
   ______
  / ____/___  ____ ___  ____  ____  ________  _____
 / /   / __ \/ __ `__ \/ __ \/ __ \/ ___/ _ \/ ___/
/ /___/ /_/ / / / / / / /_/ / /_/ (__  )  __/ /
\____/\____/_/ /_/ /_/ .___/\____/____/\___/_/
                    /_/
Composer version 2.3.10 2022-07-13 15:48:23

Usage:
  command [options] [arguments]
Updating Composer on Ubuntu
Now that you have Composer installed on Ubuntu, you may be wondering how you update it.
Luckily, we don’t have to re-follow all of our steps as Composer has built-in functionality to update itself. This section will quickly show you how to utilize this functionality.
1. To update Composer on Ubuntu, we need to utilize the following command.
This command tells Composer that it should perform a self-update.
sudo composer self-updateCopy2. If an update was available, Composer should have now self-updated itself.
Otherwise, you will see a message like the one below telling you that you are on the latest version.
You are already using the latest available Composer version 2.3.10 (stable channel).Conclusion
This tutorial showed you how to install Composer to your Ubuntu operating system.
Composer is a powerful tool for managing dependencies for PHP applications. If you develop with PHP, you will definitely want to familiarize yourself with this dependency manager.
Please comment below if you have any issues installing Composer on your system.
Be sure to check out our many other Ubuntu tutorials. We also have a wealth of general Linux guides that are worth checking out.