In this tutorial, we will be walking you through the process of installing Transmission using Docker Compose.
Transmission is a lightweight and open-source BitTorrent Client. It boasts an easy-to-use web interface, so you can easily interact with the torrent client without it running on your own computer.
Docker is a great way to run Transmission on your system. You can quickly start and stop the torrent client anytime, and updating to a new version is straightforward. Additionally, it keeps part of the torrent client separated from the rest of your system.
While the Transmission team doesn’t provide their own Docker containers for the software, there are luckily quite a few options we can use instead. The we will be using in particular is provided by LinuxServer.
Please note that to install Transmission using Docker, you must be running a 64-bit operating system. The container we are using does not support non-64-bit systems.
It is also possible to run your Transmission container through a VPN if you combine it with a service such as Gluetun.
Installing Transmission using Docker Compose
In the following sections, we will walk you through the process of installing Transmission on your system using Docker Compose.
We will also show you an easy way to install the Docker runtime.
Installing Docker
1. Before we can run Transmission using Docker Compose, we will need to install the Docker runtime itself. If you have installed Docker previously, you can skip to step 2.
Luckily, we have a guide that covers installing Docker on Linux.
https://pimylifeup.com/linux-docker-install/Preparing for the Transmission Docker Container
2. Let us create a directory to store the Docker Compose file for our Transmission container. We will also store the configuration file for the torrent client within this directory.
You can create this directory by using the mkdir command in the terminal. The “-p” option creates all missing directories.
sudo mkdir -p /opt/stacks/transmissionCopy3. After creating a directory to store transmission, change to it using the cd command.
cd /opt/stacks/transmissionCopyWriting a Docker Compose File for Transmission
4. After changing to the correct location, we can write a Docker Compose file for transmission by running the command below within the terminal.
We use the nano text editor as it is reasonably simple to use.
sudo nano compose.yamlCopy5. Within this file, you must enter the lines shown below. While typing these lines, there area few values that you must replace.
<TIMEZONE>: The first placeholder lets you specify your timezone. This must be written using the TZ Identifier format.
For example, the timezone for where we live is “Australia/Hobart“.<USERNAME>: Here, you can specify a username to use to log in to the Transmission web interface.
You can delete this variable if you don’t want to have to enter a username.<PASSWORD>: This value is where you specify the password to access the Transmission interface.
If you aren’t specifying a username, then you will want to delete this option.<DOWNLOADS_PATH>: You can specify where Transmission will save its downloads on your system using this placeholder. This should typically be a full path to where you want downloaded files stored.
If you want the downloads to be saved in the directory we created earlier, use the directory “./downloads“.<WATCH_PATH>: The final thing you will want to specify is the watch path.
Set this to a directory where you want Transmission to look for torrent files to start downloading automatically. For example, you could use “./watch” as the directory.
services:
  transmission:
    image: lscr.io/linuxserver/transmission:latest
    container_name: transmission
    environment:
      - PUID=1000
      - PGID=1000
      - TZ=<TIMEZONE>
      - USER=<USERNAME>
      - PASS=<PASSWORD>
    volumes:
      - ./config:/config
      - <DOWNLOADS_PATH>:/downloads
      - <WATH_PATH>:/watch
    ports:
      - 9091:9091
      - 51413:51413
      - 51413:51413/udp
    restart: unless-stoppedCopy
6. Once you have filled out the file, save these changes by pressing CTRL + X, Y, and then ENTER.
Starting Transmission using Docker
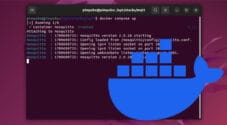
7. We are finally at the point where we can start Transmission using Docker. Use the command below to tell Docker to read our Compose file and launch It.
Since we use the “-d” option, Docker will detach from the terminal once it has successfully started the torrent client.
docker compose up -dCopyAccessing the Web Interface
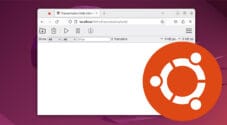
8. Now that you have Transmission up and running using Docker, you will want to access its web interface so you can start using it.
The easiest way to get your local IP address on most Linux systems is to use the hostname command.
hostname -ICopy9. With your IP address on hand, go to the following address in your favourite web browser.
Ensure that you replace “<IPADDRESS>” with the IP of your Raspberry Pi.
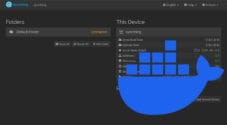
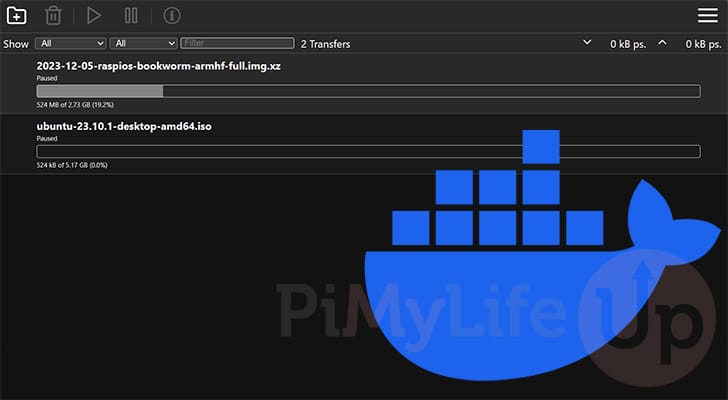
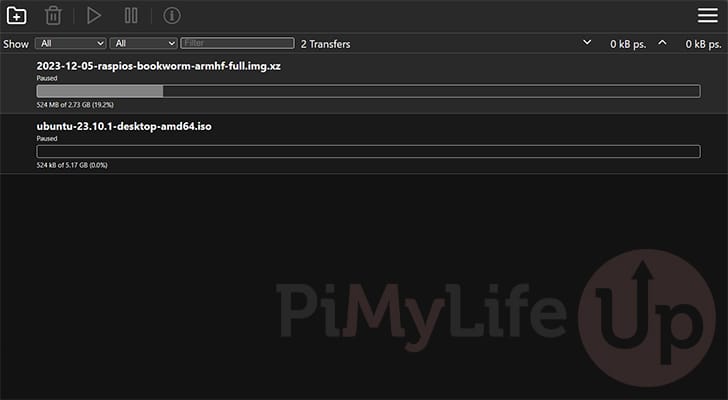
http://<IPADDRESS>:909110. Below, you can see that we have Transmission up and running using Docker.
We have two torrents downloading to our system. One is the latest version of the Raspberry Pi OS image, and the other is the latest version of Ubuntu.
Updating the Transmission Docker Container
One key reason using Docker is great is that it makes updating software a really simple process. We don’t have to worry about missing or out-of-date dependencies.
Updating Transmission to the latest version is as simple as using the Docker Compose file we wrote at the start of this tutorial.
1. First, we must change it to the same directory we saved the Compose file on our system.
You can change to this directory by using the command below.
cd /opt/stacks/transmissionCopy2. After swapping to the right directory, use the command below to get Docker to pull the latest version of Transmission.
Please note that this command won’t immediately update your currently running container, but it will download the new version ready for it when it restarts.
docker compose pullCopy3. To move Transmission to the latest version, we need to use the same command we used to start the container in the first place.
Using the command below, if it detects a new image is available, it will automatically stop the currently running container and start it back up using the new version.
docker compose up -dCopyConclusion
At this point in the tutorial, you will hopefully have Transmission up and running on your system using Docker Compose.
Transmission is a great lightweight torrent client with an easy-to-use web interface. It is an excellent alternative to other torrent clients such as qBittorrent.
Please post a comment below if you have any issues getting this torrent client to run using Docker.
If you liked this tutorial, it is well worth exploring our many other Docker guides.