In this tutorial, we will show you how to set up CryoUtilities on your Steam Deck.
CryoUtilities is a collection of scripts and utilities aimed at improving the performance and managing the storage of the Steam Deck.
While these enhancements might not give you huge improvements, they may help smooth out games that are suffering hitching. It also might help get games into a playable frame rate if they miss the mark.
Most of the tweaks CryoUtilities performs on your Steam Deck involve memory management. These tweaks attempt to improve how Linux handles memory and increase the swap memory.
With the way these tweaks work, they will improve performance the most in games where the Deck is memory constrained.
You can find a list of the tweaks that CryoUtilties can apply and what they do on the Cryo GitHub.
Installing CryoUtilities to the Steam Deck
Over the following steps, you will learn how to install CryoUtilities on your Steam Deck.
This process is relatively straightforward thanks to the developer providing a simple install script we can execute from the terminal.
To make this process even easier you can always plug in a keyboard. However, you can do what we did and use the desktop virtual keyboard. There is only one thing you will need to type in throughout this tutorial, but it is a long command.
Swapping to Desktop Mode
1. Since CryoUtilities affects the underlying operating system, you will need to change to desktop mode to install it.
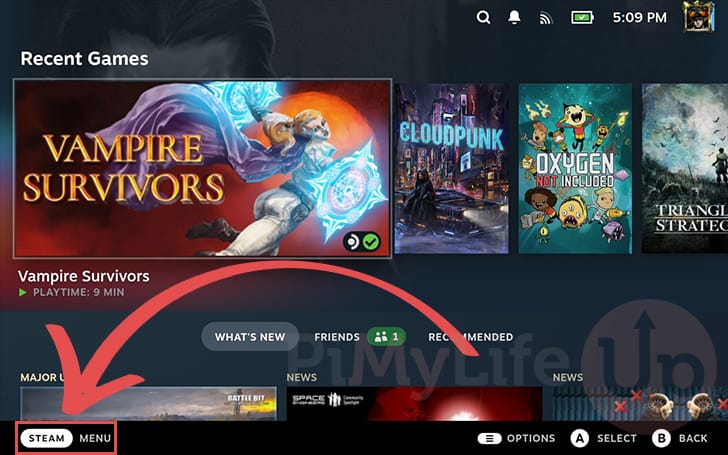
To change to desktop mode, first bring up the STEAM Menu. You can open the STEAM Menu by pressing the STEAM button on your Deck or by pressing “STEAM Menu” in the bottom-left corner.
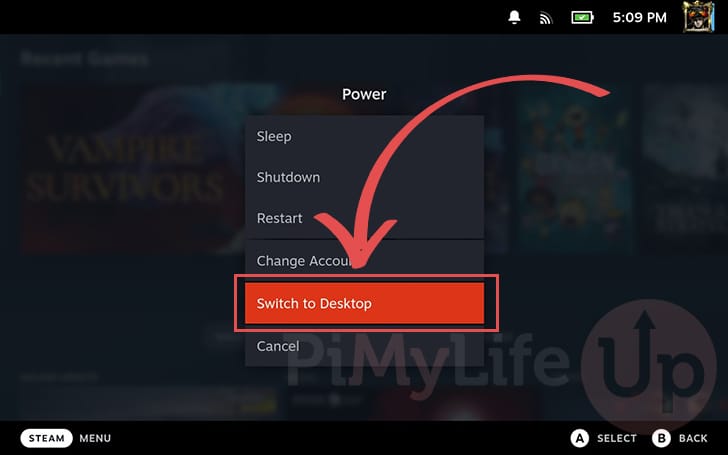
2. With the STEAM Menu open, click the “Power” option near the bottom of the list.
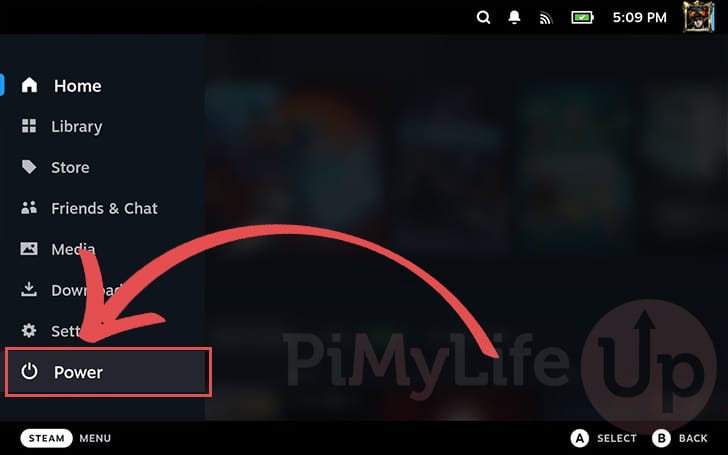
3. You will now be greeted with various options. The first three are the only ones directly related to powering on or off your device.
Find the option labeled “Change to desktop” and click it.
Opening the Terminal
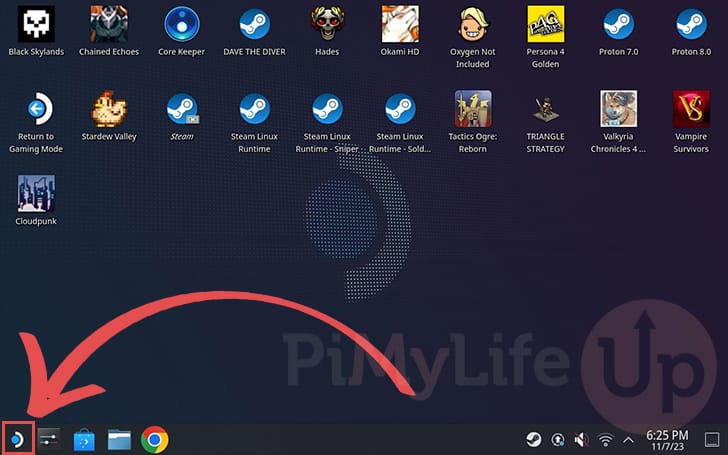
4. Now that we are in desktop mode, we will want to open the terminal on our Steam Deck.
The terminal will allow us to download and run the CryoUtilities install script easily. To open the terminal, open the start menu by clicking the icon in the bottom-left icon.
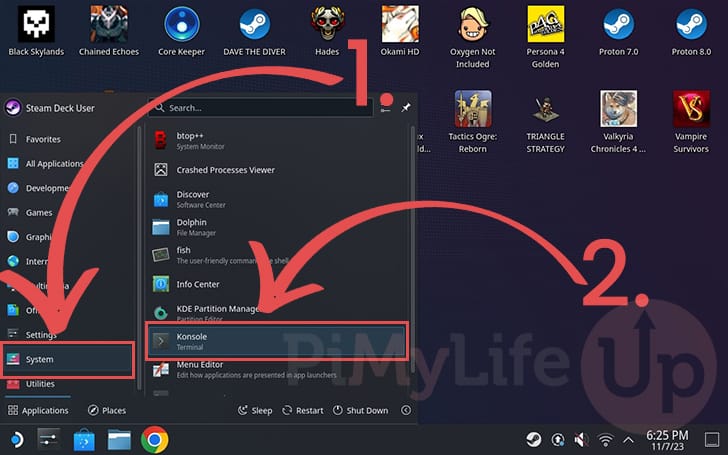
5. With the start menu open, hover over the “System” option (1.) to bring up a list of system applications like the terminal.
In the list of applications, find the one labeled “Konsole” and click it to open it (2.).
Setting the sudo Password
6. Before you continue any further, you must set the sudo password for your Steam Deck.
This password will allow you to perform administrative tasks that affect the underlying operating system. It is also a requirement to use CryoUtilities on the Steam Deck.
If you have already set this password, skip to the next section. Otherwise, run the following command and enter a new password.
passwdCopyUsing the Terminal to Install CryoUtilities on the Steam Deck
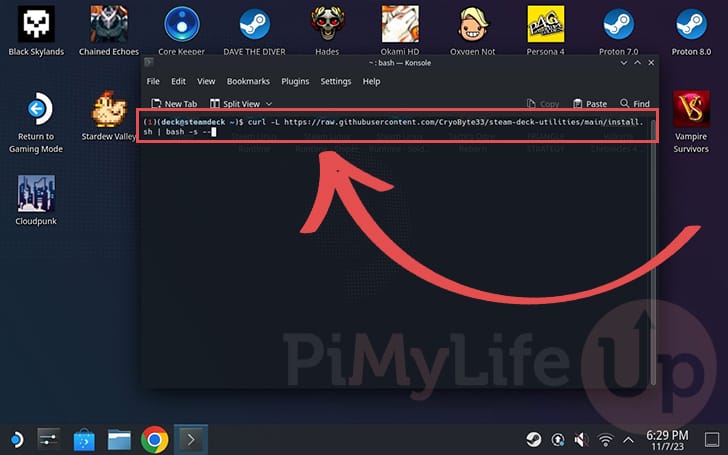
7. At this point, you will want to run the following command in the terminal.
This command will use curl to grab the CryoUtilities install script and execute it on the Steam Deck.
You can bring up the virtual keyboard by pressing the STEAM + X buttons on your Deck.
curl -L https://raw.githubusercontent.com/CryoByte33/steam-deck-utilities/main/install.sh | bash -s --CopyWe use the “-L” option with curl to tell it to follow any redirects. This is useful if GitHub ever changes its URL structure.
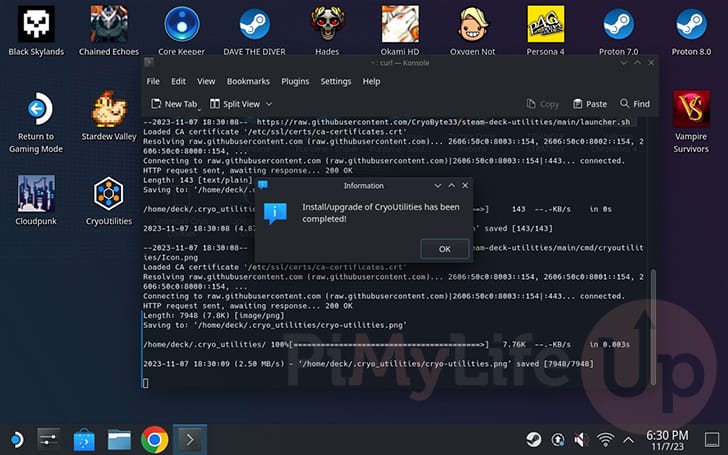
8. After running the command above, CryoUtilities will download and install itself to your system.
Once the installation completes, you should see the following message in the terminal. You can now safely quit out of the Konsole application.
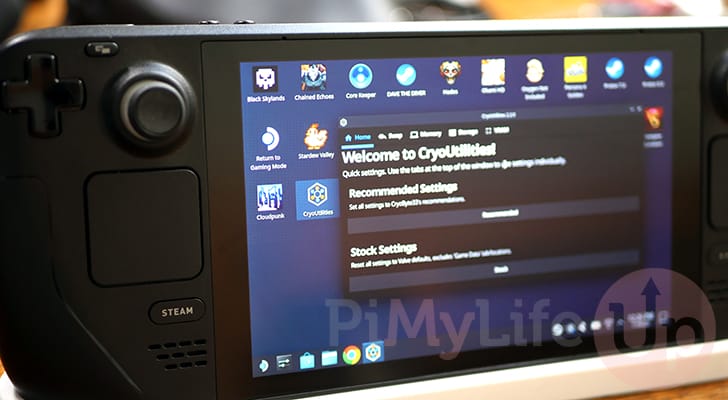
Using CryoUtilities on your Steam Deck
With CryoUtilities now installed on your Steam Deck, let us quickly review how you can use it on your system.
CryoUtilities can only be accessed from desktop mode. It is not something that you can interact with while in gaming mode.
Accessing the CryoUtilities Interface
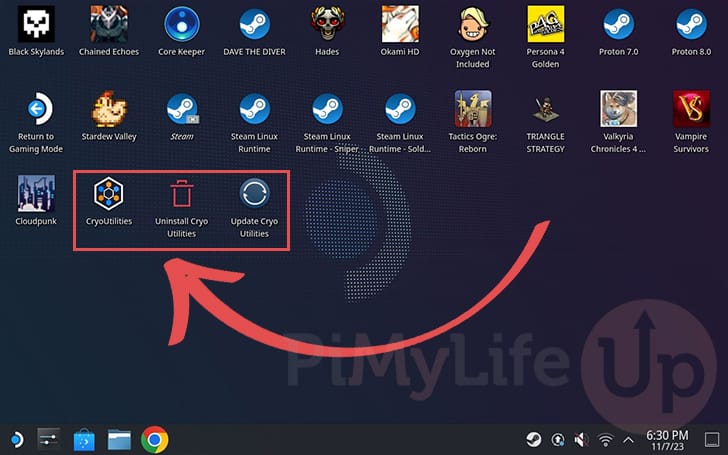
1. On your desktop, you should now have three new icons, as we have shown below.
- “CryoUtilities”: The first opens the CryoUtilities settings.
- “Uninstall CryoUtilities”: The second icon uninstalls the tweaks manager from your device.
- “Update CryoUtilities”: The third allows you to easily update CryoUtilities without having to go through using the terminal.
The icon you want to double-click is the one labeled “CryoUtilities“.
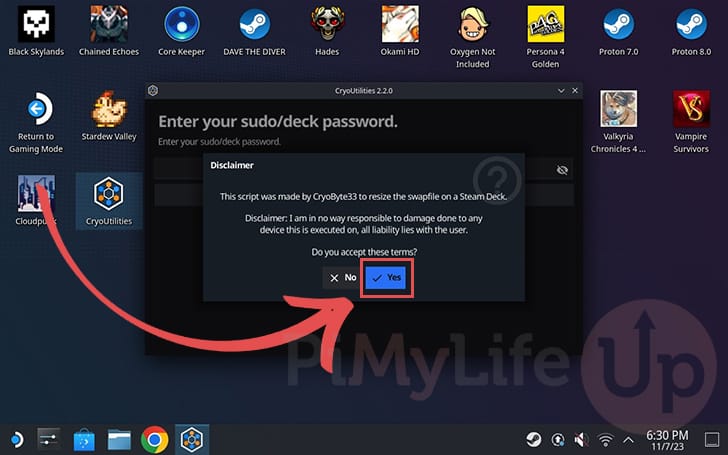
2. You will be first greeted with a warning from the developer saying that if anything goes wrong, they take no responsibility.
While with the tweaks CryoUtilities performs on your Steam Deck, nothing should break, there is always the off chance something goes wrong.
If you are happy to proceed, click the “Yes” button.
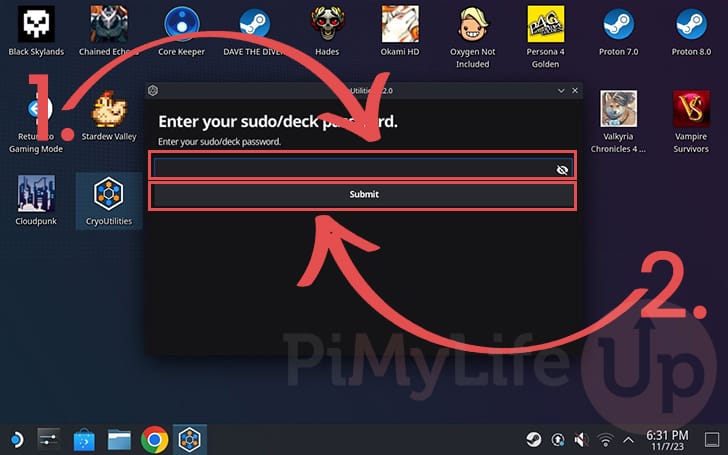
3. Next, you will be prompted to enter the sudo password for your Steam Deck account.
Type in your password, then click the “Submit” button.
Using the Recommended Settings on your Steam Deck
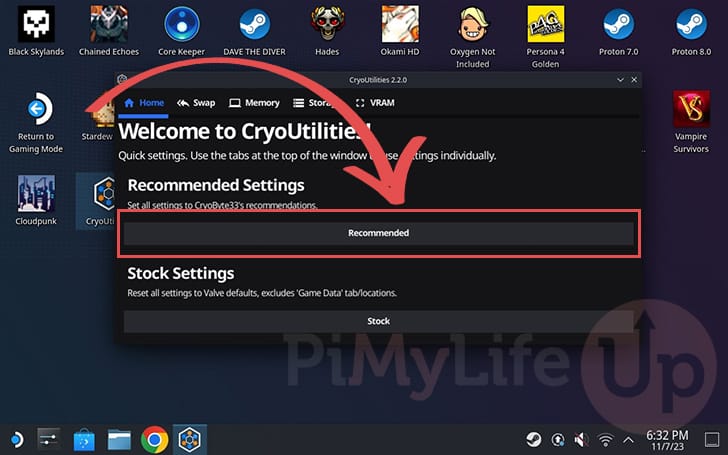
4. CryoUtilities comes with recommended settings for your Steam Deck. These are settings that the developer has tested to improve your experience on the Deck.
For most people, you will want to stick with the recommended options and click the “Recommended” button.
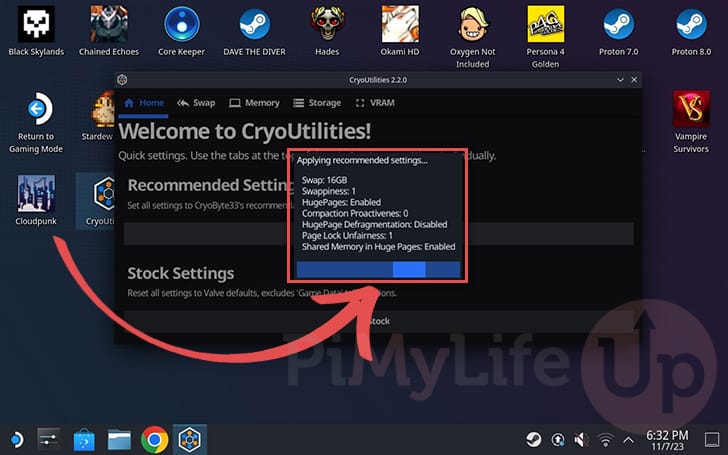
5. This software can take a few minutes to apply all the changes. The reason this takes some time is that it needs to rebuild the swap file.
The swap size is created to match your new swap size. In our case, this means it will create a 16 GB swap file on our Steam Deck’s drive.
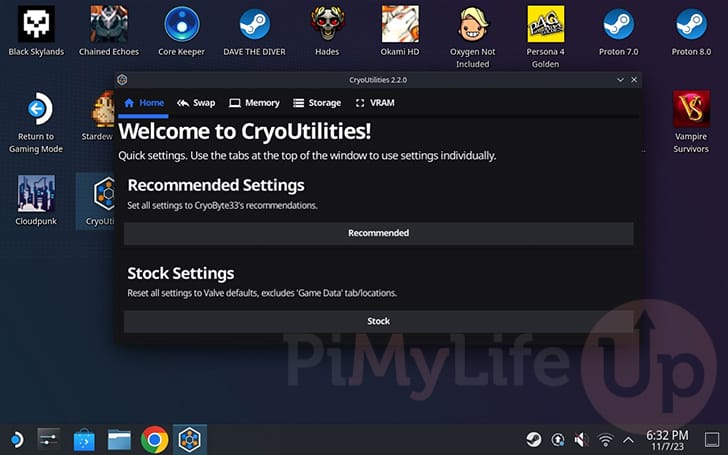
6. Once the recommended settings have been applied, you will see the following message appear.

Advanced Settings for CryoUtilties on the Steam Deck
7. We won’t be delving too far into the advanced CryoUtilities settings for your Steam Deck, but let us quickly go over them.
For most users, you should be super careful with manually changing these settings. You can set something incorrectly, which will reduce performance or cause stability issues.
The home page obviously gives us two options. One is to use the recommended settings. The other is to set your Steam Deck back to its default settings.
Swap Memory Settings
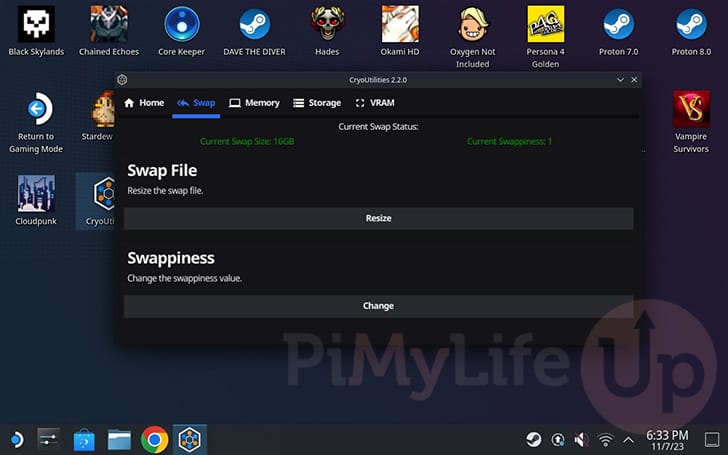
8. On this page, CryoUtilities allows you to control the size of the swap memory on your Steam Deck.
Swap memory is almost a fall-back memory that your device can utilize when it runs low on physical memory. The larger the swap memory, the more your Steam Deck can overshoot its physical RAM.
The downside of swap memory is that it is significantly slower than physical RAM and increases wear on your system’s drive.
The swappiness setting allows you to control how often your Steam Deck might try and utilize this swap memory. The lower the value, the less likely it is to try and utilize swap memory.
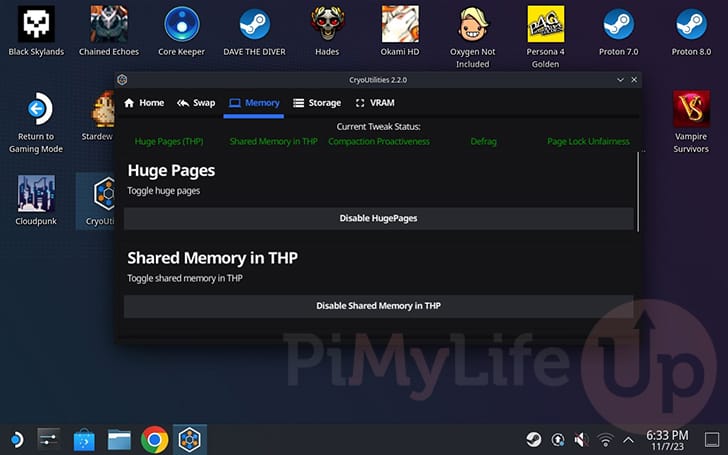
Memory Settings
9. The CryoUtilties has numerous tweaks built into it that allow you to control how Linux handles memory on your Steam Deck.
We won’t explain what these tweaks do, but you can use this page to turn each tweak on or off easily. You can google them if you want a proper explanation of what the tweaks do.
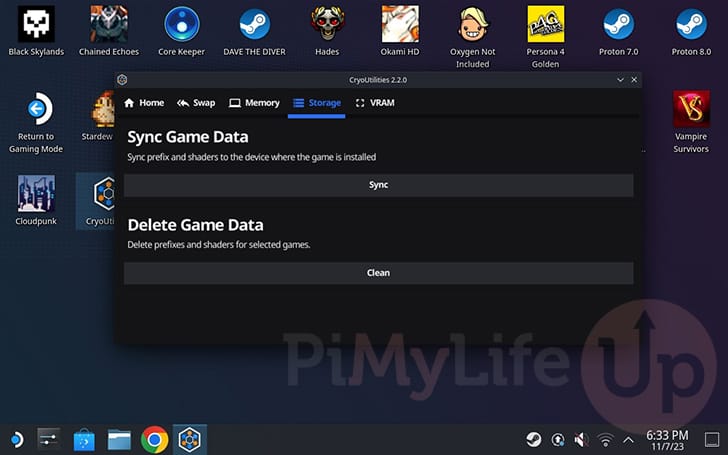
Storage Utilities
10. Another feature of CryoUtilities is its storage manager. These options are designed to help you clean up and manage the storage of your system
In particular, CryoUtilities targets two parts of the Steam Deck that can cause issues. The first is when prefixes and shaders get disconnected from where the game exists on your system.
Second, is that prefixes and shaders can be left over even after you delete them through the Steam client. CryoUtilities has tools built in to help you clean this space.
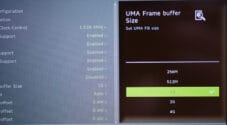
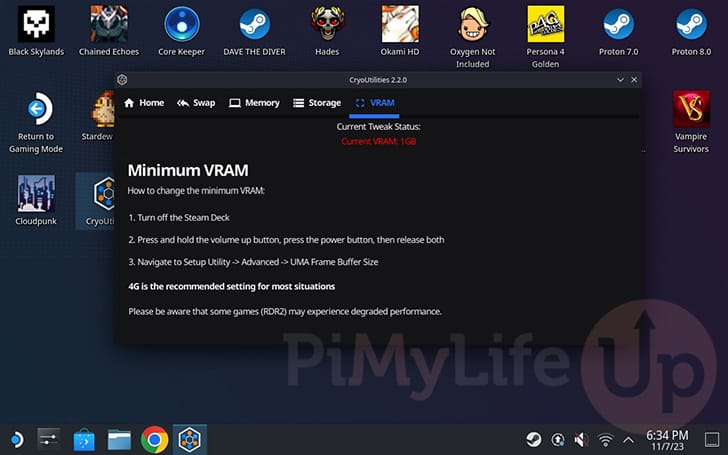
VRAM Tips
11. The last page doesn’t let you control any settings. The reason for this is that the VRAM allocation on the Steam Deck is actually controlled through the BIOS and not the operating system.
This page, however, does walk you through the steps for configuring the VRAM allocation. However, be warned that this can cause some games to perform worse and not better.
Conclusion
Hopefully, at this stage, you will have successfully installed CryoUtilities on your Steam Deck.
This tool allows you to easily make tweaks to the system to help improve your performance and stability.
Please feel free to leave a comment below if you have any questions about installing CryoUtilities.
If you found this tutorial to be helpful, be sure to check out our many other Steam Deck tutorials.