In this tutorial, we will be showing you how to use the recovery image for your Steam Deck.
The recovery image allows you to repair or recover your Steam Deck when your device can no longer boot. It also allows you to return your Deck to SteamOS if you had replaced it with a different operating system.
This image offers an easy way to try and fix a broken install. Luckily, as long as you have the right parts. This tool is also very simple to use.
While hopefully a last resort, this image is incredibly handy when all else fails. The recovery image offers you three different repair options. Let us quickly go over them and explore what each recovery option does.
- Re-image Steam Deck – This option will completely reformat your Steam Deck and return it to its original factory state. This option is useful if your device is completely unusable.
You will lose all data on your Deck when you use this recovery option. - Clear Local User Data – You can also use the recovery image to only clear the local user data. The OS won’t be re-installed using this option, but the recover mode will reset your settings and remove any personal content such as games.
- Re-install Steam OS – Using recovery it is also possible to re-install SteamOS to your Steam Deck.
This differs from the re-image approach as it will attempt to keep your games and personal files in tact. - Recovery Tools: The last option allows you to bring up a prompt to manually fix boot options.
You can use this if you want to avoid wiping any data, however, it does require you to know what you are doing.
Required Equipment
Before you continue, you will need a couple of pieces of hardware to utilize the recovery image on your Steam Deck.
With any luck, you will have some of these parts sitting around.
- A USB-C Adapter or Hub – This is used to connect the USB storage device to the Steam Deck itself.
If the storage device you are using has a USB-C connector, you can skip this item. - USB Storage Device that is at least 8GB in size – You need some sort of storage device to write the recovery image to.
We will use a 16GB USB Flash drive for this guide. - Computer – The final item you need is a computer to flash the USB storage device.
You can be using Windows, MacOS or Linux.
Using the Recovery Image for your Steam Deck
Over the following sections, we will be walk you through the process of writing the recovery image to a storage device and then booting to it from your Steam Deck.
These steps are fairly simple but be careful when following them. You don’t want to be recovering your Steam Deck only to somehow do more damage.
Preparing to Write the Recovery Image
1. To write the Steam Deck recovery image to your USB drive, we will be using a tool called balenaEtcher.
This tool is great as it is super easy to use and supports Windows, macOS and Linux.
To start this process, go to the balenaEtcher website in your favourite web browser.
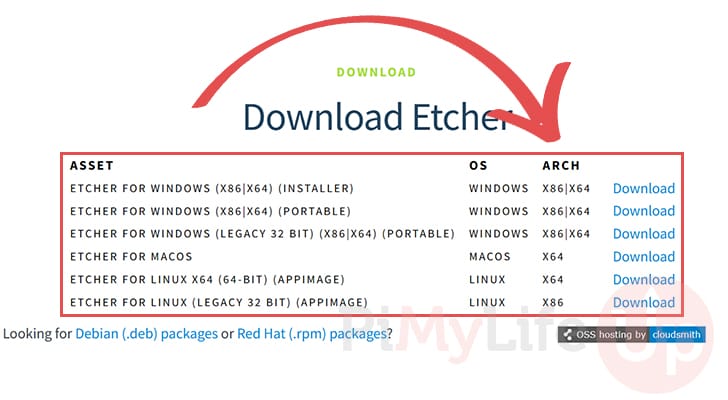
https://etcher.balena.io/2. Once you are on the Balena website, scroll down to the “Download Etcher” header and download the version of the tool for your operating system.
3. After downloading the installer, run it and follow the steps to install balenaEtcher to your device.
We won’t be covering the installation of Etcher as it is a super simple process.
4. Once you have Etcher installed, your next step is to download the Steam Deck recovery image.
To do this we must go to the SteamOS download page linked below.
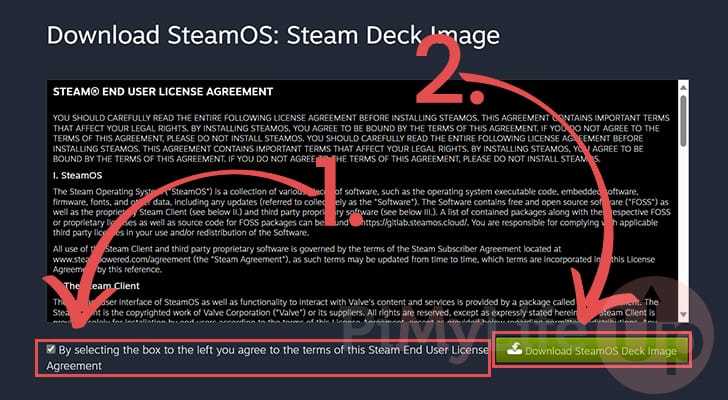
https://store.steampowered.com/steamos/download/?ver=steamdeck&snr=5. On this page, you must agree to the terms and conditions (1.).
After agreeing to the terms, click the “Download SteamOS Deck Image” button (2.). Depending on your internet speed this process can take a few minutes. The image should be about 2.5GB.
Writing the Steam Deck Recovery Image
6. We can put everything together now that you have balenaEtcher and the Steam Deck recovery image.
To begin writing the recovery image to your storage device, open Etcher on your device.
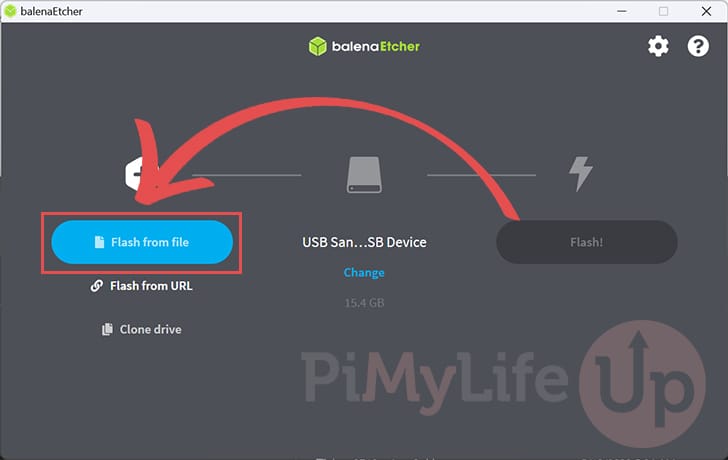
7. Once you have Etcher opened on your device, you will want to click the “FLASH FROM FILE ” button.
This button will bring up a file browser. Use that browser to navigate to where you downloaded the recovery image and select it.
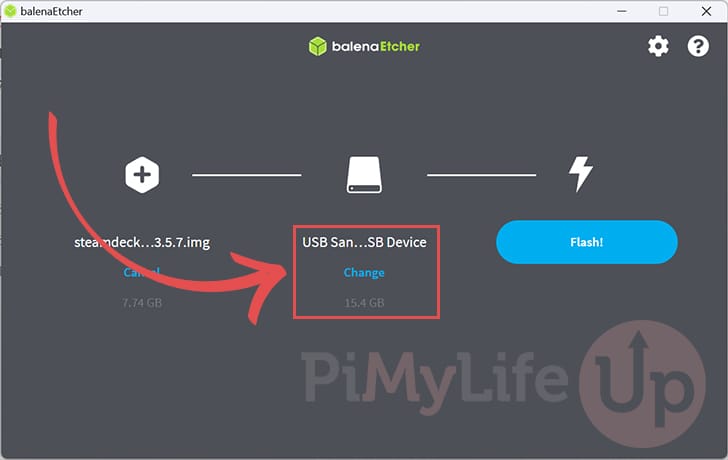
8. Your next step is to select the storage device to write the recovery image to. balenaEtcher will attempt to automatically select a plugged in SD Card or USB storage device.
If the selected drive is incorrect, click the “CHANGE” button to select the storage device you intend on using.
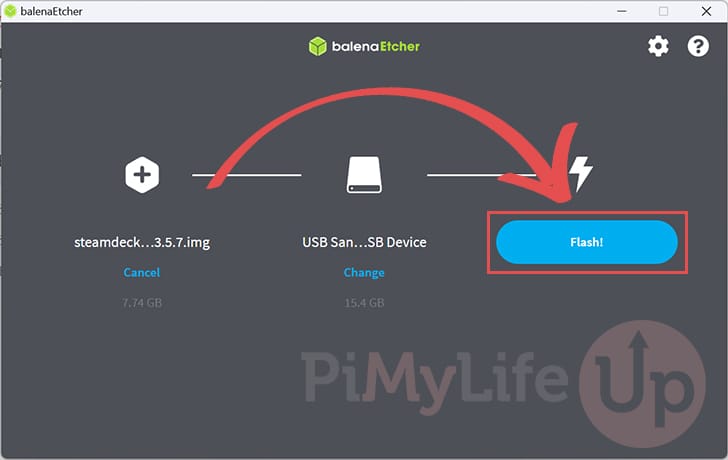
9. Verify that you have selected the Steam Deck recovery image and the correct storage device.
Once you are happy everything is correct, click the “Flash!” button to write the image to your device.
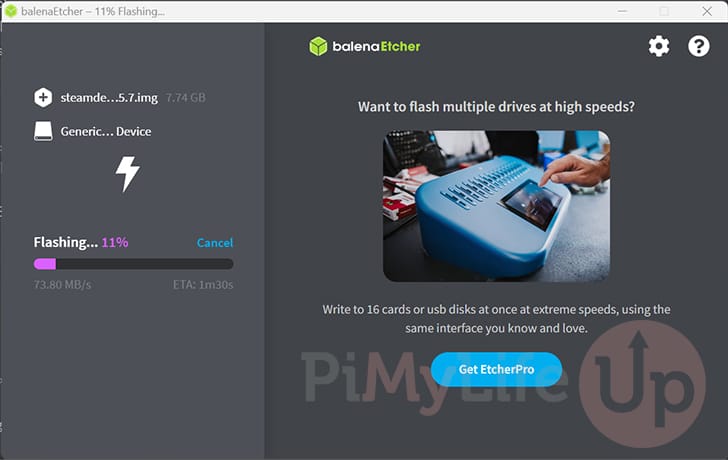
10. balenaEtcher will now write the image to your storage device. Depending on the speed of your device, it might take a few minutes to write the image and verify everything.
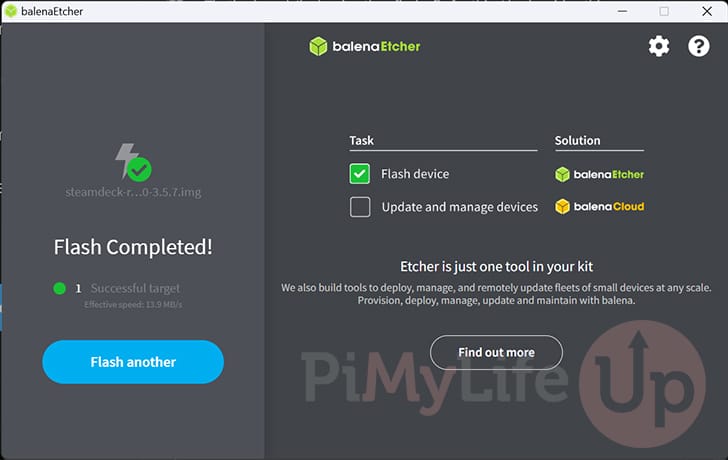
11. Once you see the “Flash Completed!” message you can take the USB drive out and move on.
Booting your Deck into Recovery Mode
12. We are finally at the stage where we can now boot your Steam Deck into recovery mode.
Before we proceed, ensure that your Steam Deck is powered off, and that the USB storage device is attached to your Deck.
13. After ensuring your Steam Deck is powered off, we must boot it into the boot manager. This mode is what will allow us to swap to our recovery image.
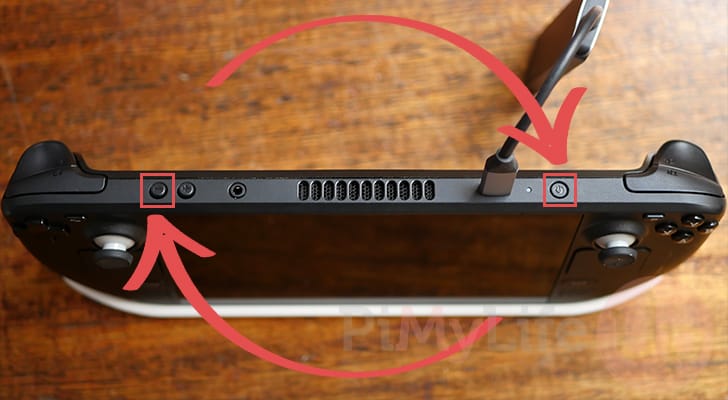
To boot into the boot manager, hold down the “VOLUME DOWN” and “POWER” buttons simultaneously. Let go of the buttons once you hear a chime from your Steam Deck.
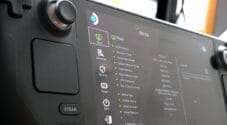
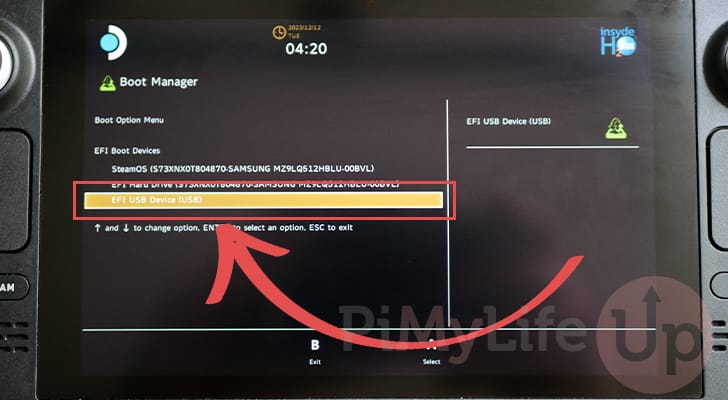
14. After a few seconds you will be greeted by the boot manager.
Find and select the option “EFU USB DEVICE (USB)” within this manager. Once selected press A on your Steam Deck to boot into the recovery mode.
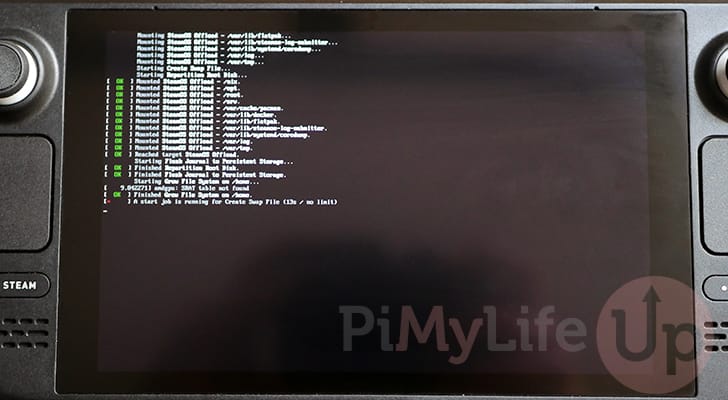
15. Your Steam Deck may take a few minutes to get into recovery mode. it needs to generate things such as the swap file that the recovery operating system will utilize.
The recovery mode on Steam Deck is very similar to desktop mode, but with a few key tools set up.
Exploring the Steam Deck’s Recovery Image
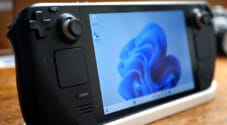
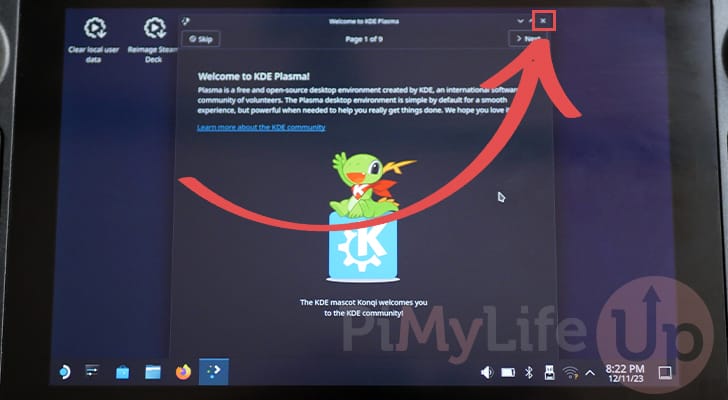
16. Once you get the “Welcome to KDE Plasma!” screen you are now in the Steam Deck’s recovery mode.
You can quit out of this screen by clicking the “X” button in the top-right corner.
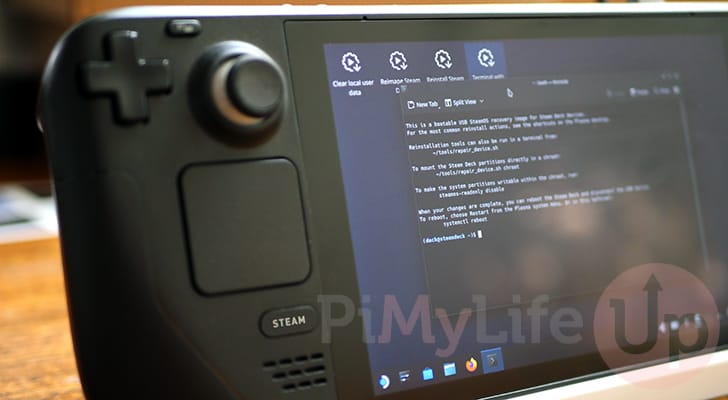
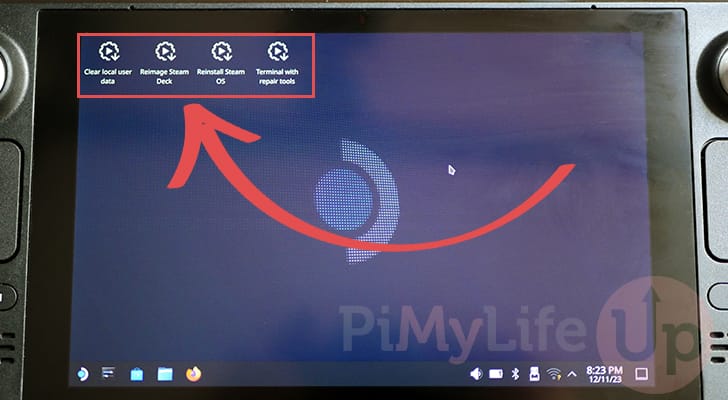
17. On the desktop you will find four icons. Each of these are a shortcut to a recovery option for your Steam Deck.
Let us quickly review these so you can decide your best action for repairing your device.
- Clear local user data: This option doesn’t touch the operating system itself but will remove any changes you have made to your Steam Deck.
Using this option, you will lose all of your games, personal content, and system configurations. - Reimage Steam Deck: If you have tried all other options you can use this one to return your Steam Deck to it’s original state.
By re-imaging you are recovering your Steam Deck back to its original state. You will lose all data as your local user data and Steam OS will be written over. - Reinstall Steam OS: You can also recover your Steam Deck by just re-installing Steam OS.
This option re-installs Steam OS but tries not touch your personal files like your games. You will lose any customizations you have made to the operating system. - Terminal with repair tools: The final easy option the Steam Deck recovery image offers is a list of tools you can utilize within the terminal.
- Only use this option if you know how to repair the problems with your Deck.
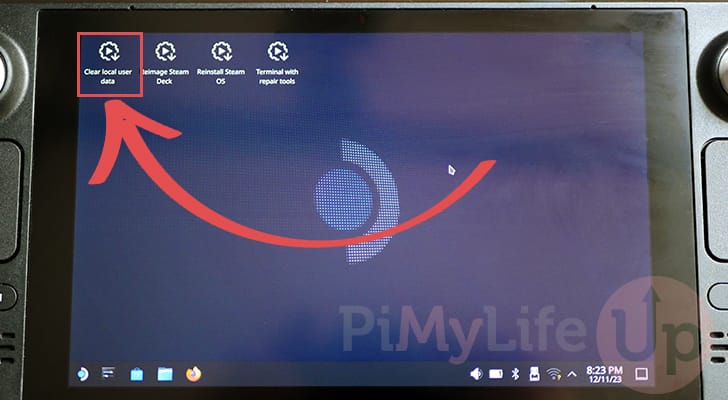
Clear Local User Data
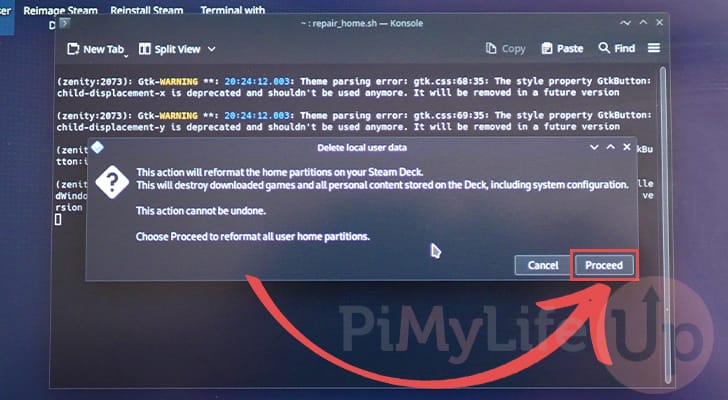
18. To clear the local user data from your Steam Deck, double-click the first icon labeled “Clear local user data“.
19. Before the Steam Deck wipes your home partition you will be greeted with the following warning message.
If you are happy to proceed, click the “Proceed” button.
Reimage Steam Deck
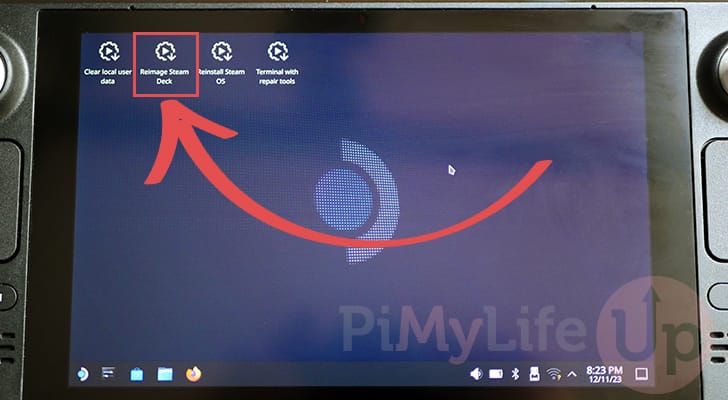
20. If you have decided the nuclear option is theo ne to go with you can completely wipe your Steam Deck and start over by double-clicking the “Reimage Steam Deck” icon.
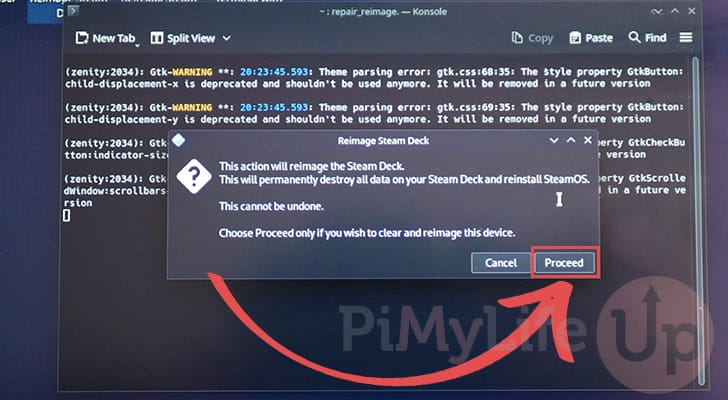
21. You will be greeted with a warning that you are about to permanently destroy all of the data on your Steam Deck.
To recover your Steam Deck by re-imaging, click the “Proceed” button.
Reinstall Steam OS
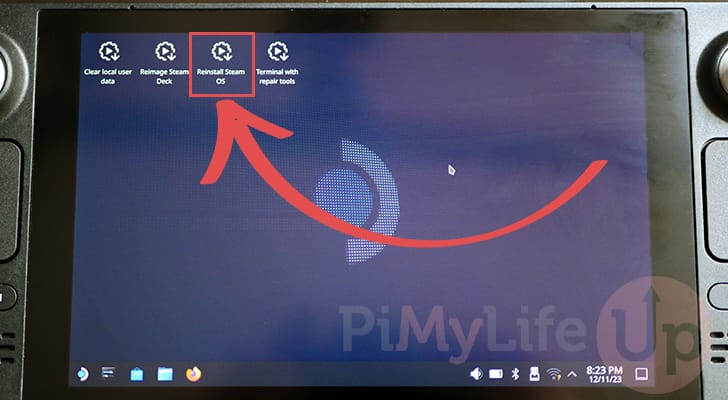
22. Sometimes the problems affecting your Steam Deck from booting are just something going wrong with the operating system.
The recovery mode allows you to re-install Steam OS by selecting the “Reinstall Steam OS” icon.
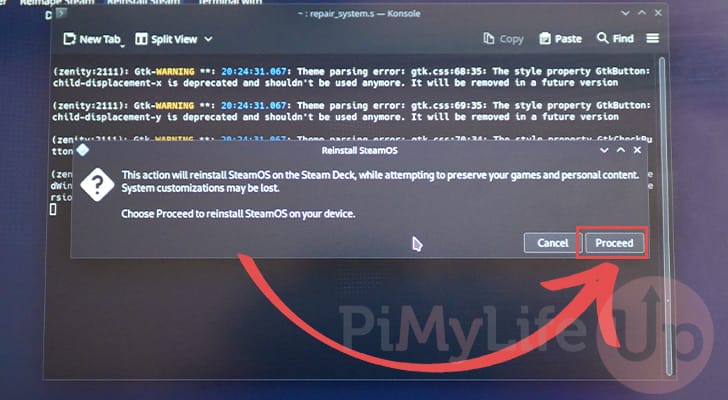
23. With the message below you will be warned how this recovery option will reinstall Steam OS on your Steam Deck.
This method is the least intrusive and will hopefully lead to minimal data loss. To proceed with this recovery mode, click the “Proceed” button.
Terminal with repair tools
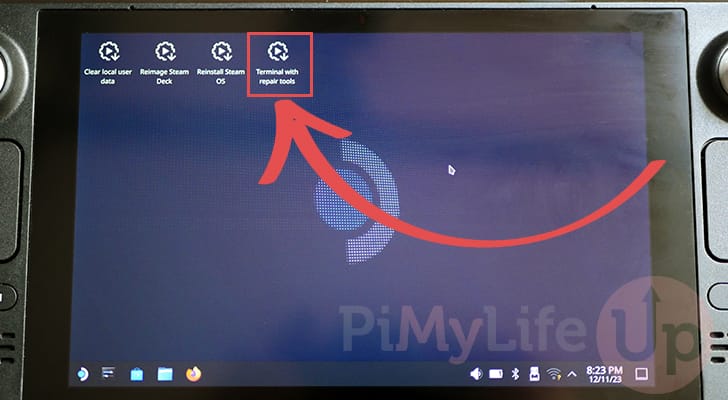
24. The final recovery option available to you is to use the terminal. You can launch the terminal alongside its repair tools by double-clicking the “Terminal with repair tools” option.
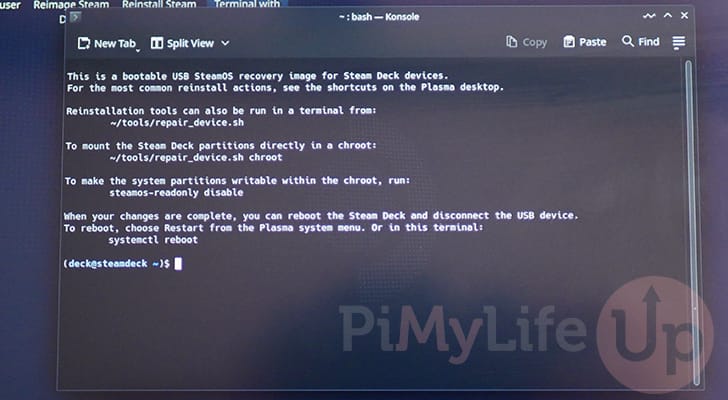
25. Below you can see the message given to you when you launch the terminal while in recovery mode on your Steam Deck.
The terminal will show you a few options to access the actual Steam Deck’s data. You must know how to fix your device manually by using the terminal.
Conclusion
Hopefully, you will now have a good idea of how you can launch recovery mode on your Steam Deck.
Recovery mode is a last resort for fixing your Deck but is one you will be grateful to have access to. This mode runs within its own operating system and can perform multiple ways of recovering your Deck.
Please feel free to leave a comment below if you have any questions or concerns.
If you found this tutorial to be helpful, we highly recommend checking out our other Steam Deck tutorials.