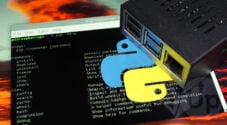
In this tutorial, we will be showing you how you can install PowerShell on the Raspberry Pi.
PowerShell is a powerful command-line shell built to help with task automation by utilizing its scripting language.
While initially developed for Windows, PowerShell has now been ported to multiple operating systems and architectures.
This means that you can even install PowerShell to the Raspberry Pi since it now has support for the ARM architecture. Installing this shell is helpful if you are used to dealing with the PowerShell language.
With support for both 32-bit and 64-bit ARM systems, you can install this regardless of what flavor of Raspberry Pi OS you are using.
Equipment
We utilized the following equipment for this guide on installing PowerShell to the Raspberry Pi.
Recommended
Optional
This tutorial was tested using the latest version of Raspberry Pi OS Bullseye running on a Raspberry Pi 400.
Installing PowerShell on the Raspberry Pi
This section will walk you through the straightforward process of downloading and installing the latest version of PowerShell to the Raspberry Pi.
While this section is completed entirely within the terminal, all these commands are very simple. If you are using Raspberry Pi OS Desktop, you can open the terminal quickly by pressing CTRL + ALT + T on your keyboard.
Preparing the System for PowerShell
1. Before we start installing PowerShell to the Raspberry Pi, we will need first perform an update of the package list.
You can update the package list by using the following command within the terminal.
sudo apt updateCopyA package list contains all the packages you can install to your system and where you can download them.
2. We can now install the three packages we require to set up PowerShell by using the below command.
sudo apt install wget libssl1.1 libunwind8Copywget– We will use the wget command to download the PowerShell package to our Raspberry Pi.libssl1.1– PowerShell relies on libssl to handle its secure connection.libunwind8– This is a library that PowerShell is built upon and is required for it to run.
3. Now, with all of the required packages installed, we can move on to create a directory to store PowerShell.
We will store the PowerShell application within the “/opt/microsoft/powershell/7” directory. Since this doesn’t exist, we can use the mkdir command to create, it as shown below.
sudo mkdir -p /opt/microsoft/powershell/7CopyThe “-p” option tells mkdir to create all parent directories if they don’t already exist.
Downloading and Installing PowerShell to the Raspberry Pi
4. Now that everything is in place, let us begin by using the wget command to download PowerShell 7.2.6. If you want to download a newer version of PowerShell, visit their releases page and find the relevant download.
What command you need to run changes depending on whether you run a 32-bit or 64-bit system.
For 32-bit Operating Systems
wget -O /tmp/powershell.tar.gz https://github.com/PowerShell/PowerShell/releases/download/v7.2.6/powershell-7.2.6-linux-arm32.tar.gz CopyFor 64-bit Operating Systems
wget -O /tmp/powershell.tar.gz https://github.com/PowerShell/PowerShell/releases/download/v7.2.6/powershell-7.2.6-linux-arm64.tar.gz Copy5. Once the PowerShell archive has finished downloading to your Raspberry Pi, we can extract it to the correct directory.
To extract this archive, we will use the tar command shown below. By using the “-C” option, we are extracting the files directly to the directory we created earlier.
sudo tar zxf /tmp/powershell.tar.gz -C /opt/microsoft/powershell/7Copy6. Once extracted, we need to ensure that the PowerShell executable has the “execute” privileges so that other users can utilize it.
Using the chmod command and the “+x” option, we can give all users execute privileges on the “pwsh” file.
sudo chmod +x /opt/microsoft/powershell/7/pwshCopy7. There is only one last task we need to do to make PowerShell easily usable on our Raspberry Pi system.
That task is to create a symbolic link between our pwsh executable and the “/user/bin/” directory. Doing this will allow you to launch PowerShell on your Pi just by typing “pwsh” in the terminal.
sudo ln -s /opt/microsoft/powershell/7/pwsh /usr/bin/pwshCopy8. Now that PowerShell is installed on the Raspberry Pi, we no longer need that archive we downloaded earlier.
Let us use the rm command to delete this archive from the “/tmp/” folder.
rm /tmp/powershell.tar.gzCopyUsing PowerShell on the Raspberry Pi
Now that you have gone through all the effort of installing PowerShell to your Raspberry Pi, you will want to know how to use it.
In this quick section, we will be covering how you can now launch PowerShell from the terminal.
1. All you need to do to open PowerShell on your Raspberry Pi is to type the following command into the terminal.
This command will immediately bring up the PowerShell command line.
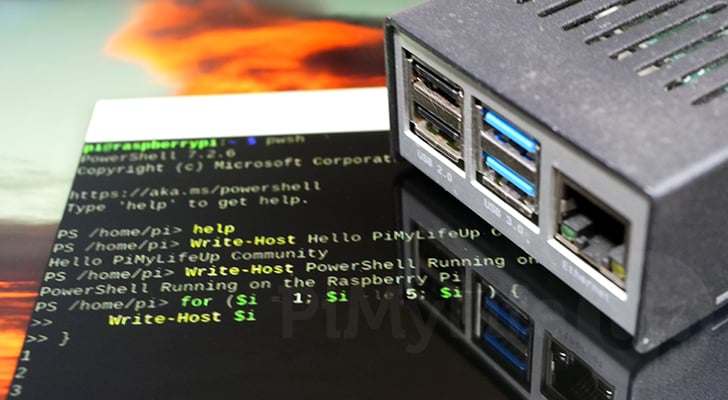
pwshCopy2. Upon launching PowerShell in the terminal, you will be greeted with a message similar to the one shown below.
This indicates that you are now utilizing PowerShell and have full access to all its tools.
PowerShell 7.2.6
Copyright (c) Microsoft Corporation.
https://aka.ms/powershell
Type 'help' to get help.
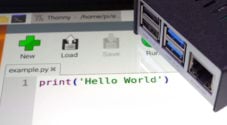
PS /home/pi>Copy3. If you wanted to try out a super simple PowerShell command, try running the following command.
All this command does is write “Hello World” to the command line.
Write-Host Hello WorldCopy4. Once you are done using PowerShell, you will need to type the following command to quit out of it.
You will notice that if you try pressing CTRL + C, PowerShell will capture that input.
exitCopyConclusion
Throughout this guide, we showed how it is possible to install the powerful PowerShell to the Raspberry Pi.
PowerShell is a great command-line shell for those wanting to automate administrative tasks on their system, especially if you already use it in the Windows environment.
Please comment below if you have run into any issues getting PowerShell working on your system.
If you want to learn what else you can do with your device, check out our numerous Raspberry Pi projects.