This tutorial will show you how to use the DALL-E API to generate random AI art from your Raspberry Pi.
AI is a subject that has leaped ahead massively in recent years, in large thanks to groups such as OpenAI.
One massive advantage of these new projects is that many of them allow you to use their networks to perform all sorts of tasks affordably.
A neat feature that has come from all of this is the ability to generate art based on a given prompt. There are numerous APIs that allow this but the one we will be focusing on is the OpenAI’s DALL-E.
You can use the DALL-E AI on your Raspberry Pi to generate an image using the prompt you give it. We chose to use DALL-E as its API is very simple and one we explored in our Raspberry Pi ChatGPT tutorial.
Of course, DALL-E is not free to use, and you can find its pricing by looking at their website. While not super expensive, it can add up if you are trying to generate a large number of images.
The plus side of using the DALL-E API is that you can perform AI tasks that would normally require an expensive GPU to generate. All the computation is handled within their cloud servers so this guide can even run on a Raspberry Pi Zero W,
A potential use case for generating AI images from your Raspberry Pi is to have a dynamic art display that updates regularly.
Equipment
Below you will find a list of the equipment we used when generating AI Images using DALL-E on our Raspberry Pi.
Recommended
Optional
This tutorial was last tested on a Raspberry Pi 5 running the latest version of Raspberry Pi OS Bookworm 64-bit.
Getting your OpenAI API Key to use DALL-E
To use the DALL-E AI to generate images on your Raspberry PI, you will need an OpenAI API key.
These steps will walk you through the process of getting the API key you require.
1. Before generating an OpenAI API Key, you must sign up for an account.
You can create an account for free by going to the platform sign-up page. If you have an account already, you can skip this step and login.
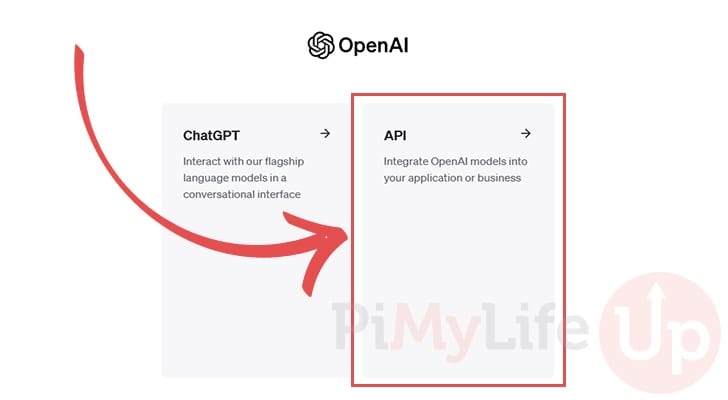
2. After logging in to your account, you must ensure you click the “API” option and not “ChatGPT“.
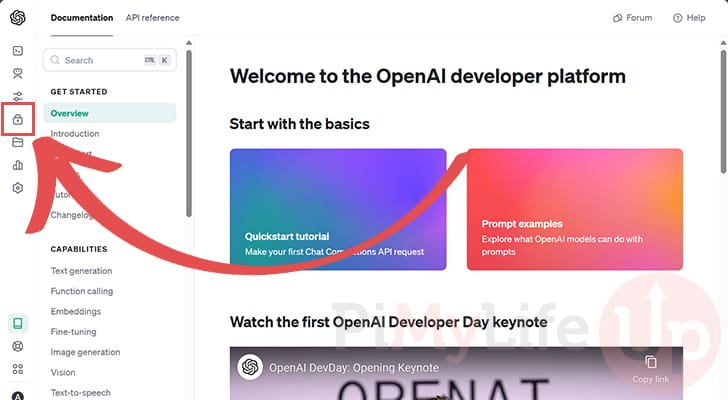
3. Once within the API section, click the “API keys” section in the sidebar. In its collapsed state, this option is also represented by the padlock icon.
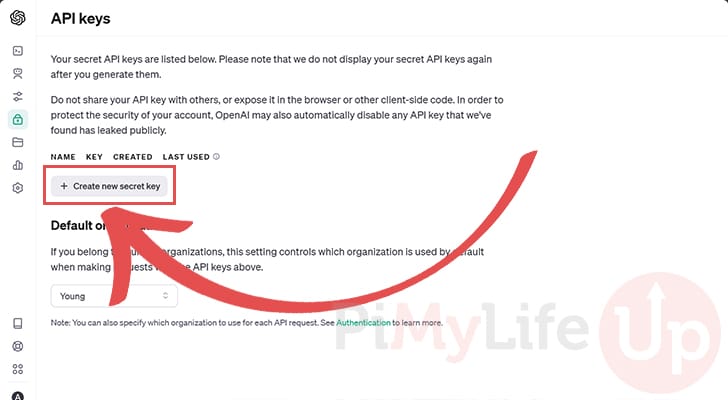
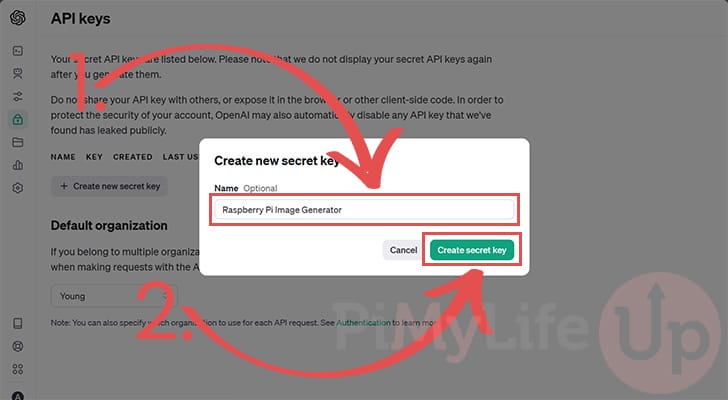
4. Now that your device has the “API Keys” screen open, you must click the “Create New Secret Key” button.
5. You will be prompted to give this OpenAI key a name (1.). This makes the key easier to identify within the interface.
After setting a name, click the “Create Secret key” (2.) button.
6. A potential use case for generating AI images from your Raspberry Pi is to have a dynamic art display that updates regularly.
Ensure you copy the key, as it will not be shown again. After copying the key, you may continue with this guide.
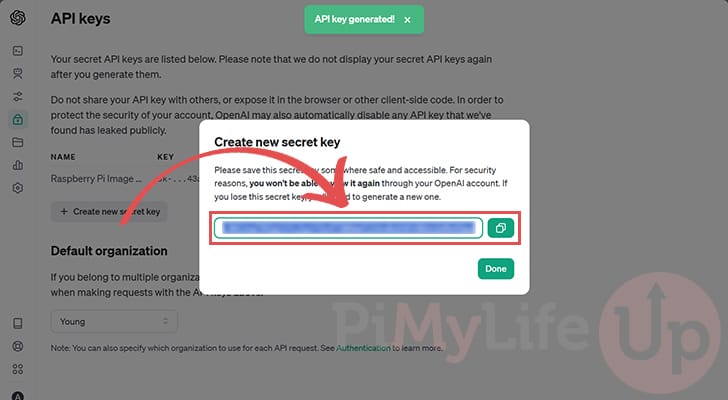
Remember that OpenAI is not a free service. They will sometimes give you a small amount of credit to sample the various AI models they provide. Otherwise, you must set up billing to utilize the service.
Using DALL-E on your Raspberry Pi to Generate Images
In this section, we will show you how to use the AI DALL-E to generate images from your Raspberry Pi.
For this to work, we will write a short script that uses the OpenAI library. This library allows us to easily request generated images with a few short lines of code.
Preparing your Raspberry Pi
1. Before we can write a script to use DALL-E to generate images from your Raspberry Pi, we must make some preparations.
Your first task is to update the package list and any out-of-date packages by running the two commands below.
sudo apt update
sudo apt upgrade -yCopy
2. After the upgrade process, we must install Python, its virtual environment module, and its package manager called “pip“.
You can install these packages by using the following command within the terminal.
sudo apt install python3 python3-venv python3-pipCopySetting up the Python Virtual Environment
3. Now that we have all the packages we need, we must set up a Python virtual environment for our script.
The first part of this task is to create a directory to store both our script and the virtual environment.
With the command below, we use the mkdir command to create a directory called “dalle” in your home directory.
mkdir ~/dalleCopy4. After creating the directory, you will want to change to it by using the cd command.
cd ~/dalleCopy5. Before we can install the OpenAI Python library we must create the virtual environment.
We must create the virtual environment before we can write our script and install the OpenAI Python library.
python3 -m venv envCopy6. Now, we must tell the terminal to use this virtual environment by using the following command.
You must run this command within the “dalle” directory we created earlier. You must also run this command when using your Raspberry Pi’s AI image generation script.
source env/bin/activateCopyInstalling the OpenAI Python Library
7. Now that we are within the virtual environment, we can install the OpenAI Python library.
This library will allow us to easily use DALL-E to generate AI images and save them to our Raspberry Pi.
python3 -m pip install openaiCopyWriting a Script to Generate Images using DALL-E on the Raspberry Pi
8. With everything finally in place, we can move on to writing a Python script that will interact with DALL-E and generate images using its AI.
Thanks to the library we installed earlier, this process is relatively simple.
nano generate.pyCopyWriting the Python Script
9. Within this file, you must enter the following lines. This script is pretty simple, but we will explain each code block as we go along.
Importing the Required Library
a. The first line of this script will import the OpenAI library.
We will use this library to make a request to the DALL-E AI to generate an image, and we will save its result to the Raspberry Pi.
from openai import OpenAICopyb. Next, we must import the “urllib” library.
OpenAI sends the image as a link, so to save the AI-generated image from DALL-E to your Raspberry Pi, we must use this library’s “urltreieve” function.
import urllib.requestCopySetting up the OpenAI Library
c. Our next step is to instantiate the OpenAI library and store its reference in our variable named “client“.
The only thing we need to pass into this function is the key you generated earlier. Ensure you replace “SECRETKEY” with your OpenAI API key.
client = OpenAI(
    api_key = 'SECRETKEY'
)Copy
Writing a Generation Prompt for DALL-E
d. We will next create a variable called “generation_prompt” which we will use to store our prompt for the DALL-E AI. This prompt is what the AI will use to generate the image.
For our example, we will be setting this variable to the text “A white siamese cat“.
generation_prompt="A white siamese cat"CopyMaking the API Call to DALL-E from your Raspberry Pi
e. With everything in place, we can use the OpenAI Library to generate a new image. This function call has a few different things we must specify.
- model: In this guide, we focus on using DALL-E 3 to generate images on our Raspberry Pi. For this reason, we set the model to “
dall-e-3“.
If you want, you can use the cheaper old version by setting this to “dall-e-2“. - prompt: This argument allows you to tell DALL-E what you want to generate an image of, the style you want it to use and more.
In our example, we pass in the “generation_prompt” variable we set earlier in the script. - size: This allows you to set the size of the image. We set ours to “
1024x1024” as it is supported by both models.- For DALL-E 3, the following sizes are supported:
- 1024×1024
- 1792×1024
- 1024×1792
- For DALL-E 2, the following image sizes are supported:
- 256×256
- 512×512
- 1024×1024
- For DALL-E 3, the following sizes are supported:
- quality: For DALL-E 3 only, you can specify if you want “
standard” or “hd” quality.
HD image generations will have better quality with final details. However, HD image generation does cost more. - n: The final option we set here is the number of images to generate for your prompt.
- For DALL-E 3, this value can only be set to
1. You will have to make multiple calls if you want variants for the same prompt. - For DALL-E 2, you can set this between
1and10.
- For DALL-E 3, this value can only be set to
response = client.images.generate(
  model="dall-e-3",
  prompt=generation_prompt,
  size="1024x1024",
  quality="standard",
  n=1
)Copy
Handling the Generated Image
f. After the response from the DALL-E AI image generator, we will want to grab the URL from it and store it in our “image_url” variable.
We will use this URL to download and save the image in our next function call.
image_url = response.data[0].urlCopyg. Finally, to end the script, we use the “urllib” library to retrieve and save the AI-generated image from DALL-E to our Raspberry Pi using the name “image.png“.
urllib.request.urlretrieve(image_url, "image.png")CopyThe Final Script
10. After adding all of the previous lines of code, you should end up with something similar to what we have shown below.
from openai import OpenAI
import urllib.request

client = OpenAI(
    api_key = 'SECRETKEY'
)

generation_prompt="A white siamese cat"

response = client.images.generate(
  model="dall-e-3",
  prompt=generation_prompt,
  size="1024x1024",
  quality="standard",
  n=1
)

image_url = response.data[0].url

urllib.request.urlretrieve(image_url, "image.png")Copy
11. You can now save and quit out of the file by pressing CTRL + X, followed by Y, then ENTER.
Testing your AI Image Generating Script
12. With the script written, we can now run it to generate an AI image and save it to our Raspberry Pi.
The script will use the prompt you defined to request a new image from OpenAI.
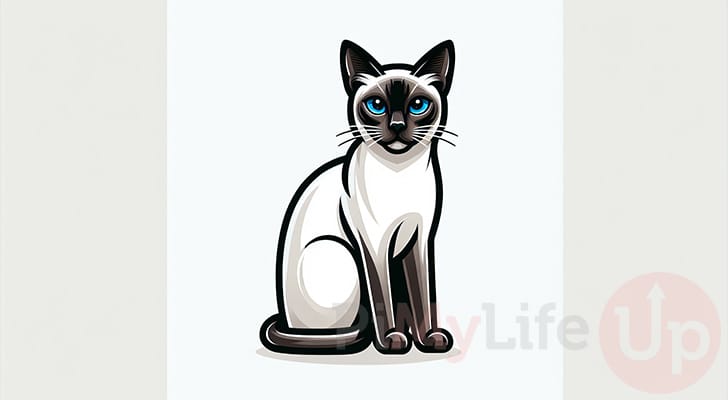
python3 generate.pyCopy13. After image generation has been completed, you will end up with a file called “image.png” within the same directory as the script. This image is the one generated by DALL-E and saved to your Raspberry Pi.
Below is an example of an image generated after using the prompt “A white siamese cat“.
Conclusion
At this stage, you should now have a good understanding of how you can generate AI art from your Raspberry Pi.
To achieve this, we make use of OpenAI’s DALL-E. We utilized DALL-E as it is super easy to hook into and is regarded as one of the better image generators.
Please feel free to leave a comment below if you have any issues with getting this script to work.
If you found this tutorial to be helpful, be sure to check out our many other Raspberry Pi projects.