This tutorial will show you how to edit the hosts file on macOS.
The hosts file is used by macOS when it performs a DNS lookup on your device. This file maps a hostname to an IP address without the system having to perform a DNS lookup.
If a domain name is present within the hosts file, Mac will use the IP defined within that file.
Using this file is helpful in many cases, such as giving a local web server a hostname. We modify
Over the following sections, you will learn where to find the hosts file on your Mac and how to edit it using the terminal.
Please note you will need to be an administrator on your Mac device to be able to edit this file.
Format of the Hosts File on macOS
Before editing the hosts file on Mac, you should understand how each line is formatted.
Below, you can see how each line within this file should be formatted. Every new hostname you want to be overridden needs to be on a separate line.
IPADDRESS HOSTNAME [HOSTNAME ...]You must specify two values when defining a new host within the hosts file.
- The first value must always be the IP address (
IPADDRESS) you want the following hostname’s directed. - All values specified after the IP Address are the hostnames (
HOSTNAME) that you want to be pointed to the specified IP.
You can specify multiple hostnames for the one IP address, separate each with a single space and keep them on the same line.
Editing the Hosts File on Mac
With an understanding of how entries in the hosts file are formatted, we can move on to editing the file on Mac.
You can find the hosts file on Mac within the “/etc/” directory at “/etc/hosts“. This file can only be edited by an administrator.
1. First, you will want to open the terminal on your macOS device.
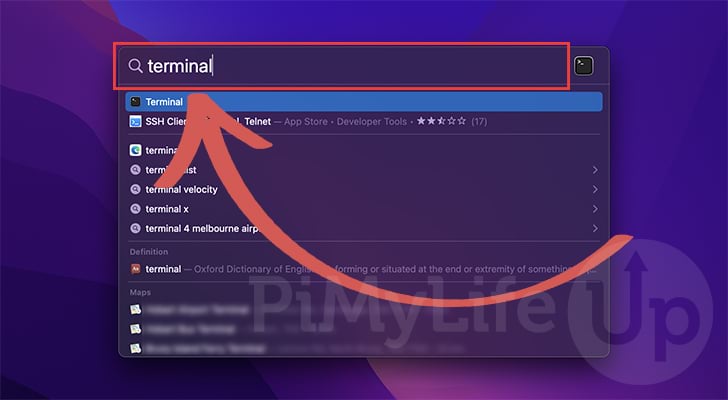
The easiest way to open the terminal is by using Spotlight. Press COMMAND + SPACEBAR to open Spotlight.
With Spotlight open, you will need to type in “terminal” and then press the ENTER key.
2. With the terminal open on macOS, we can now edit the hosts file.
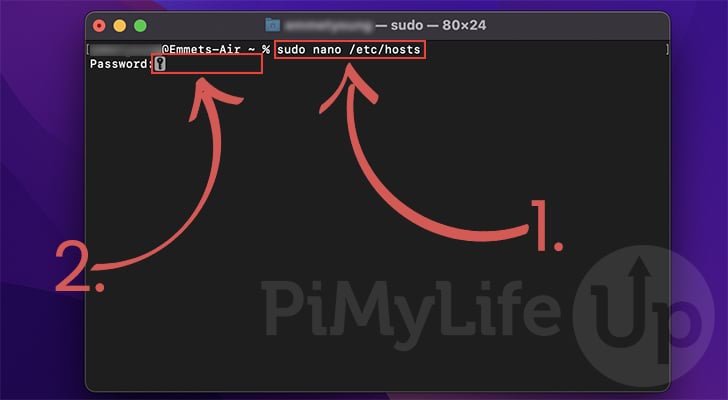
You can begin editing the hosts file by using the following command within the terminal (1.). We use the nano text editor as it is one of the most straightforward terminal text editors to use.
sudo nano /etc/hostsCopyAfter typing in this command, you will be required to enter the password for your account (2.). The password won’t show as you type.
3. You now have the hosts file open on macOS and can now add your own entries.
Before we add a new entry, let us take a quick look at the default contents of this file. These lines set up the loopback address that is utilized by the system.
Ensure you don’t change any of these default lines within the hosts file, as they are critical to how macOS operates.
##
# Host Database
#
# localhost is used to configure the loopback interface
# when the system is booting. Do not change this entry.
##
127.0.0.1 localhost
255.255.255.255 broadcasthost
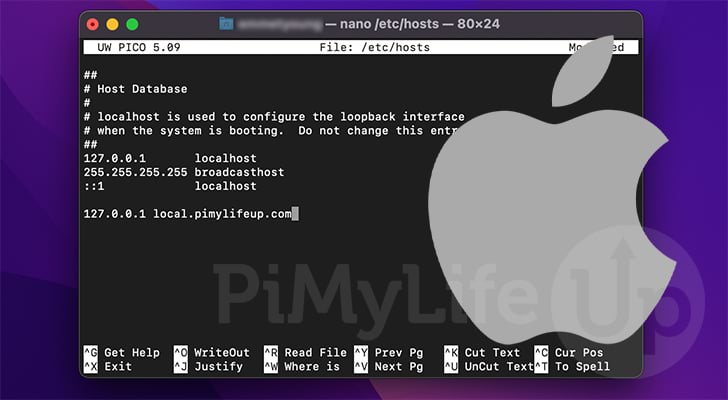
::1 localhost4. All new additions to the hosts file on macOS should be placed on a new line at the bottom of the file.
As mentioned earlier in this guide, an entry within the hosts file must include an IP address followed by a hostname.
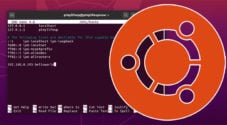
Let us point the hostname “local.pimylifeup.com” to the local IP address “127.0.0.1” to showcase this.
127.0.0.1 local.pimylifeup.com5. After adding your new entry to your Mac’s hosts file, it will end up looking a bit like what we have shown below. With this example, you can see what a properly formatted hosts file should look like.
##
# Host Database
#
# localhost is used to configure the loopback interface
# when the system is booting. Do not change this entry.
##
127.0.0.1       localhost
255.255.255.255 broadcasthost
::1             localhost

127.0.0.1 local.pimylifeup.com
6. Once you have finished editing your hosts file, you can save and quit by pressing CTRL + X, followed by Y then the ENTER key.
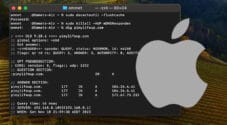
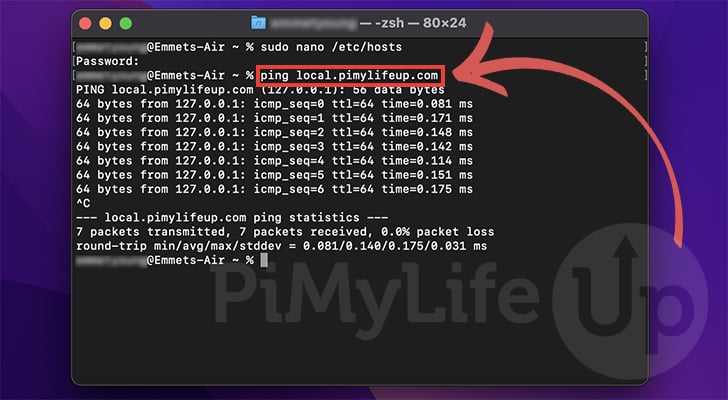
7. To test that your new entry within the hosts file works, you can utilize the ping command.
An example of using the ping on your new entry is the following.
ping local.pimylifeup.comCopy8. By utilizing the above command, you can see that your Mac device tried to ping the IP address you set within the hosts file.
Conclusion
By this point in the tutorial, you should now have a good understanding of how to edit the hosts file on Mac.
The hosts file allows you to override DNS lookups on your Mac device.
Please comment below if you have any issues editing the hosts files on your system.
If this tutorial helped you, be sure to check out our other Mac tutorials.