This tutorial will show you how to flush the DNS Cache on macOS.
Almost every operating system, including macOS, maintains its own DNS cache. It does this to improve the speed of website access by saving the need to continually look up that domain name.
DNS stands for Domain Name System and is used to resolve a domain name such as “pimylifeup.com” to an IP address like “192.168.0.1“.
The reason for this is that computers don’t connect using domain names. However, IP addresses aren’t the most user-friendly thing to remember. It is much easier to remember “pimylfeup.com” than a string of numbers.
Every time you connect to a website, your Mac has to look up that domain name to resolve it to its IP address. To speed this process up, macOS implements a DNS cache. With the cache, your Mac can complete the DNS lookup in nanoseconds rather than milliseconds or, with a slow request, seconds.
Problems occur at the DNS Cache on macOS when the IP Address it has cached is no longer available or has changed, or in the worst case, if a bad IP address has been inserted into the cache.
To resolve these issues, we can flush the DNS cache on our macOS. This forces the system to fetch a new IP address for every domain name request.
There aren’t any real downsides to flushing the DNS cache, so it is a task you can perform without worry. Initial requests may take a little longer to complete before the request is cached again.
Flushing the DNS Cache on your Mac
In this section, we will be walking you through the process of flushing the cache on your macOS system.
These steps are pretty simple, but you will need to use the terminal on your system to perform them. There is no desktop option for clearing the DNS cache, but even those unfamiliar with the terminal will find this process super straightforward.
Opening the Terminal
1. As mentioned previously, we will need to use the terminal to clear the DNS cache on our Mac.
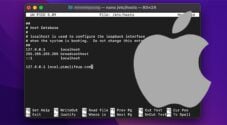
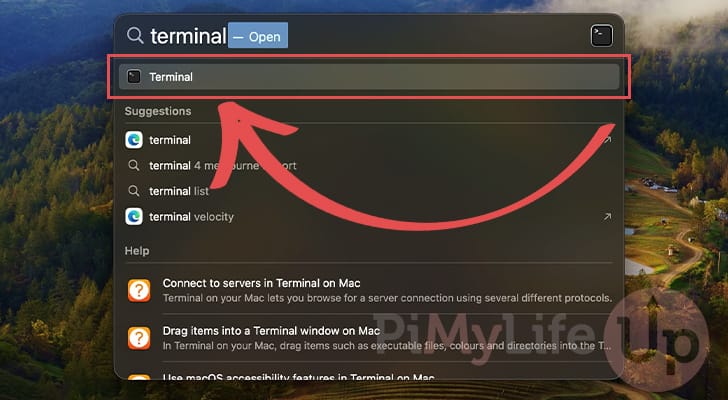
To open the terminal, press COMMAND + SPACEBAR on your Mac to open Spotlight.
After opening up Spotlight, you will want to type “terminal” into the search bar.

2. After you type in “terminal“, the system will automatically find the “Terminal” application.
To open the terminal, all you must do is press the ENTER key. Alternatively, you can click the “Terminal” entry.
3. Now, you should have the terminal open on your Mac and can proceed to clear the cache.
Flush the macOS DNS Cache
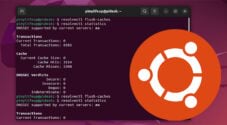
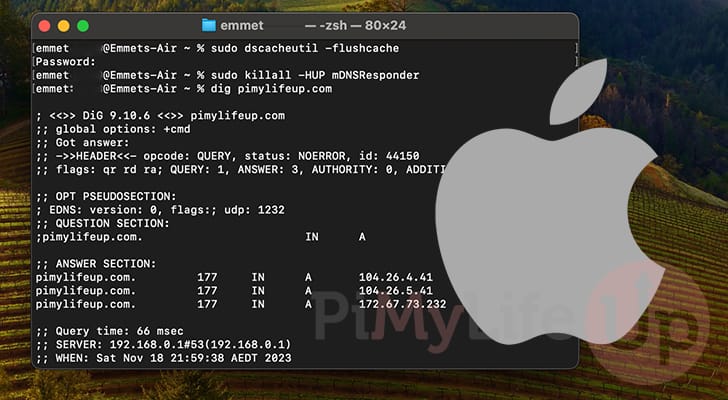
4. Our first step is to use the “dscacheutil” tool to flush the DNS cache on our macOS system.
To do this, we must use the following command within the terminal. The “-flushcache” option is the crucial part with this command. This option is what tells the tool to clear the DNS cache.
sudo dscacheutil -flushcacheCopySince clearing the DNS cache requires us to be a privileged user, we start this command with “sudo“.
You will be prompted to type in the password for your account. After typing it in, press the ENTER key. Please note that the terminal won’t show any indicators for your password, not even asterisks (*).
5. After flushing the DNS cache on a Mac, it sometimes helps to restart the DNS responder. This is an essential part of the system and helps handle DNS requests.
By forcing this service to restart, we can ensure it hasn’t cached any DNS information.
Luckily, we can use the terminal command below to restart the mDNSResponder service.
sudo killall -HUP mDNSResponderCopyBy using “-HUP” we are sending the “hangup signal“. This particular signal tells a process to restart and re-read its configuration.
6. You should now have successfully run a flush of the macOS DNS cache.
Try connecting to the website you were having issues with previously to see if the problems are resolved. If you are still facing issues, the next thing you should try is adjusting your DNS Provider.
Conclusion
Hopefully, at this point in the tutorial, you will now have a good understanding of how you can flush the DNS cache on macOS.
By flushing the DNS cache, you can help resolve issues with connecting to websites. If the problem persists, you may consider changing your DNS provider. Check whether the website you are trying to connect to is online.
Please feel free to leave a comment below if you have any questions about clearing the DNS cache on a Mac.
If you found this tutorial to be helpful, be sure to check out our numerous other macOS tutorials.