In this tutorial, we will take you through the basics of setting up Netatmo products in Home Assistant.
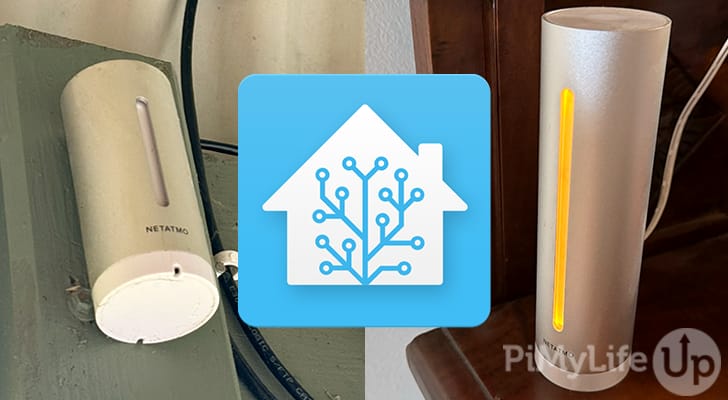
Netatmo is a company that produces a range of smart home products. They have many products, such as weather stations, switches, roller shutters, and more. You can integrate most of their devices into Home Assistant, but they require a connection to the cloud.
You can do quite a bit with the Netatmo devices you import into Home Assistant. For example, you can build a fancy dashboard to display all the data gathered from your devices. You can also automate switches, shutters, thermostats, and more.
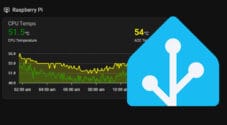
Before you start this tutorial, you must have Home Assistant set up on a device such as a spare computer or a Raspberry Pi.
This integration requires a connection to the cloud. If this requirement bothers you, look into other products that do not require a connection to the internet.
Netatmo Products Usable within Home Assistant
As I mentioned, Netatmo has a range of products you can integrate into Home Assistant. I only own the weather station, so this tutorial will focus on configuring that. However, configuring the other products should be similar.
Below are the different types that are available to use within Home Assistant. For more information on each type, please read the official documentation.
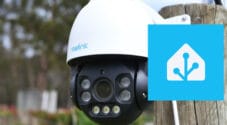
Using the camera integration, you can connect Netatmo’s smart indoor and outdoor cameras. The doorbell will require additional configuration to get it to work.
You can view and control the current temperature from the Netatmo Thermostat, Smart Modulating Thermostat, and the Smart Radiator Valve using the climate integration.
The Bubendorff shutters can be controlled using the Netatmo cover platform.
Using the light integration, you can view and control the flood lights on the Netatmo Smart Outdoor Camera. It also has support for the Legrand dimmers.
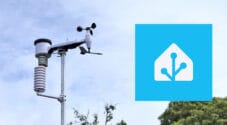
The Netatmo weather station, indoor air quality monitor, and public weather stations will use the sensor integration. These sensors will display temperature, humidity, and more.
Lastly, the switch integration allows you to control Legrand switches and power plugs.
The list above may change over time, so if you have Netatmo products that you would like to use that are not mentioned above, simply follow the instructions below. If they are supported, they should appear within Home Assistant.
Setting up the Netatmo Integration
The steps below will take you through setting up the Netatmo integration in your Home Assistant installation.
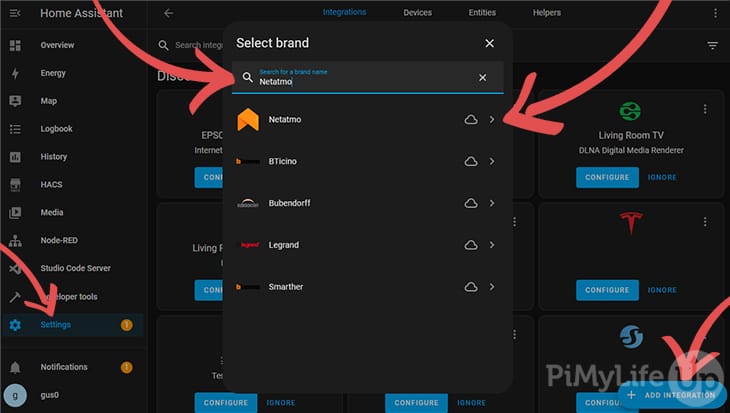
1. Open Home Assistant in your web browser and click on the settings tab.
On this screen, click “Add Integration” and search “Netatmo“. Click “Netatmo“, which will redirect you to the Netatmo website to login to your account.
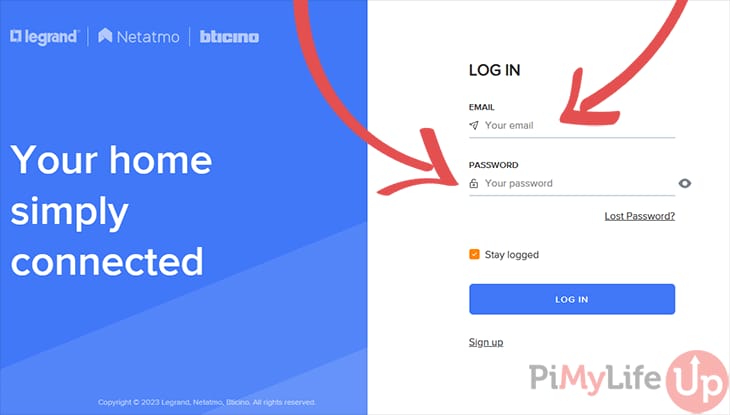
2. Login to your Netatmo Account before proceeding.
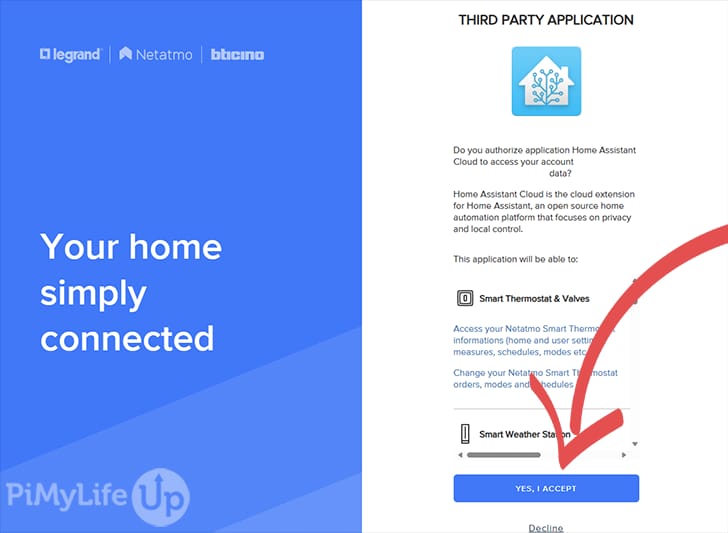
3. You must now authorize your Home Assistant application to access your Netatmo data. You will need to accept to proceed with the next few steps.
4. Return to the Home Assistant tab to see a success popup. You can assign each of the Netatmo devices to an area if you wish to do so.
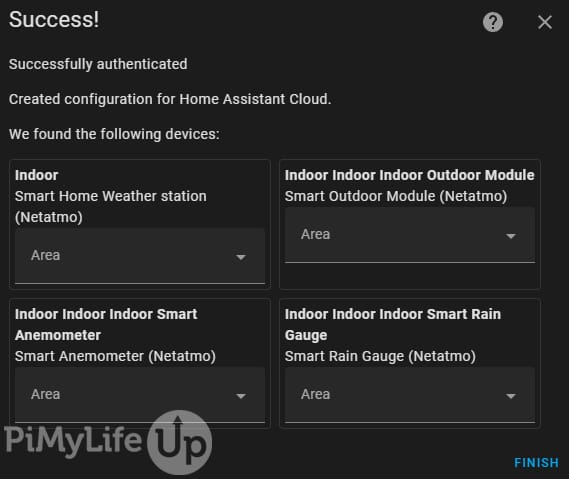
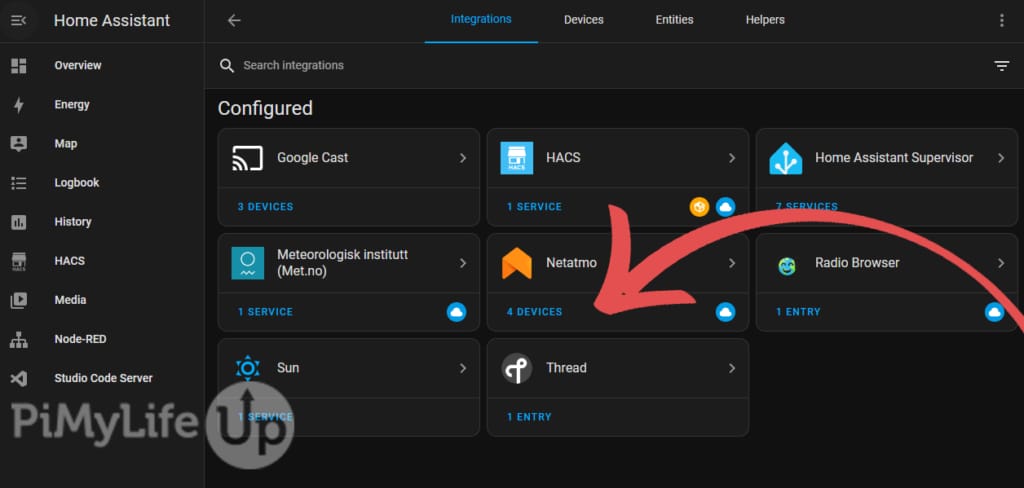
5. You should now see Netatmo as a configured integration on the integrations page. If you click “x Devices“, you can see each device Netatmo has imported.
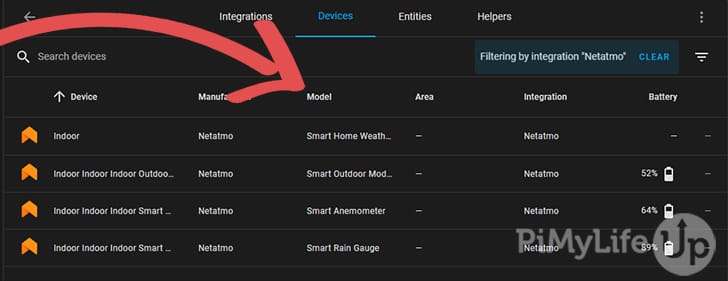
As you can see in the screenshot below, I have four devices. The device names are not great, but you can see the actual device in the model column.
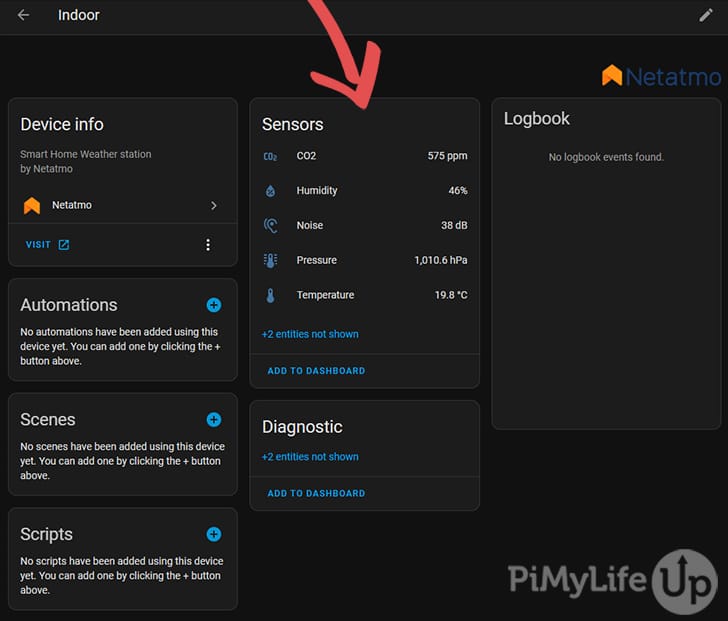
If you click on the device, you can see the sensors that the device is outputting. For example, our indoor weather station displays CO2, Humidity, Noise, Pressure, and Temperature.
6. If we go back and select a different Netatmo device. You can see the name is not ideal for quick identification. For example, our Smart Outdoor Module has the name “Indoor Indoor Indoor Outdoor Module“.
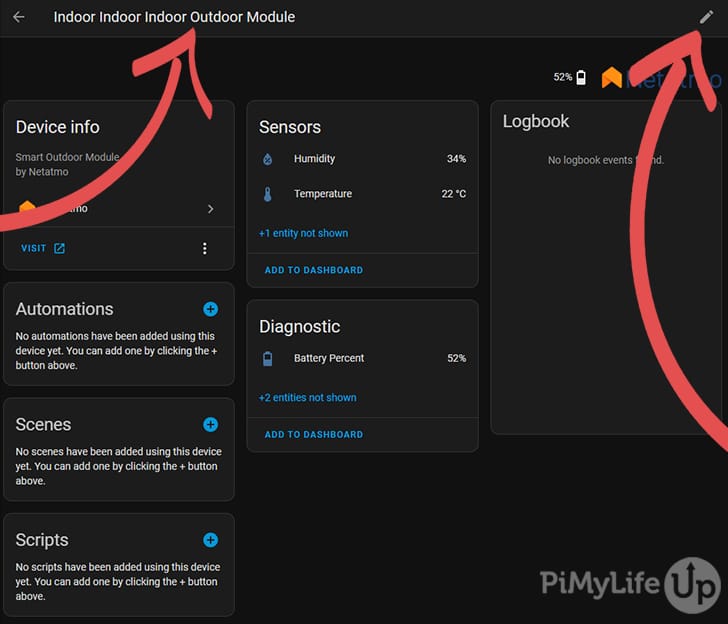
To correct the name, click on the edit icon in the top right corner and update the name to something easier to understand.
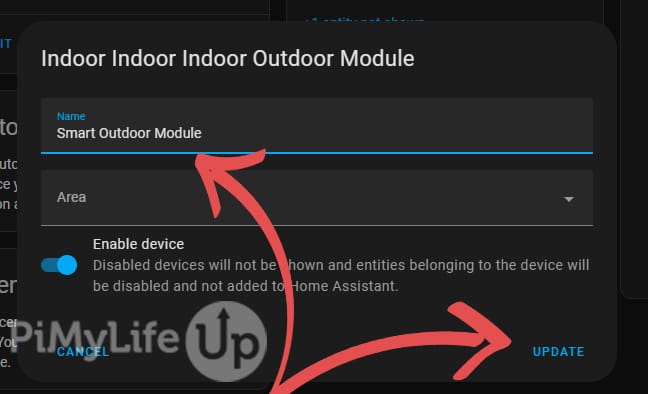
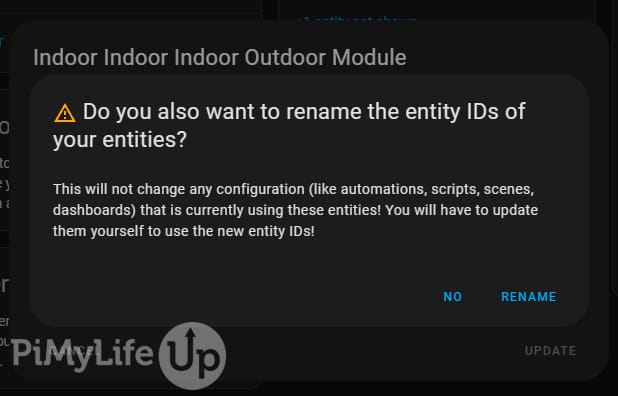
You can also have the Home Assistant rename the entity names for easier identification. However, I prefer to keep the entity names the same, so I typically click “No“. However, if you feel comfortable with new entity names, click on “Rename“.
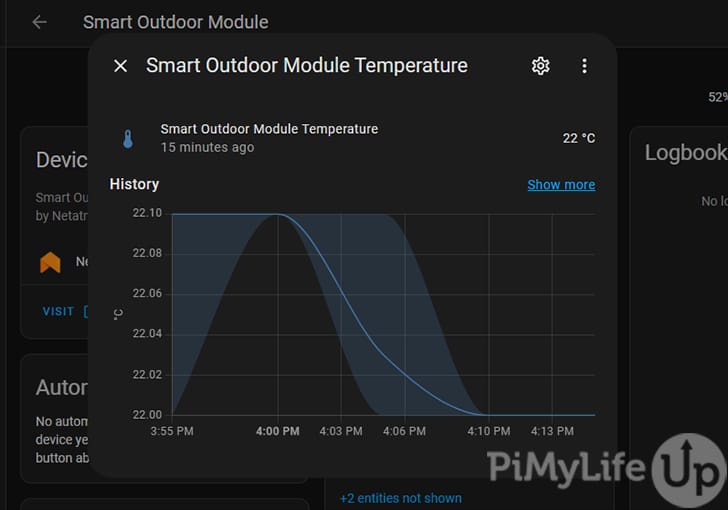
7. Your Netatmo devices should be imported into Home Assistant and collecting data from the cloud. You can check this by clicking on one of the sensors. For example, below is our Smart Outdoor Module Temperature.
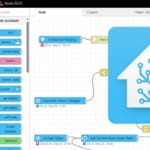
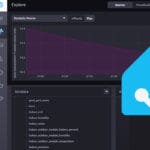
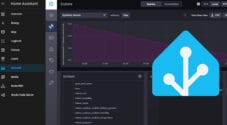
8. You can now use these sensors to build a custom dashboard that displays the data from your Netatmo devices. Many custom frontend modules can help you display the data in the clearest and most beautiful way possible.
In the example below, we use a mini graph card, a rain gauge card, and a wind compass card. These are custom frontend modules that will need to be installed using HACS.

Conclusion
I hope you now have your Netatmo devices set up and accessible within your Home Assistant installation. Despite relying on the cloud, I have had a good experience with my Netatmo weather station data in Home Assistant. However, I cannot say for their other products as I do not own any of them.
I recommend checking out some of our other tutorials if you enjoyed this Home Assistant tutorial. We are constantly working on more tutorials and are always open to ideas on what to cover.
Please let us know if you need any help or feedback regarding this tutorial by commenting below. We may not respond, but we are always reading the comments.
Hi,
Also started with Netatmo and a tablet in my living room. Also installed the Hacs addon but could you please share the code for the editor? Cannot find the view in your tutorial.
Thanks!
Hi Janus, this tutorial relies on the core integration and not the HACS version. The core integration does not require any code for the editor.
Hello
can you share wich code u use with In a mini graph card, a rain gauge card, and a wind compass card.
yours looks nice how did you set it up,
The code below is what I currently use to present the data. As mentioned in the tutorial, you will need a few integrations to achieve the same result.