In this tutorial, we go through the steps of adding and configuring the Reolink integration in Home Assistant.
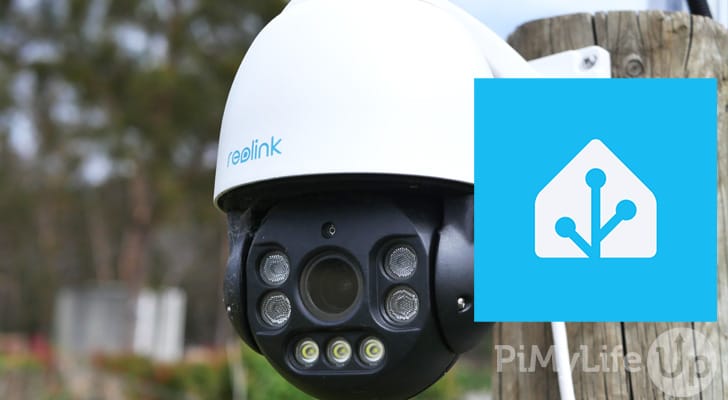
Reolink is a popular security camera brand. They are known for their affordability, reliability, and being easy to setup. Unlike some security cameras, you can view and access the camera feeds locally without logging in to a Cloud account.
Adding cameras to Home Assistant can help you monitor your property and automate different devices. For example, you can check a camera for motion and turn on a light. Some cameras also have human and car detection, which is useful when handling certain automations.
It is important to note that Home Assistant is not an NVR (Network Video Recorder). If you require an NVR, look into Frigate or something similar. You can also integrate Frigate into your Home Assistant installation.
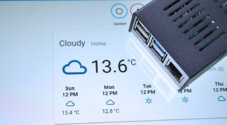
To complete this tutorial, you will need to have Home Assistant setup and be able to access the admin tools. I recommend setting Home Assistant up on a Raspberry Pi or a spare computer. You will also need to have at least one Reolink camera.
Configuring the Reolink Cameras
In this section, we go through the steps to configuring the Reolink cameras so you can integrate them into Home Assistant. You can skip this section if you know your camera’s IP addresses, HTTP/HTTPS is enabled, and you know the login details.
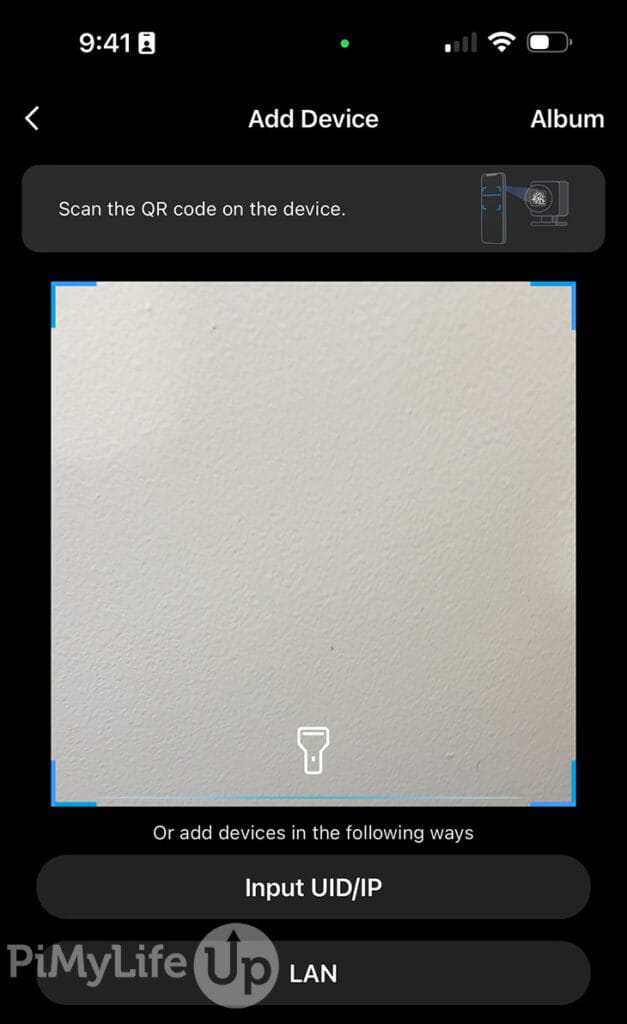
1. There are two easy ways you can connect to your Reolink cameras and make changes. The first is to download the Reolink app on iOS, Android, Windows, or Mac. Alternatively, you can connect to the camera in a web browser.
The apps are the easiest as they can find your camera using a QR code located on the device. Otherwise, you can enter the camera’s IP Address. Using the app will get you to set a password before proceeding with the device configuration.
Alternatively, if you already know the camera’s IP, you can log in using the web browser. For example, my camera’s IP is 192.168.0.213. So, by going to this IP address, I will get a login screen like the example below.
The login screen may be different depending on the camera’s software version.
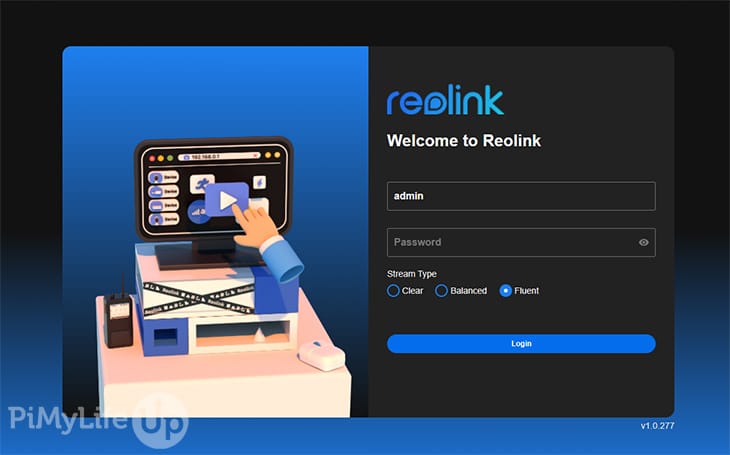
2. Now log in to the camera. If you haven’t set a password, the username will be admin, and do not enter anything for the password.
3. It is good practice to set a password on anything someone can access remotely. So, if you have not already, set a password by clicking on the cog.
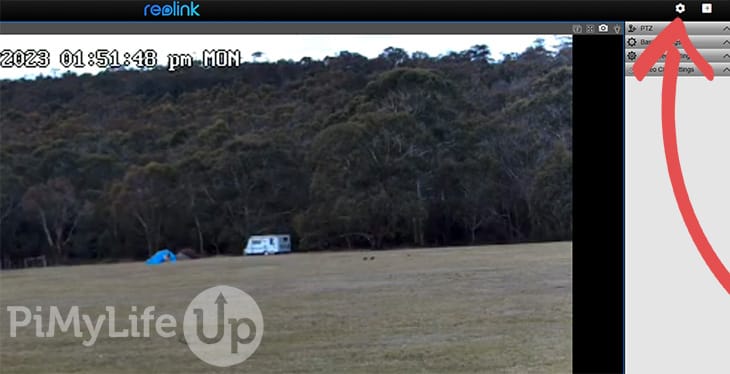
Now Navigate to “Advanced” on Mobile or “System” on desktop. Next, click on “User Management“.
On the administrator user, click change password and update it to a secure password. I recommend storing passwords securely using Nordpass (Affiliate Link), 1Password, or something similar.
If you prefer not to use the administrator account, you can create a new separate user for use in Home Assistant. A user’s account functionality is a bit more restricted.

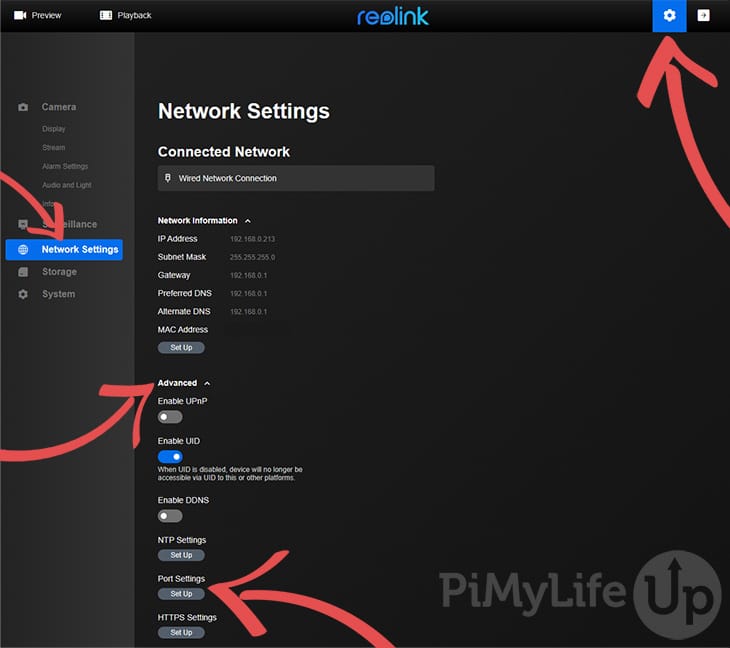
4. This step will require you to use the Windows or Web client as these settings are not viewable within the Android and iOS applications.
Inside your camera settings page, click on “Network Settings“, “Advanced“, and lastly click on “Port Settings“.
On this page, ensure that RTMP, HTTP, and HTTPS are enabled. Depending on your model, you may experience issues if any one of these is not enabled.
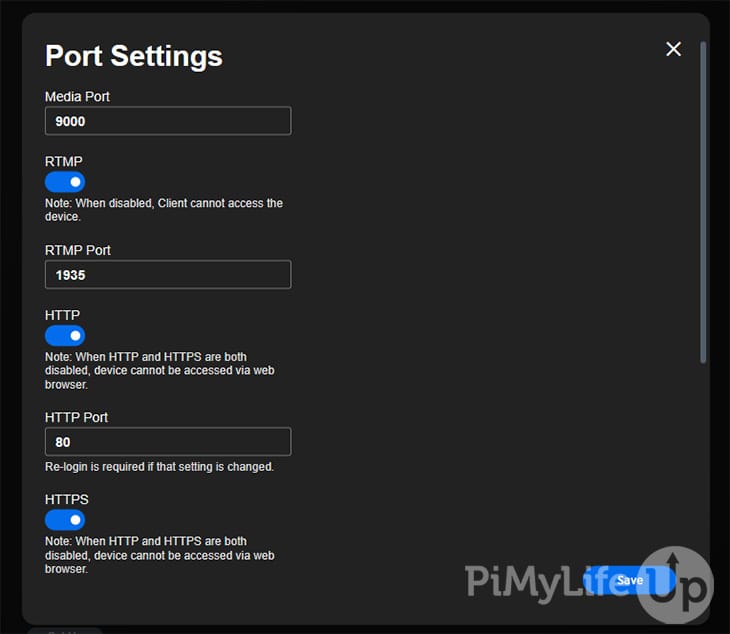
Once done, click on save, and the camera will restart, and the changes will take effect.
5. That should be all the configuration that you will need to do within the Reolink camera.
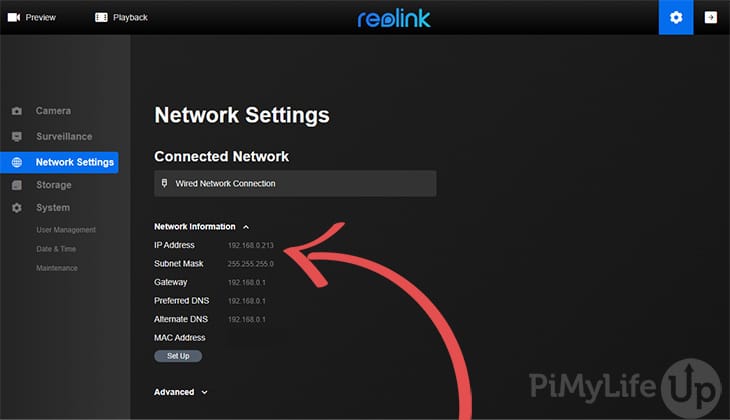
You should also ensure the camera has a static IP. You can typically set a static IP within your router or DHCP (Dynamic Host Configuration Protocol) server. You can find the camera’s current Mac Address and IP Address on the network settings page.
Setting up Reolink in Home Assistant
In this section, we will take you through adding your configured Reolink cameras into Home Assistant. For a smooth experience, please ensure your cameras have a static IP and have RTMP, HTTP, and HTTPS switched on.
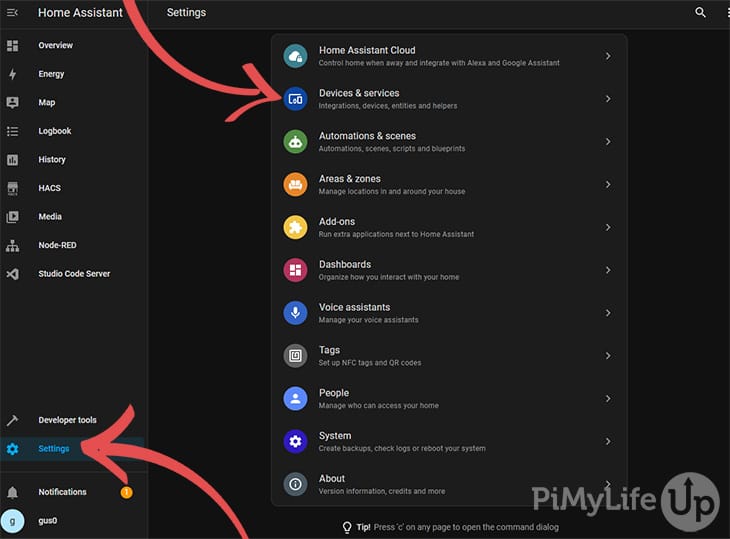
1. In your Home Assistant installation, go to the settings tab and click “Devices & Services“.
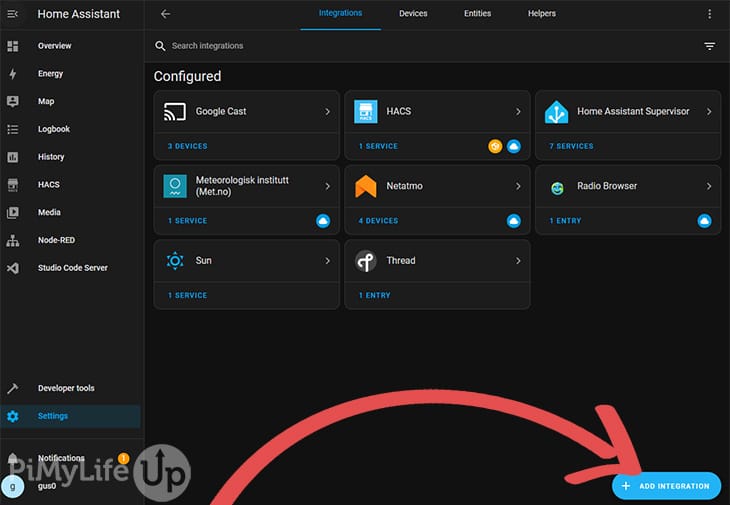
2. On this page, you may already see your Reolink Cameras. If you can see your camera, click on “Configure“.
If you cannot see your cameras, you will need to click on “Add Integration“.
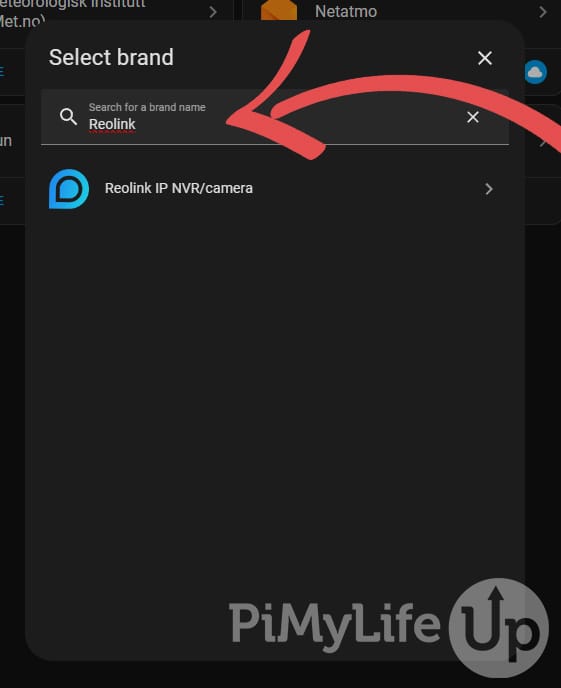
In the pop-up screen, search for the Reolink integration by scrolling or searching for Reolink. Once you find it, click on the integration.
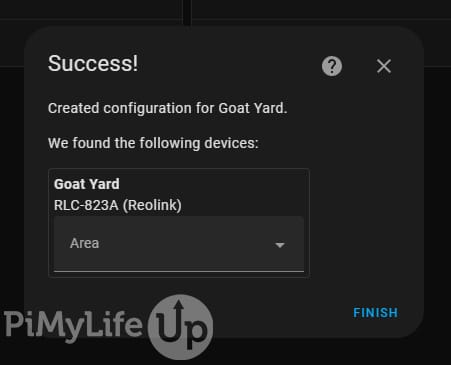
3. In the pop-up, enter the details of your camera. You should have all this information available if you followed our previous section on configuring the Reolink cameras.
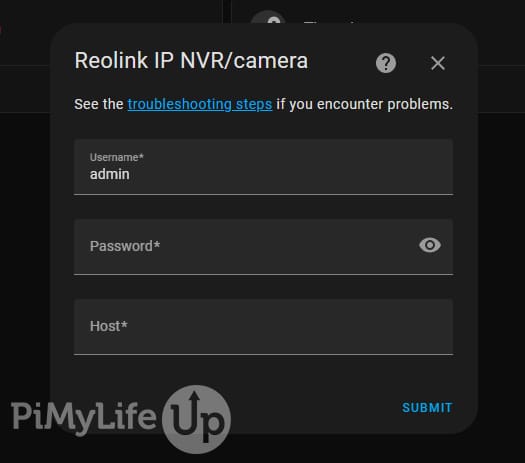
You should see a success message if Home Assistant successfully connects to the camera. At this point, you can add the camera to an area; otherwise, click “Finish“.
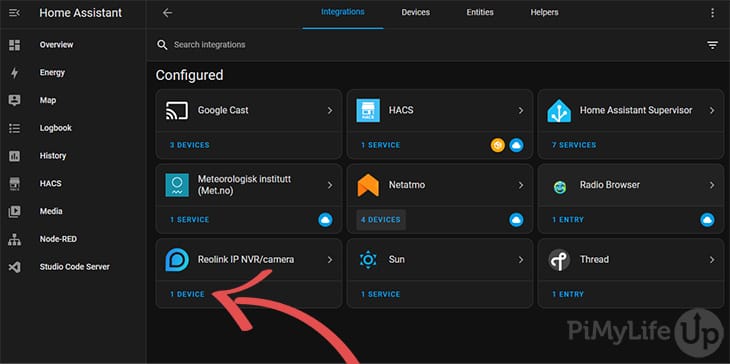
4. To view the Reolink camera we just added to Home Assistant, click on “x Device” under the Relink IP NVR/Camera label.
On this page, we can see all the sensors and controls that are accessible on the camera. You can add these to a dashboard so you can control and view the camera feed and its sensors.
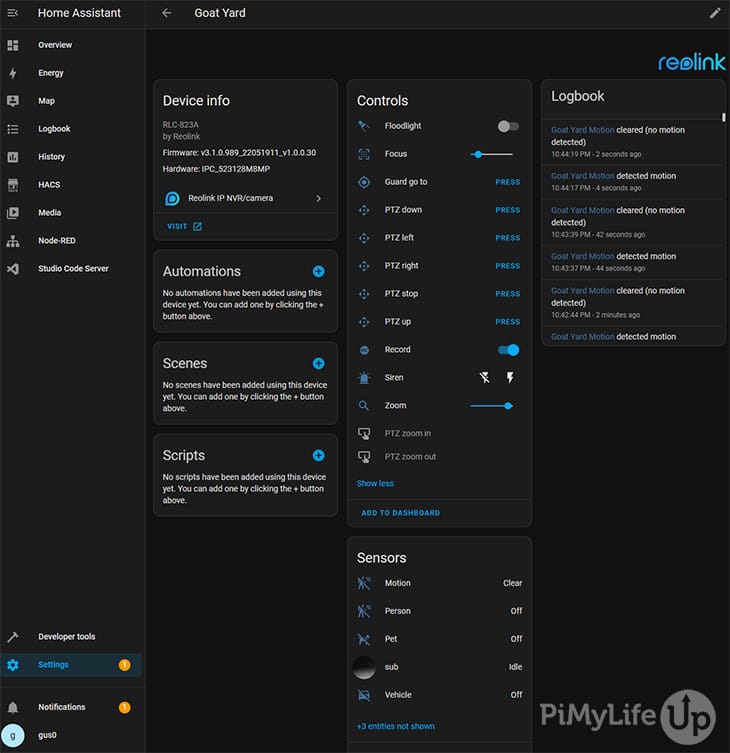
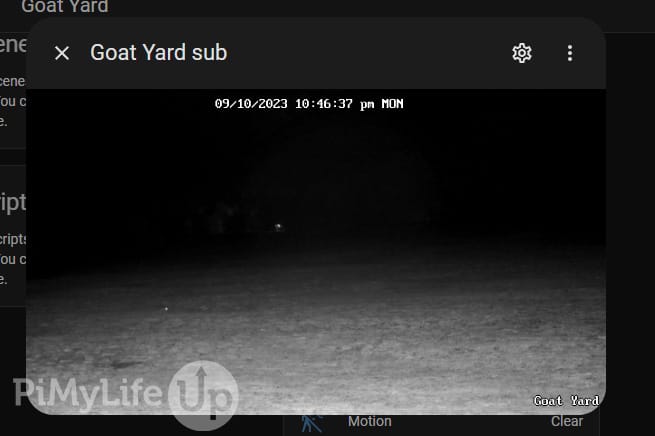
If you want to view the feed from the camera, locate the feed under the “Sensors” header. In our case, the sensor is called “sub“.
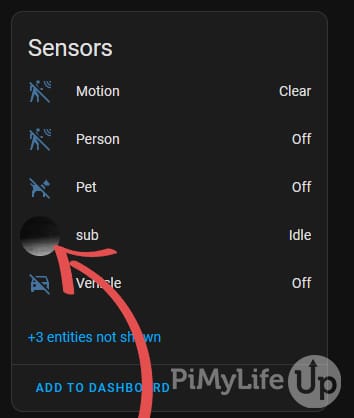
Clicking on the “sub” sensor will bring up a live view of the camera feed.
You can add all these sensors, controls, and configs to a dashboard for easy accessibility.
Conclusion
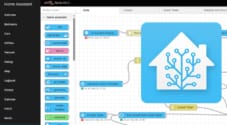
I hope you now have your Reolink cameras added to your Home Assistant installation. The process is relatively easy and a great way to centralize your home security. You can also build automations based on your readings from the camera’s sensors, I recommend using Node-Red
It is important to remember that Home Assistant is not an NVR, so it will not record anything from your camera feeds. Reolink cameras support local storage, so you can add an SD card to the camera to record locally. Alternatively, you can look into a Reolink NVR or something like Frigate.
We have a few more Home Assistant tutorials that I recommend checking out if you want to learn more about this excellent piece of software. If there is anything that you want us to cover, please let us know in the comments below.
Also, please let us know if you have feedback regarding this tutorial by commenting below. We may not respond, but we are always reading the comments.