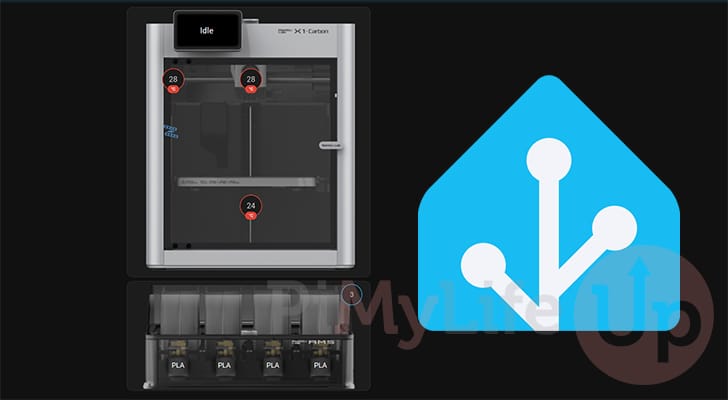
In this tutorial, we will show you how to integrate your Bambu Lab 3D printers with Home Assistant.
Bambu Lab is a company that produces a series of high-quality yet affordable 3D printers.
By integrating your Bambu Lab printers with Home Assistant, you can easily view and control the status of your printers.
Using this extension, you can see almost every piece of information that the printers expose. This includes little things such as the Wi-Fi signal. You can even view and track the AMS.
By using the information this integration provides, you can perform automation that controls your 3D printer or even use this information to perform automation around your home. Or you can use it to check in on your 3D prints easily.
Over the following steps, we will walk you through integrating Bambu Labs with Home Assistant. To achieve this we will be using the Bambu Lab integration by Greg Hesp
Getting your Access Codes for Bambu Lab Integration
This section will show you how to get the values you need to set up the Bambu Labs Home Assistant integration.
In particular, it relies on the LAN access code and the Bambu Lab 3D Printer serial number. We only have a Bambu Lab X1C, so that is the only model for which we will have steps.
The exact values you require to connect locally to your printer are the following.
- Printer Serial Number (S/N)
- LAN Access Code
- Device IP Address
No matter your model, the required values will be under the “Settings” screen. Where they are located within settings differs drastically between each 3D printer.
For example, on the P1P you will find the LAN code in the “Wi-Fi” menu, and the serial number at the bottom of the settings menu.
Please note that if you are using a P1P and have it connected using your LAN access code to another device already, you will only need your serial number. This is because the P1P only allows one local LAN connection. You must rely on the cloud connection if you have already used this.
Getting the Access Code and Serial on the X1C
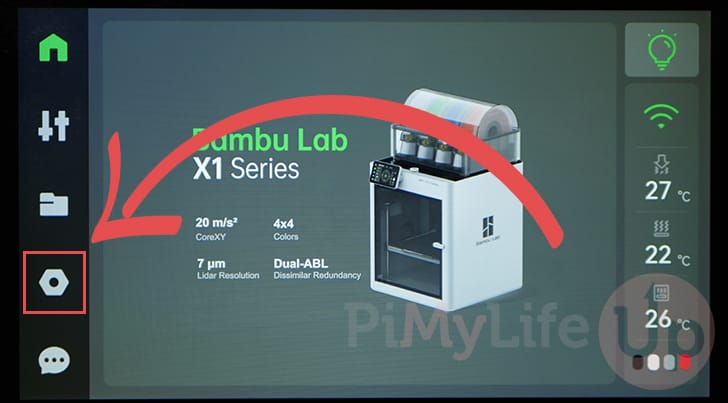
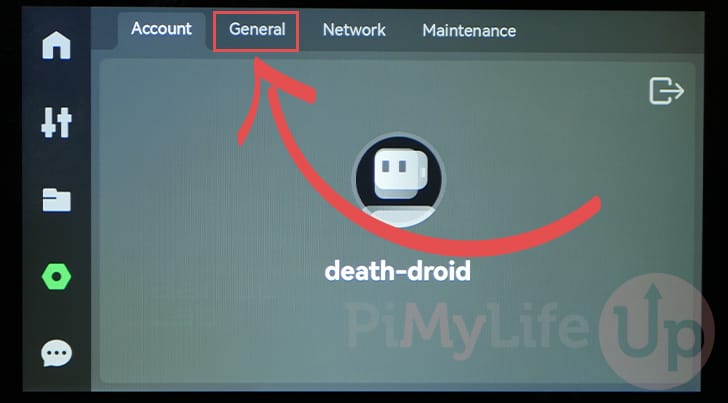
1. On your Bambu Lab X1C, start by changing to the settings screen.
This is represented by the nut icon on the left side of the touch screen.
2. Next, to find the serial number that the Bambu Lab Home Assistant Integration requires, change to the “General” tab.
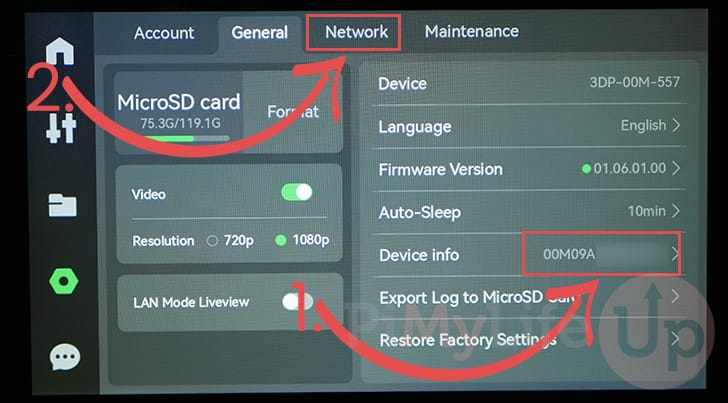
3. Now that you are in the general tab, you will see the serial number following the “Device info” (1.) text. Write this serial number down, as you need it to connect to your Bambu Lab.
After grabbing the serial number, we must also know the IP address and LAN access code. To get these values, change to the “Network” tab (2.).
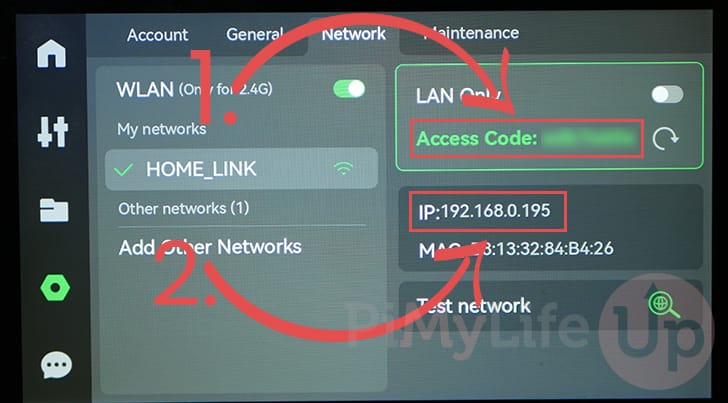
4. The final two values are located on this screen. Copy down the “Access Code” (1.) and the “IP” address (2.).
These two values are required for Home Assistant to connect to your Bambu Lab printer without needing to rely on their cloud service.
Installing and Setting Up the Bambu Labs Home Assistant Integration
This section will show you how to install and set up the Bambu Lab Home Assistant integration.
For this integration to work, you must have the access code, IP address, and serial number of your Bambu Lab printer.
Preparing Home Assistant
1. Before starting this tutorial, you must install the Home Assistant Community Store
This store allows you to easily add third-party integrations to your system, such as the Bambu Lab integration we will be using within this tutorial.
As this can be a bit of an involved process, we highly recommend following our guide on installing HACS.
2. You should now have HACS set up and ready to use. At this stage, you can continue to the next section.
Installing the Bambu Labs Home Assistant Integration
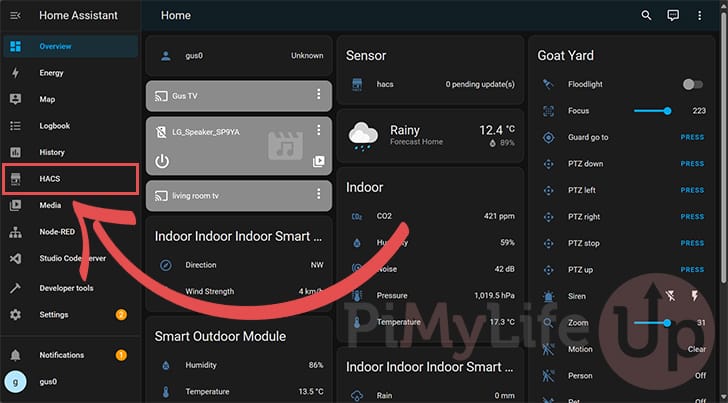
3. Once you have HACS, adding the integration for Bambu Labs is a relatively simple process. It just requires a few simple steps.
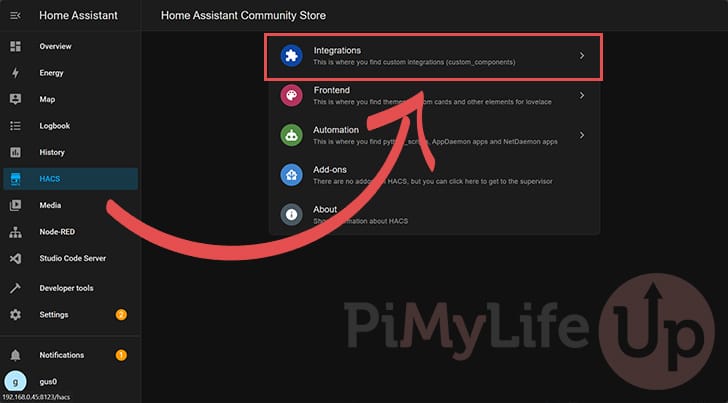
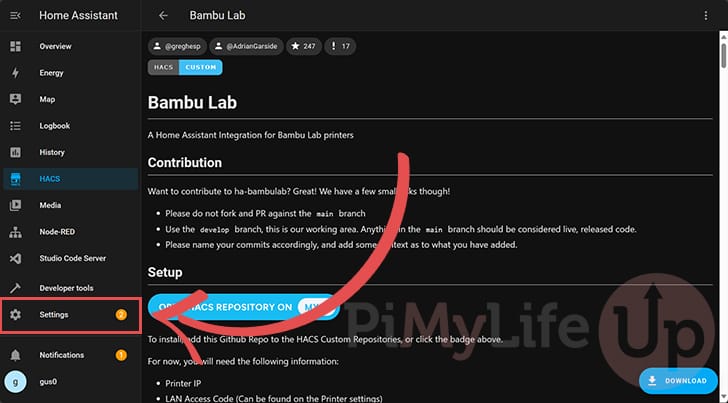
To begin this, first change to the HACS screen by clicking “HACS” in the sidebar.
4. Now that you have HACS open, change to the “Integrations” menu.
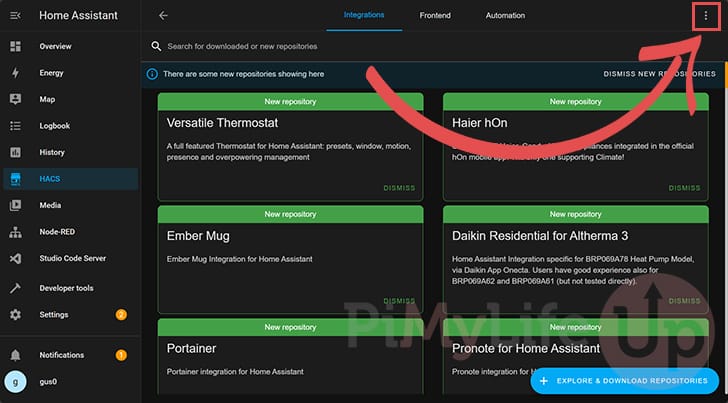
5. Now click the kebab (3 vertical dots) icon in the top-right corner of the screen.
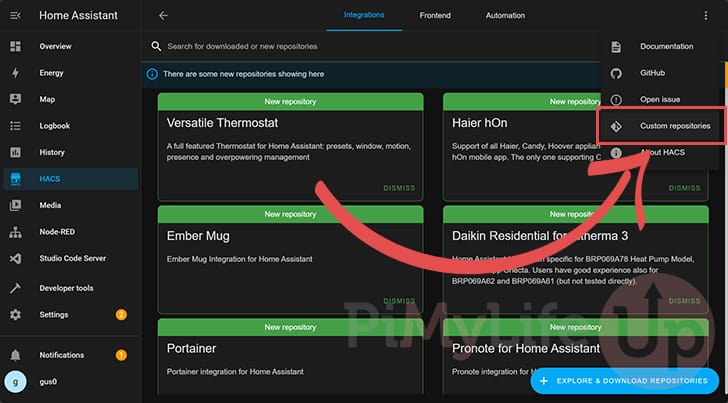
6. In the pop-up menu, click the “Custom repositories” option.
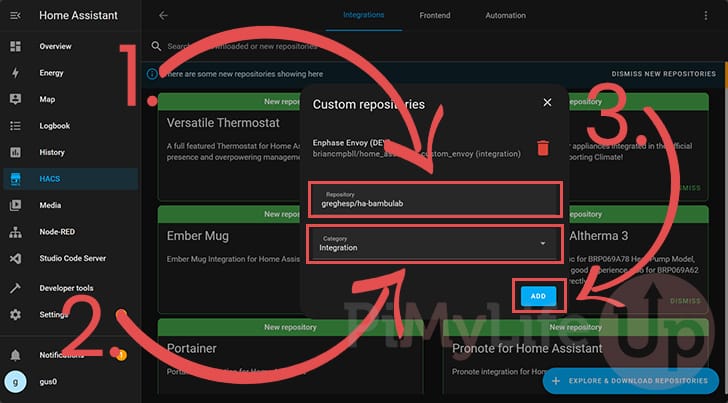
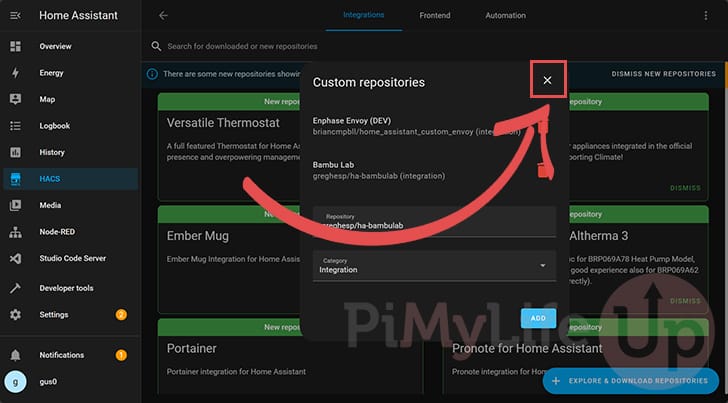
7. On this screen, you must first set the repository value to “greghesp/ha-bambulab” (1.). This GitHub repository that holds the Bambu Lab integration for Home Assistant.
Next, you must set the “Category” to “Integration” (2.).
Finally, with the two prior values set, click the “Add” button to add this new repository.
8. You should now see “Bamb Lab” listed as one of the “Custom Repositories“. We can continue by clicking the “X” button.
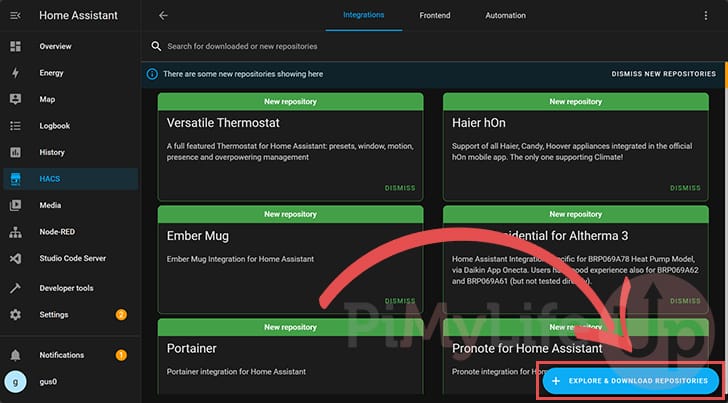
9. With the Bambu Lap repository added, we must now install the actual integration to Home Assistant.
To do this, click the “+ EXPLORE & DOWNLOAD REPOSITORIES” button in the bottom-right corner.
10. Now use the “Search for repository” box and type in “bambulab” (1.).
Once the “Bambu Lab” option appears, click it (2.)

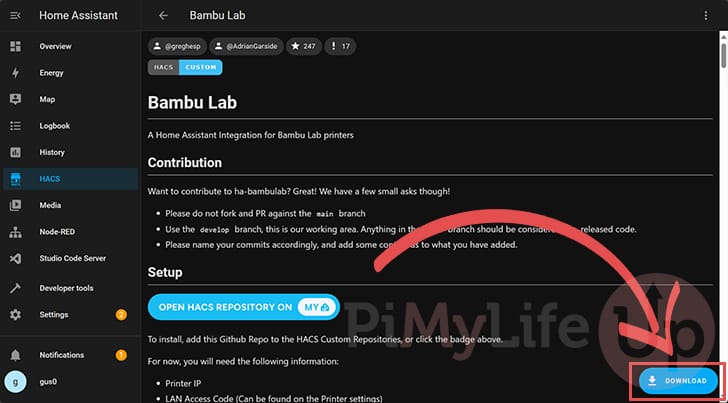
11. We can finally download the Bambu Lab Home Assistant integration.
To begin downloading this integration, click the “DOWNLOAD” button.
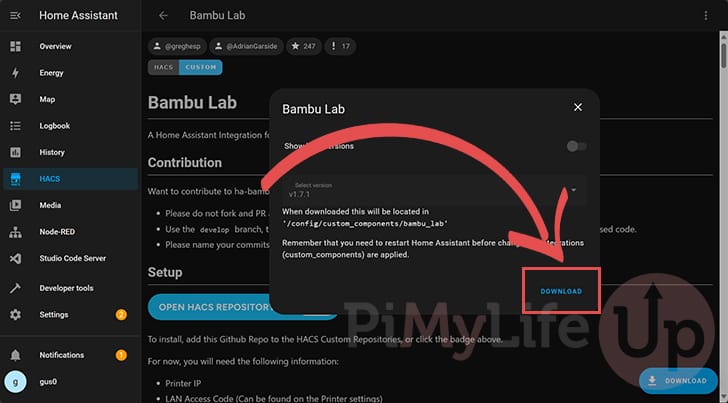
12. You can now select the exact version of the Bambu Lab integration you want to install.
As we want the latest version, click the “DOWNLOAD” button.
Adding your Bambu Lab 3D Printer to Home Assistant
13. Now that you have installed the Bambu Lab integration to Home Assistant, we can add the printer itself.
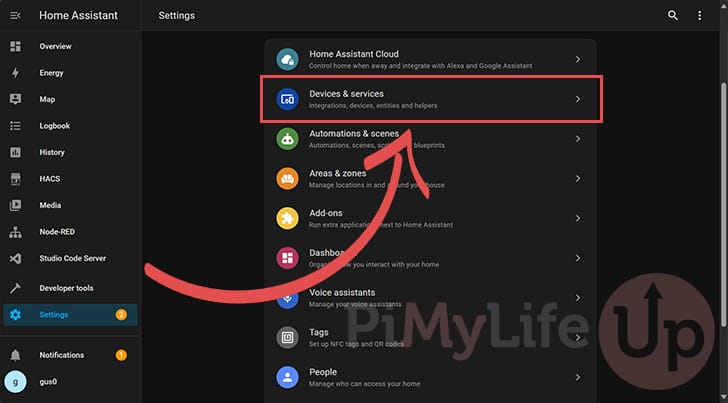
To begin this process, switch to the “Settings” screen using the sidebar.
14. Once on the settings screen, click the “Devices & services” option.
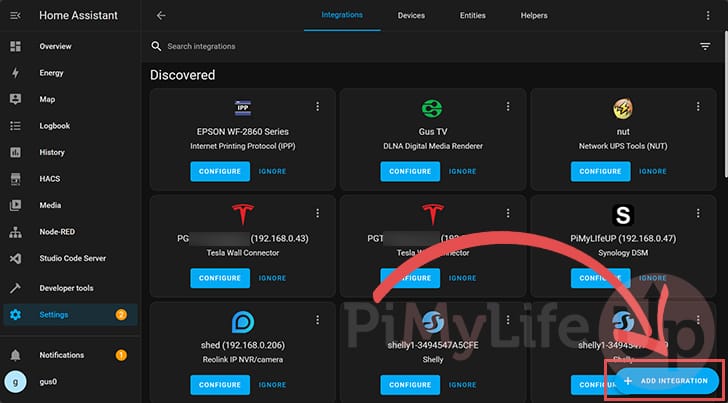
15. Next, click the “+ ADD INTEGRATION” button in the bottom-right corner.
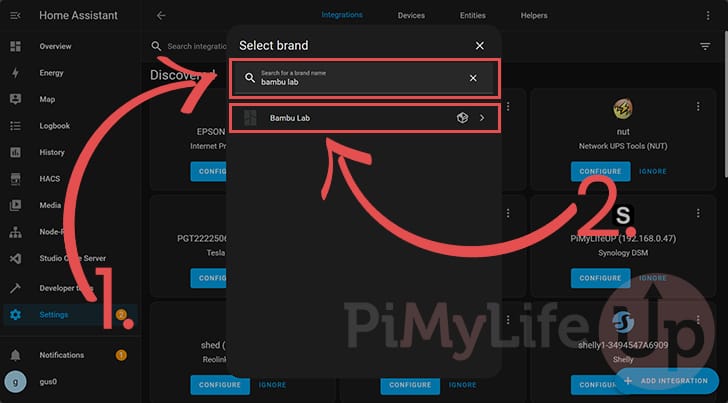
16. On this screen, use the search box to look for “bambu lab” (1.).
Once the “Bambu Lab” integration appears on Home Assistant, click it (2.).
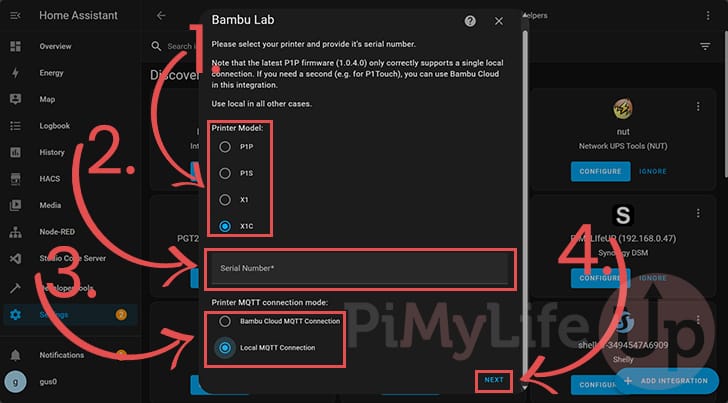
17. We can finally begin adding your Bambu Lab 3D printer to Home Assistant.
- Your first step is to select the printer model (1.).
In our example, we are setting our printer to “X1C”. - Next, you must type in the serial number of your Bambu Lab printer (2.).
You can find this value in the settings menu if you don’t have this value. - Finally, you must select the MQTT connection mode.
For almost all situations, you will want to select the “Local MQTT Connection” option (3.).
You will only want to use the Bambu Cloud connection if you are using a P1P and already using the single LAN connection it provides.
After filling out all the options, click the “NEXT” button (4.).
18. This step differs depending on whether you selected the Cloud or Local options.
Follow step “a” for those using “Local MQTT Connection“, and step “b” for those using the “Bambu Cloud MQTT Connection” option.
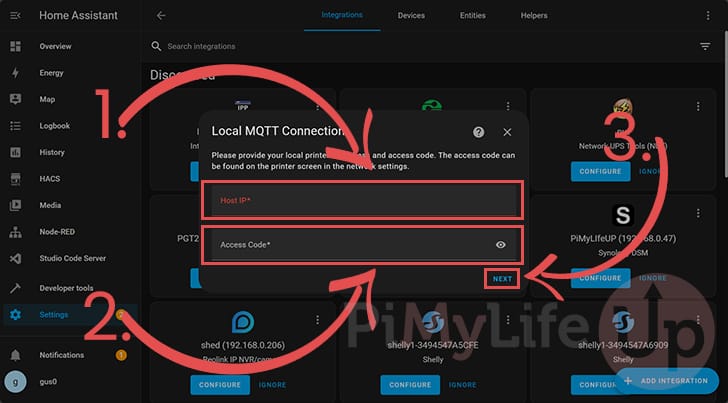
a. When setting up the Local MQTT connection, you must start by specifying the IP address of your Bambu Lab 3D Printer (1.).
Next, you must type in the LAN access code (2.) that you retrieved from your printer’s settings menu.
After filling out these two boxes, click the “Next” button (3.) to make the connection.
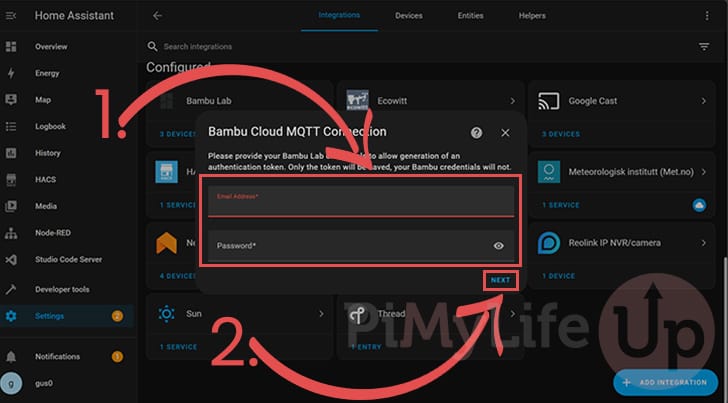
b. For those who rely on the Cloud MQTT Connection, you must fill in the email and password for your Bambu Labs account (1.).
After filling out your account details, click the “Next” button (2.) to complete the connection.
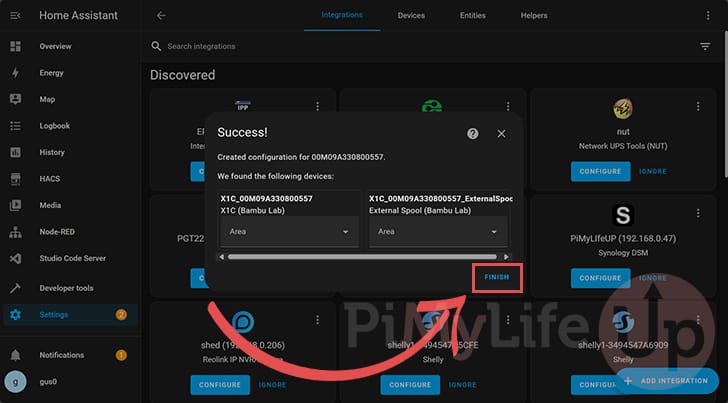
19. Hopefully, you will have successfully connected your Bambu Lab printer to Home Assistant at this stage.
Below you can see that Home Assistant has added our X1C 3D printer, and the external spool. Click the “Finish” button to complete the setup.
If you also have an AMS but it hasn’t shown up, try updating your printer’s firmware, or restarting the device.
Finding your Bambu Lab Printer in Home Assistant
20. After adding your Bambu Lab 3D printer, let us quickly look at it within Home Assistant to ensure everything works.
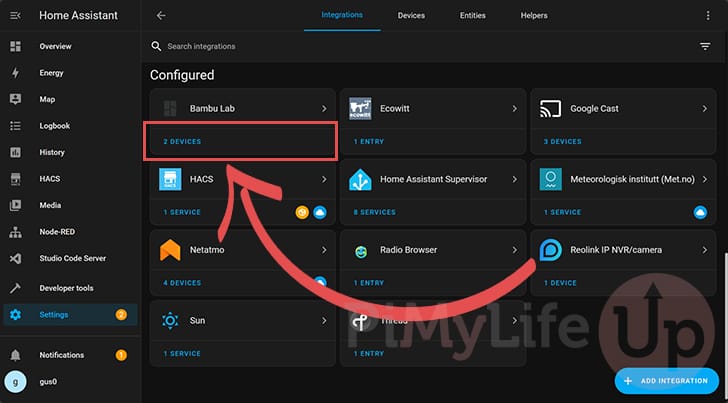
Scroll down to the bottom of the integration’s menu, find the one labeled “Bambu Lab“, and click the “Devices” link underneath it.
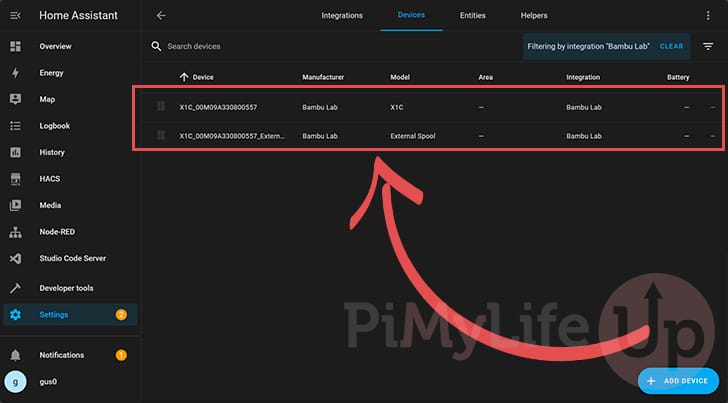
21. You will now see all the Bambu Lab printers and accessories you added to Home Assistant.
You can click any of these to see the data that Home Assistant is receiving and the various values it can control.
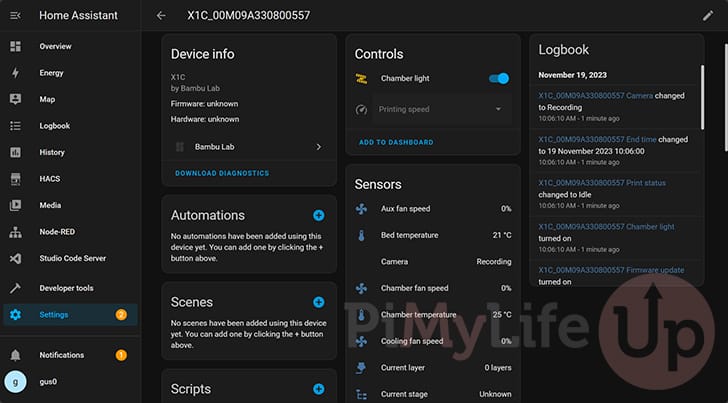
22. For example, you can see all the data Home Assistant pulls in from our X1C 3D printer.
23. At this stage, you can create a dashboard for your 3D printer within Home Assistant.
We won’t be covering this in this guide. However, you can check out this neat component generator from Wolfwithsword for the Bambu Lab Printers. The components this tool generates uses images to give you a graphical representation of your printer.
Conclusion
Hopefully, you will now have the Bambu Lab integration installed to Home Assistant at this stage.
Using this integration, you can control and view the status of your Bambu Lab 3D printer. This is super useful with these printers as they provide most of their data over a local MQTT connection, meaning you don’t have to route through Bambu Lab’s servers.
Please feel free to comment below if you have any questions about using this integration with Home Assistant.
If you found this tutorial to be helpful, we highly recommend checking out our other Home Assistant guides.