This tutorial will show you how to install OBS on the Ubuntu operating system.
OBS is the abbreviation for Open Broadcasting Software and is the go-to software for video streaming from Ubuntu. On top of being great for streaming, it is also a very capable recording software.
Over time, OBS has cemented itself as the standard for streaming thanks to its compatibility, performance, and the sheer versatility of the software to stream or record almost anything you want
While you can easily stream from OBS on Ubuntu using just your CPU, a GPU from a vendor like NVIDIA will yield even better results as OBS can offload the encoding process to the GPU’s more efficient encoder.
Thanks to the OBS team officially supporting the Ubuntu operating system, you can easily get this software installed and running in just a few short steps. Best of all, the team provides its own package repository so you can easily upgrade to the latest version of this streaming software.

Simple Steps to Installing OBS on Ubuntu
In the following sections, we will show you the super simple process of installing OBS on Ubuntu. This process is made super simple as the OBS team provides their repository that includes the latest version of the streaming software.
While you could always use Flatpak to run OBS, installing it straight to your system is just as easy a process without any of the caveats that come with Flatpak.
The installation steps we will be showing you will be run within the Ubuntu terminal. These commands are all fairly straightforward and will require minimal input from you. You can usually bring the terminal up by pressing CTRL + ALT + T on your keyboard.
Preparing Ubuntu
1. Before setting up OBS on Ubuntu, we should update the existing packages on your system.
You can update the package list cache and upgrade any out-of-date packages by running the following commands.
sudo apt update
sudo apt upgrade -yCopy
2. Once updated, we need to ensure that you have two packages installed to improve installing and using OBS on your system.
software-properties-common: This first package should come bundled with your system and is what we will use to add the official OBS package repositoryv4l2loopback-dkms: To use OBS’s virtual camera functionality on Ubuntu you will require this package.
sudo apt install software-properties-common v4l2loopback-dkmsCopyAdding the OBS Repository to Ubuntu
3. Your next step is to add the official OBS package repository to your Ubuntu system by running the following command. The advantage of adding the official repository is that it will enable you to install the latest available version of OBS.
After running this command, you will be prompted to press ENTER to continue the process.
sudo add-apt-repository ppa:obsproject/obs-studioCopy4. Since we changed the available package repositories, we need to update the list again by using the comamnd below.
Updating the package list ensures that our system will be aware of the packages it can now install from the OBS repository.
sudo apt updateCopyInstalling OBS onto Ubuntu
5. All you need to do to install OBS Studio onto Ubuntu is to run the following command. With this command, we use the apt package manager to install OBS from the repository we added over the last few steps.
OBS isn’t the largest software, so this process shouldn’t take very long to complete.
sudo apt install obs-studioCopyLaunching OBS on your Ubuntu System
6. Now that you have OBS installed on Ubuntu, you can easily launch this recording/streaming software directly from the terminal by simply typing the following:
obsCopy7. As a graphical application, you probably don’t want to launch the terminal to run it every time you want to stream or record your screen.
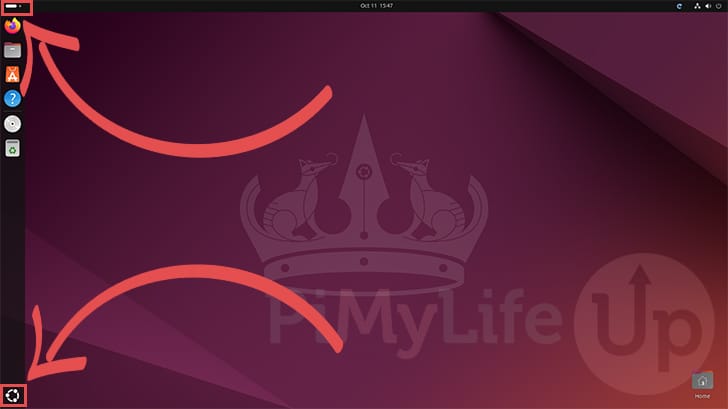
To find OBS within the desktop interface, open the activities screen by clicking the top or bottom left side of the screen.
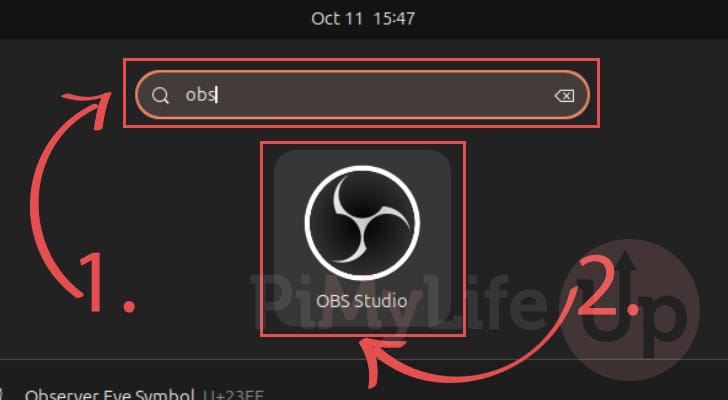
8. With the activities screen now open, use the search bar at the top of the screen to look for “obs” (1.).
After searching, you should see “OBS Studio” appear, click the application icon (2.) to launch it.
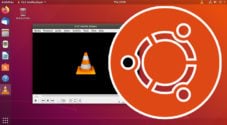
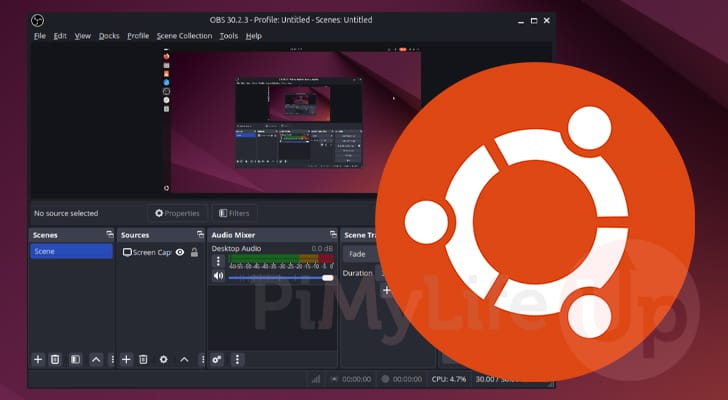
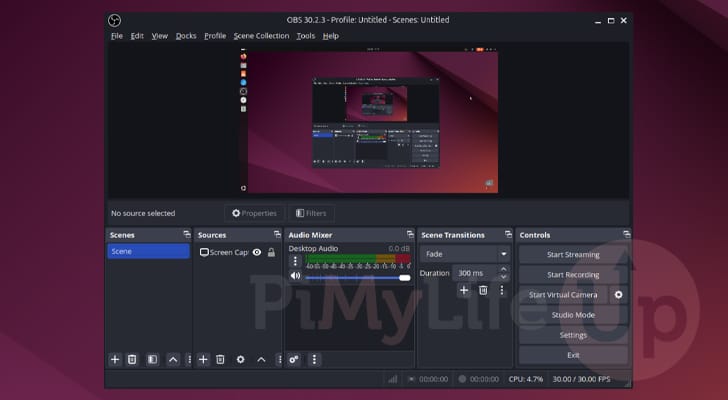
9. At this point, you should have the latest version of OBS running on Ubuntu. Below you can see that we have started the software and have set it to capture our screen.
You can now use this application to either record your screen or stream to the many live streaming platforms such as Twitch and YouTube.
Conclusion
Hopefully, by this point in the tutorial, you should now have the latest version of OBS up and running on Ubuntu.
OBS is the go-to solution for anyone looking into live streaming or simply wanting to record their screen or a device attached to a capture card. You will quickly find this application to handle everything you could possibly require. If it doesn’t have the functionality, OBS does have support for plugins, so additional functionality can easily be added.
Please feel free to comment below if you have run into any issues with installing OBS.
If you liked this tutorial, we recommend exploring some of the many other Ubuntu projects we offer.