This guide will show you how to install the official NVIDIA drivers on an Ubuntu operating system.
If you are utilizing an NVIDIA GPU with Ubuntu, a video driver handles the communication between the GPU and the operating system and its programs.
By default, Ubuntu makes use of an open-source driver called Nouveau to support NVIDIA graphics cards.
There are various downsides to utilizing the open-source driver. The video driver is significantly slower than the proprietary driver while also lacking proper support for the latest graphics cards.
To get a better experience with your NVIDIA GPU and the Ubuntu operating system, we can utilize the official, proprietary drivers.
Ubuntu features a couple of different ways that you can install the NVIDIA drivers to your system.
The first is to use the built-in interface that will automatically detect the GPU and offer the correct driver for installation.
It is also possible to use the command line to detect your connected graphics cards and offer a list of the NVIDIA drivers that you can install.
Installing the NVIDIA Drivers Using Ubuntu’s GUI
The easiest way to install the NVIDIA drivers on your Ubuntu system is to utilize its desktop interface.
The desktop interface allows you to grab the correct drivers for your installed NVIDIA quickly.
We will show you the general steps for installing the NVIDIA drivers on Ubuntu 18.04 and 20.04 based systems.
These steps are relatively similar for most versions of Ubuntu, so you should be able to follow either section with ease.
You can use our simple guide on checking your Ubuntu version.
Installing the NVIDIA Driver on Ubuntu 20.04
For our first section, we will show you how to install the NVIDIA driver on a 20.04 based Ubuntu system.
1. We need to start by opening the “Activities” screen.
You can open this screen by either clicking in the top left corner of the screen or clicking the icon in the bottom left corner.
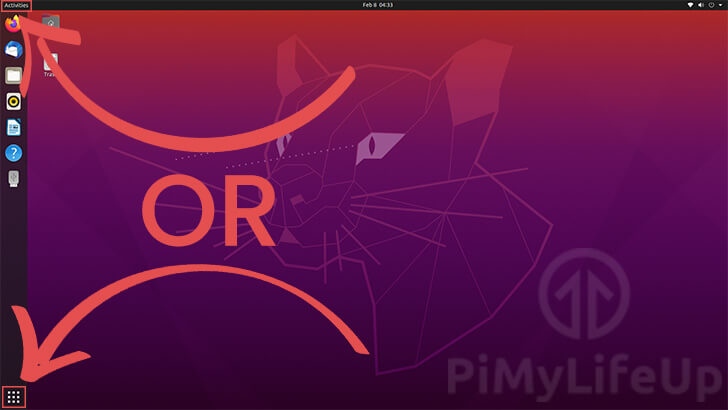
It is also possible to open this screen by pressing the WINDOWS key. (Sometimes referred to as the “System” key or the “Super” key.)
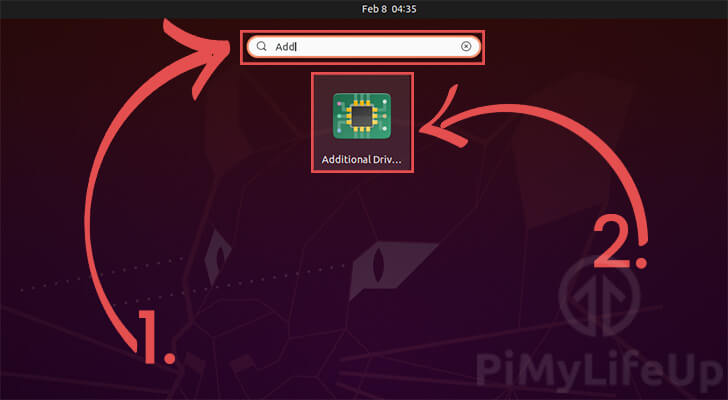
2. In the search bar on this screen (1.), you need to type in “Additional Drivers“.
Searching for this text should end up showing the “Additional Drivers” option. Click the icon that appears to load up the corresponding settings page (2.).
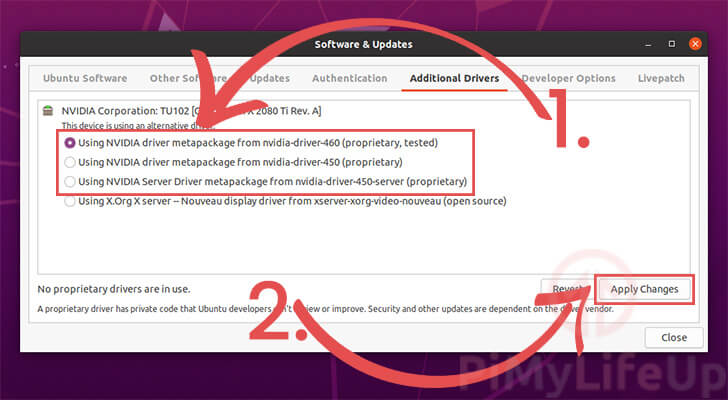
3. On this screen, all you need to do is select one of the proprietary NVIDIA drivers to install to your Ubuntu system (1.).
Typically you should go for the NVIDIA driver that has been marked as “tested“.
Once you have a driver selected to install, you need to click the “Apply Changes” button (2.).
4. Once the NVIDIA driver finishes installing, you will need to restart your Ubuntu machine.
You can either use the power options or utilize the following command to restart it.
sudo rebootThe NVIDIA Driver on Ubuntu 18.04
Installing the NVIDIA driver to an 18.04 based Ubuntu system is very similar to that of 20.04.
The only real difference is the way that you get to the “Additional Drivers” menu.
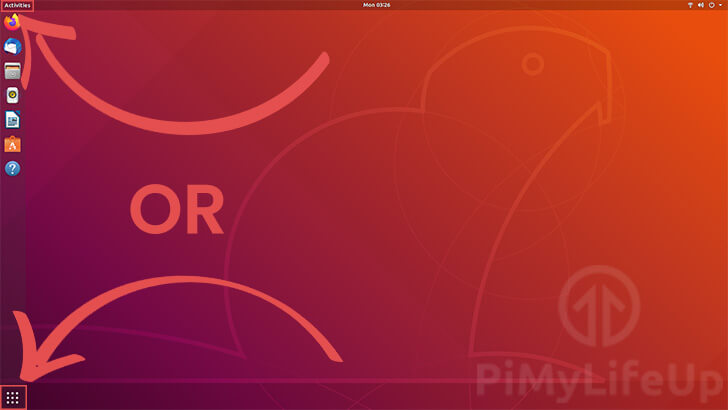
1. Our first task is to open the “Activities” screen.
You can open this menu quickly by using the WINDOWS key. This key is sometimes called the “SUPER” key or the “SYSTEM” key.
It is also possible to load up the “Activities” menu by clicking “Activities” in the top left or clicking the icon in the bottom left.
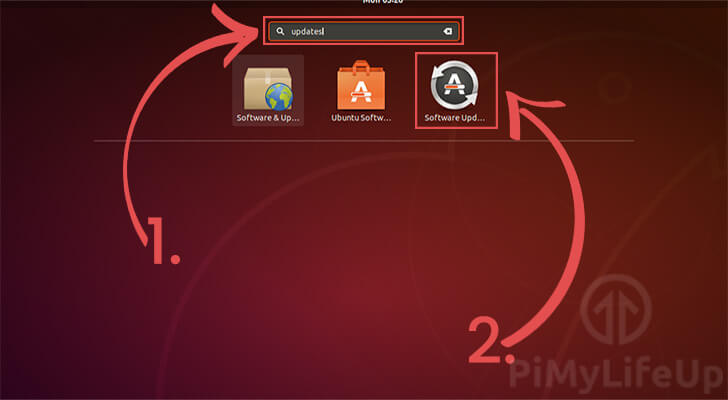
2. With the “Activities” screen open, use the search bar to search for “Updates” (1.).
You should see the “Software Updater” option, click this to continue.
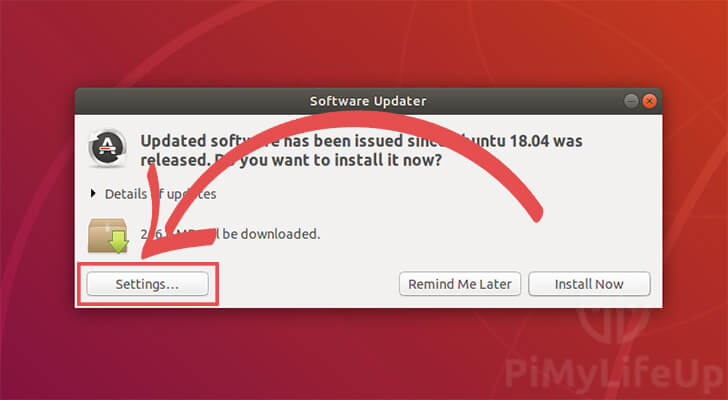
3. Once the software updater finishes updating the package list, click the “Settings...” button.
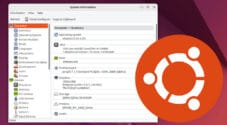
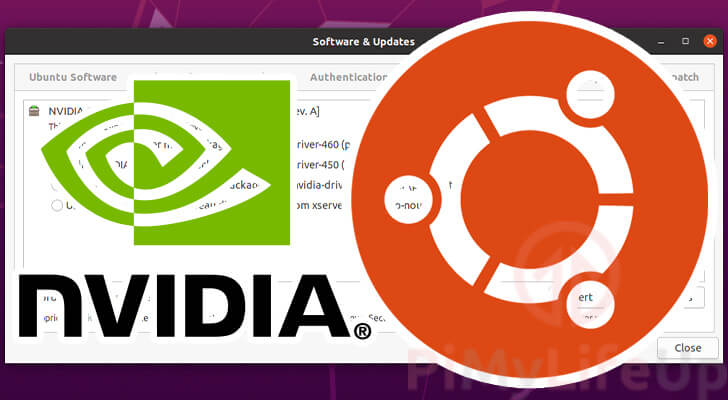
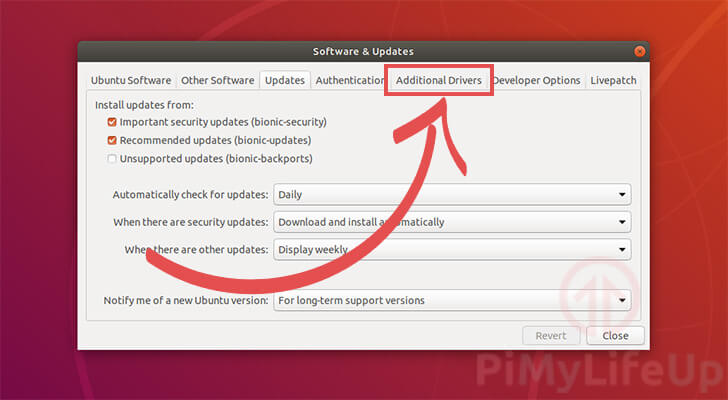
4. You should now have the “Software & Updates” settings screen open on your Ubuntu device.
On this screen, we need to change to the “Additional Drivers” tab.
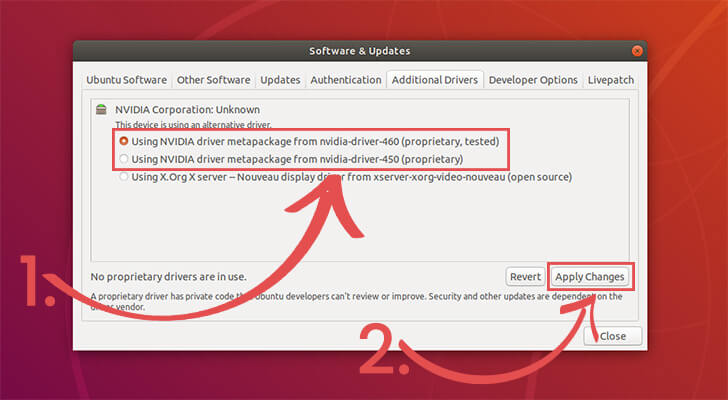
5. Now that we are on the “Additional Drivers” tab, we can now see the available drivers.
Using this tab, you can select the NVIDIA driver you want to install to your Ubuntu machine (1.).
When choosing the driver you want to install, it is usually safe to go with the latest available that is marked as “tested“.
Once you have the driver selected, you can click the “Apply Changes” button (2.).
The NVIDIA driver will take a while to install on your Ubuntu device, so please be patient.
6. Once the driver has finished installing to your device, you will need to restart it.
You can either restart the device by using the power options or by using the following command.
sudo rebootUsing Ubuntu’s CLI to Install the NVIDIA Drivers
For those who do not have access to the GUI or are running something like Ubuntu Server, installing the NVIDIA drivers is still possible.
To do this, we will be utilizing the terminal interface to detect the current devices and list the drivers we can install.
We will be utilizing a piece of software called “ubuntu-drivers“.
1. On your device, start by opening the terminal.
If you are using Ubuntu desktop, you can easily open the terminal by using CTRL + ALT + T.
2. Before proceeding, let us make sure that your packages are up to date.
On Ubuntu, this is as simple as running the following two commands.
sudo apt update
sudo apt upgrade
The first command updates the list of packages. Updating the list ensures that Ubuntu will have an idea of the latest available drivers.
The second command that we use will upgrade any packages that are out of date.
3. Let us start by using the ubuntu-devices tool to list out devices with available drivers.
All we need to do is type in the following command, using the “devices” argument for the tool.
ubuntu-drivers devices4. From this command, you should see a result somewhat similar to ours.
Your model and suggested drivers might differ depending on the latest release and graphics card you have in your system.
This result will list your graphics card, the vendor for it and the drivers it recommends to install.
== /sys/devices/pci0000:00/0000:00:01.0/0000:01:00.0 ==
modalias : pci:v000010DEd00001E07sv00001458sd000037ACbc03sc00i00
vendor   : NVIDIA Corporation
model    : TU102 [GeForce RTX 2080 Ti]
driver   : nvidia-driver-450 - distro non-free
driver   : nvidia-driver-460 - distro non-free recommended
driver   : xserver-xorg-video-nouveau - distro free builtin
In our case you can tell that we have two potential NVIDIA drivers that would suit our Ubuntu system.
The recommended driver is “nvidia-driver-460“, so we will be installing that in the next step.
5. Now that we know what NVIDIA drivers will work with your GPU on Ubuntu, we can now install it.
Installing the driver is as simple as running the following command on your device.
sudo apt install nvidia-driver-460Make sure you adjust this command to install the driver recommended to you by the ubuntu-devices tool.
6. With the NVIDIA driver now installed to our Ubuntu system, we need to restart it.
Without restarting, the new driver won’t take effect.
Restarting your Ubuntu system is as simple as running the following command.
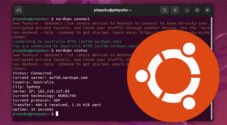
sudo reboot7. Once your Ubuntu device finishes restarting, you can verify that everything is working.
To do this, we will be utilizing the “nvidia-smi” tool.
This tool is NVIDIA’s command-line utility designed to check your NVIDIA graphics card’s status.
nvidia-smi8. Below is an example of the output that you should get from this command if everything is operating as it should be.
This command will tell you various bits about your system, including what is currently consuming the GPU’s VRAM and processing power.
+-----------------------------------------------------------------------------+
| NVIDIA-SMI 440.64.00    Driver Version: 440.64.00    CUDA Version: 10.2     |
|---------------------------------+----------------------+--------------------+
| GPU  Name        Persistence-M  | Bus-Id        Disp.A |Volatile Uncorr. ECC|
| Fan  Temp  Perf  Pwr:Usage/Cap  |         Memory-Usage |GPU-Util  Compute M.|
|=================================+======================+====================|
|   0  GeForce RTX 2080ti    On   | 00000000:01:00.0 Off |                N/A |
| N/A   43C    P8     14W /  N/A  |   72MiB /  10989MiB  |      0%    Default |
+---------------------------------+----------------------+--------------------+

+-----------------------------------------------------------------------------+
| Processes:                                                       GPU Memory |
|  GPU       PID   Type   Process name                             Usage      |
|=============================================================================|
|    0      1209      G   /usr/lib/xorg/Xorg                            72MiB |
+-----------------------------------------------------------------------------+
Conclusion
Hopefully, you should now have successfully installed the NVIDIA graphics driver on your Ubuntu machine.
The official NVIDIA driver offers better performance and better compatibility than the open-source variant that ships with Ubuntu.
If you have run into any issues with getting the correct driver to install, please leave a comment below.
Now that you have finished, be sure to check out our other Ubuntu guides or our Linux tutorials.