In this tutorial, we will be showing you how to add or remove the Ubuntu multiverse repository.
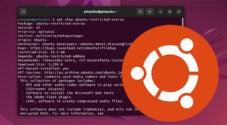
The multiverse repository is one of the four official package repositories. It contains software that is restricted by copyright or legal issues.
Basically, the Ubuntu multiverse repository adds software that adds support for software that is covered under patents or is considered non-free.
An example of a package included within the “multiverse” repository is unrar. Unrar allows you to extract archives that were compressed using the proprietary “rar” format.
Due to licensing issues, the packages provided in this repository may not be considered legal in your country.
Over the next few sections, we will show you how you can add the multiverse repository on Ubuntu using the terminal or desktop interfaces.
Using the Terminal to Add or Remove the Ubuntu Multiverse Repository
This section will explore adding and removing the Ubuntu Multiverse repository by utilizing the terminal. The terminal is one of the easiest ways to achieve this and involves fewer steps than the GUI method.
We will complete the following steps within the terminal. If you are using a desktop flavor of Ubuntu, you can open the terminal by pressing CTRL + ALT + T on your keyboard.
Adding the Multiverse Repository
Adding the multiverse repository on Ubuntu is relatively straightforward and only takes a couple of simple steps.
1. To add the Ubuntu Multiverse repository we will be utilizing the “add-apt-repository” tool. This tool allows you tool allows you to easily add additional repositories.
To add multiverse, use the following command within the terminal.
sudo add-apt-repository multiverseCopyPlease note you will be prompted to enter the password for your user to be able to add Ubuntu’s multiverse repository.
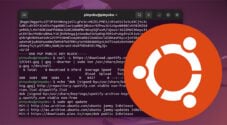
2. The “add-apt-repository” tool will start by asking if you want to continue adding the multiverse repository.
Essentially the tool is about to add the “multiverse” component to all Ubuntu repositories.
You will be required to press the ENTER key to confirm this action. action. If you would rather not enable the multiverse repository on your system, press CTRL + C.
Adding component(s) 'multiverse' to all repositories.
Press [ENTER] to continue or Ctrl-c to cancel.Copy
3. Even though we have added the multiverse repository to Ubuntu, we need to update the package list cache.
This cache includes a list of all available packages and is used by apt when installing and updating packages.
The following command will update the package list to include packages from the multiverse repository.
sudo apt updateCopyRemoving the Ubuntu Multiverse Repository
Removing the multiverse repository is straightforward if you no longer need access to the packages from the multiverse repository on Ubuntu.
1. Like adding the repository, we will again use the “add-apt-repository” tool. This time however, we will use the “-r” option to tell the tool to remove the specified repository.
To begin the process of removing the multiverse repository from Ubuntu, use the following command.
sudo add-apt-repository -r multiverseCopy2. You will be required to confirm the removal of the multiverse repository.
Press the ENTER key on your keyboard to remove the multiverse component. You can abort the removal process by pressing CTRL + C.
Removing component(s) 'multiverse' from all repositories.
Press [ENTER] to continue or Ctrl-c to cancel.
3. For the package list to be aware of your removal of the multiverse repository from Ubuntu, you will need to update the package list.
You can perform this update by using the following command in the terminal.
sudo apt updateCopyHow to Add or Remove the Ubuntu Multiverse Repository using the Desktop Interface
This section will show you how to add or remove the Multiverse repository from Ubuntu using the desktop interface.
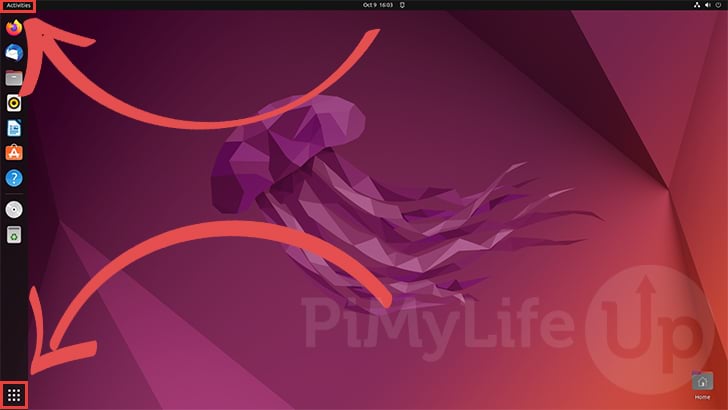
1. To start, you must open the “Activities” screen on your Ubuntu device.
The easiest way to do this is to click the top or bottom left of the screen.
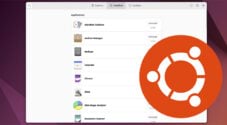
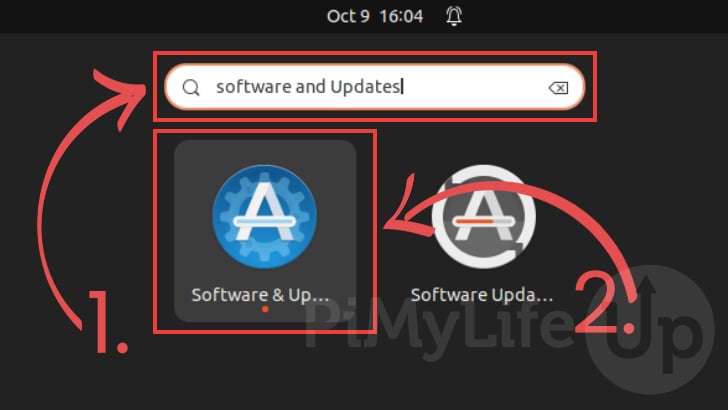
2. Using the search box on this screen, search for “software and updates” (1.).
Once the “Software & Updates” application appears below the search bar (2.), click it to open the software.
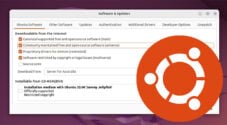
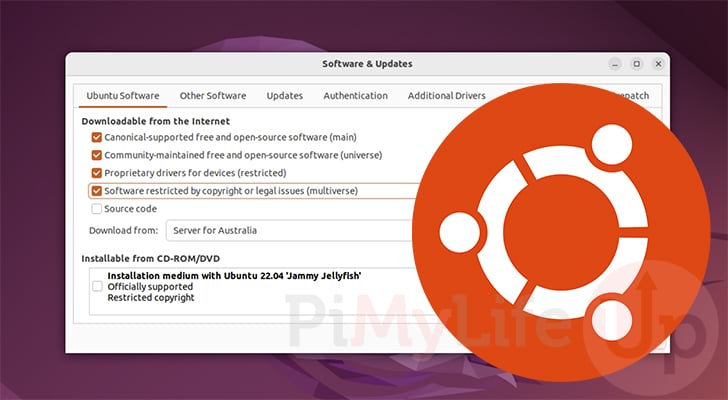
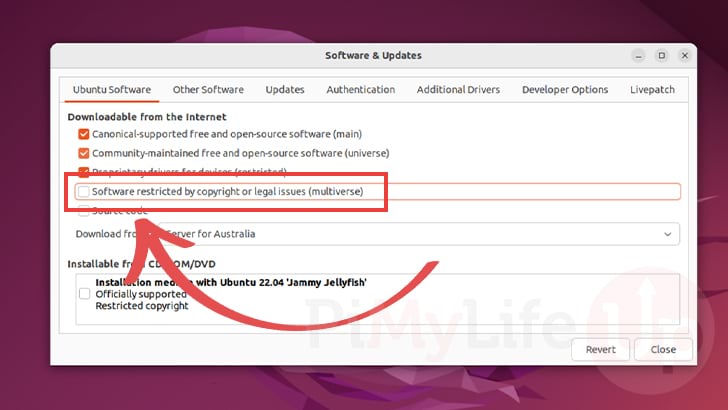
3. On this screen, you will need to locate the “Software restricted by copyright or legal issues (multiverse)” option.
To enable the multiverse repository on Ubuntu, you must ensure this checkbox is ticked.
To disable the repository, make sure it is unticked by clicking it.
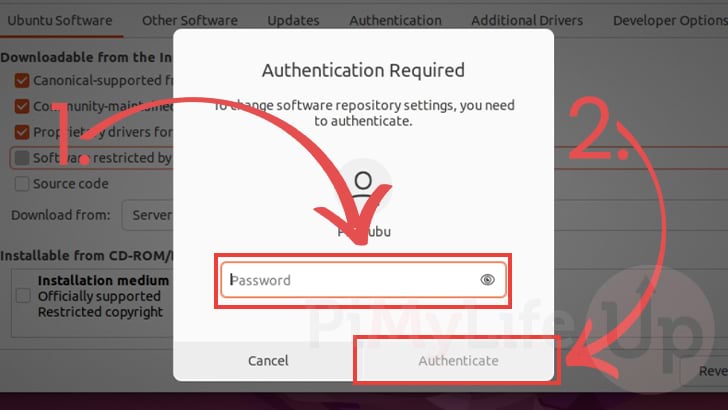
4. If you add or remove the multiverse repository on Ubuntu, you will be asked to authenticate yourself.
All you need to do is fill out the password for your account (1.), then click the “Authenticate” button (2.).
5. After adding or removing the multiverse repository, all you need to do now is click the “Close” button.
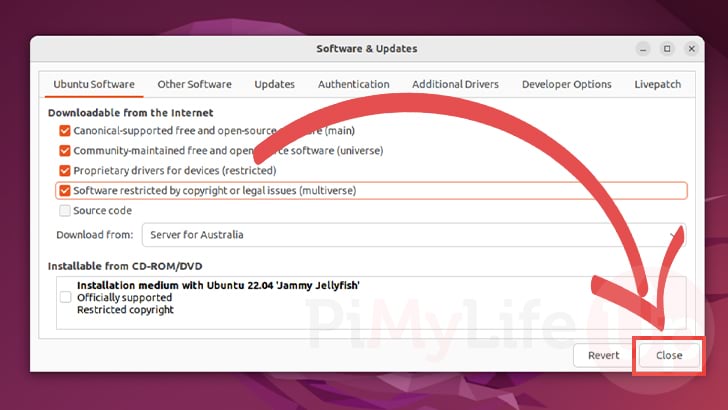
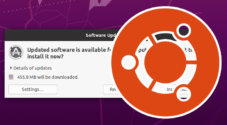
6. Since we changed the available repositories on our Ubuntu system, you will be asked whether you want to reload the package list.
Since you want these changes to take effect now, click the “Reload” button.
7. You have successfully enabled or removed the multiverse repository using the desktop interface.
Conclusion
At this point in the tutorial, you should now have a good idea of how to enable or disable the multiverse repository on Ubuntu.
This repository gives you access to software that Ubuntu considers non-free and proprietary.
Please comment below if you have any questions about adding or removing this repository.
Check out our many other Ubuntu guides to learn more about this operating system.