In this tutorial, we will show you how to set up the Cockpit on the Ubuntu operating system.
Cockpit is a super neat, free, and open-source software that makes remotely managing your systems easy, especially if you are someone who doesn’t like using the terminal.
The Cockpit software provides a super-easy-to-use web interface for managing many aspects of your Ubuntu system. You don’t have to worry about remembering any commands, as the tool can perform many of the tasks you require with just a couple of clicks.
If you are interested in learning more about what you can manage with Cockpit, we recommend exploring its official website.
Best of all, installing Cockpit on Ubuntu is an incredibly simple process. Most users will be able to install this management tool in just a few short steps.
If you are using a Pi and Raspberry Pi OS, we have a dedicated guide for setting up Cockpit on those devices.


Installing and Using Cockpit to Ubuntu
Cockpit is actually one of the most effortless pieces of software to install on your Ubuntu system. Part of the reason for this is that it is available directly through the official Ubuntu package repository.
Over the next few steps, we will show you how to install this software and access its web interface.
One thing to note before you get started is that, by default, Cockpit uses port 9090 for its web interface. For the vast majority of setups, this port should be fine.
Preparing Ubuntu for Cockpit
1. Before we begin installing Cockpit on Ubuntu, we will want to ensure that our current operating system is up to date.
You can run the following two commands within the terminal to update the package list cache and upgrade any out-of-date packages.
sudo apt update
sudo apt upgradeCopy
2. Once you have updated your system, you will want to ensure that you have set up a static IP address. If you run this on a machine with a hosting provider, you likely already have a static IP.
Software like Cockpit works best when your device has a specific IP address it will use and isn’t being dynamically assigned. The best way to set a static IP is through your router. However, getting Ubuntu to request a specific static IP address is also possible.
https://pimylifeup.com/ubuntu-static-ip-netplan/Installing Cockpit on Ubuntu from Backports
3. With Ubuntu prepared, we will next want to read the “/etc/os-release” file into the bash terminal. This will give us access to an environment variable we can use when downloading Cockpit.
All you need to do to populate your current session with these variables is to use the command below.
. /etc/os-releaseCopy4. Now, to install Cockpit on your Ubuntu system, you must run the command below.
We are choosing to download the version available through the optional “backports” repository as it helps ensure that you are getting the latest version of Cockpit available for your system.
To set the backports repository, we use the “-t” option followed by the “VERSION_CODENAME” environment variable and then “-backports“. Each release of Ubuntu has its own backports repository.
sudo apt install -t ${VERSION_CODENAME}-backports cockpitCopy5. Once the installation is complete, Cockpit will automatically start itself, so there isn’t any additional work you need to do. You can now access its web interface and use it to manage your Ubuntu system.
Accessing Cockpit’s Web Interface
5. Now, to access the Cockpit web interface, you will need to know your Ubuntu machine’s IP address.
If you don’t know the IP address, you can often find it using the hostname command.
hostname -ICopy6. After working out your IP address, you will want to open up the following URL in your favorite web browser.
When typing out this address, replace “<IPADDRESS>” with your IP.
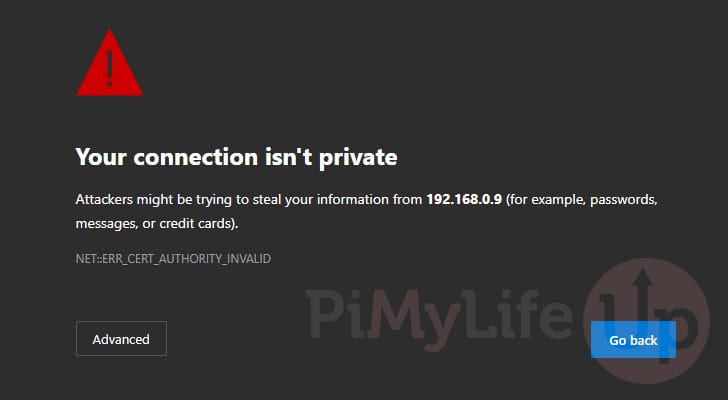
https://<IPADDRESS>:90907. Please note that since Cockpit automatically generates and uses a self-signed certificate by default, you will see a warning similar to the one below.
This is telling you that the web browser can’t validate the SSL, which is the expected behavior since this is self-signed.
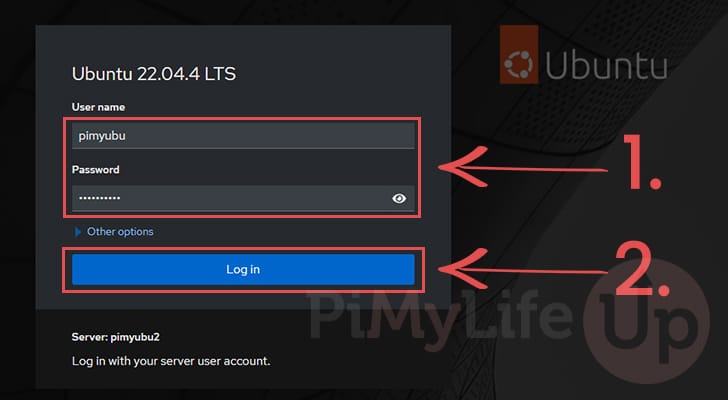
8. When you load up the Cockpit web interface, you will be greeted with a login page similar to the one below.
Cockpit doesn’t have its own user system. Instead, it uses the users that exist on your Ubuntu system. Use your username and password to log in to the Cockpit web interface (1.).
Once you have filled out your login details, click the “Log in” button (2.).
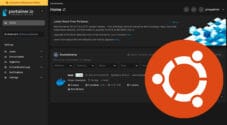
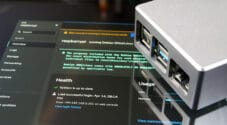
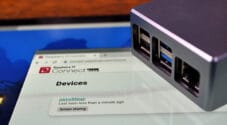
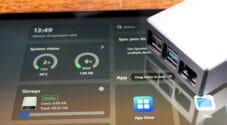
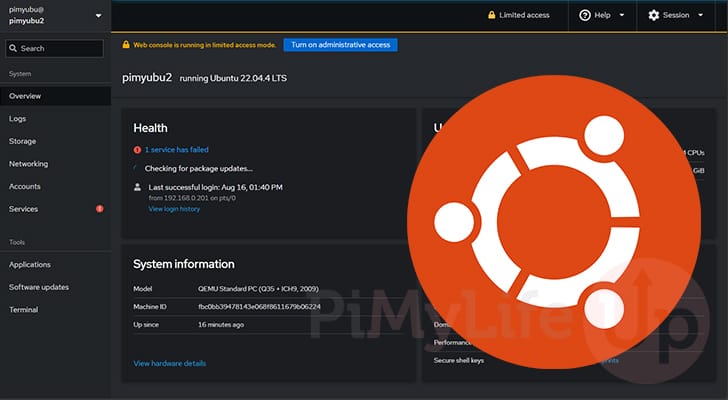
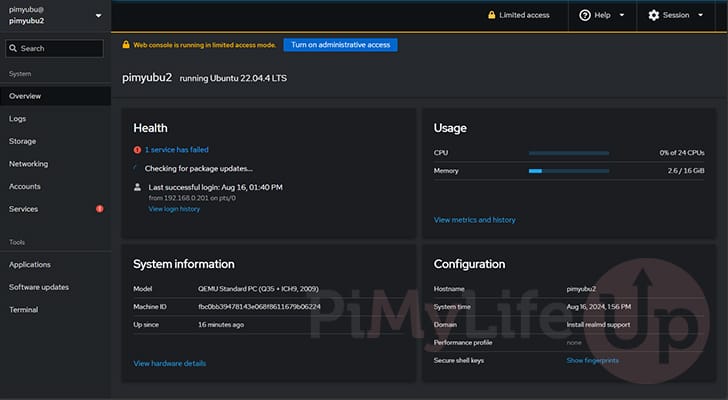
9. You should now have the Cockpit dashboard open within your web browser. You can use Cockpit to manage your Ubuntu system and view information such as hardware usage, system logs, and more.
It is worth exploring the web interface and seeing how you can use it to manage your system. Cockpit contains a versatile set of tools that will allow you to perform most tasks. It even features a built-in terminal to enable you to interact directly with your system if you need to.
By default, when you log in using a user, you will be in “Limited Access” mode. To change out of this, click the “Limited Access” button in the top-right corner.
Conclusion
By this point in the tutorial, you should now have the Cockpit software up and running on Ubuntu.
Cockpit is a great web-based tool that makes remotely managing your devices a straightforward process.
Please drop a comment below if you have had any issues with getting Cockpit installed.
If you liked this tutorial, we recommend that you explore the many other Ubuntu tutorials we have available.