This tutorial will show you how to enable the SSH server on your Steam Deck.
SSH stands for Secure Shell and is a protocol for making a secure connection between two devices. It is commonly used to log in to a device remotely and run commands.
Installing and running SSH on your Steam Deck lets you control your device remotely. This can be super useful if you need to perform terminal-heavy tasks.
Another advantage to using SSH is that you can upload files to your Steam Deck using the SFTP protocol.
Once you have enabled SSH, you won’t need to be in desktop mode to access the terminal on your Deck. The SSH server will continue running in the background, even outside the desktop.
Enabling the SSH Daemon on your Steam Deck
In the following steps, we will show you how easy it is to enable SSH on your Steam Deck. The SSH daemon is already installed, so all we need to do is enable it.
Before setting up this daemon, you should only give your Steam Deck a static IP address. A static IP means your router won’t just assign it a random IP every time it connects. The easiest way to set this is to use DHCP reservation on your router.
How to Change to the Desktop Mode
1. To enable SSH on your Deck, you must be in desktop mode. Desktop mode gives you full access to your operating system.
To get to desktop mode, click the “STEAM MENU” button in the bottom left corner or press the STEAM button on your Deck.

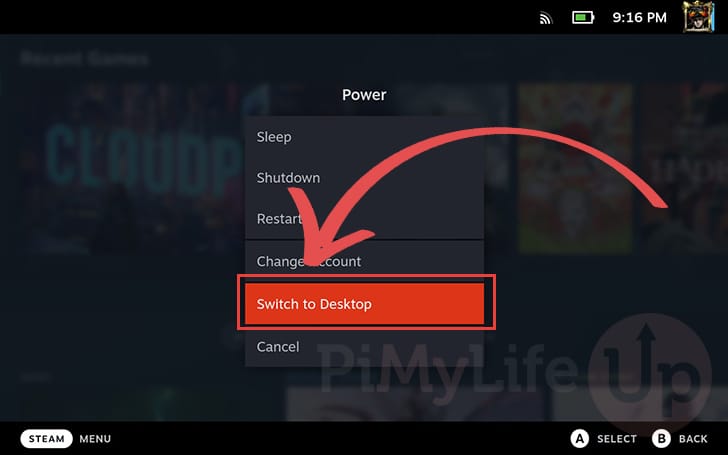
2. Using the STEAM Menu, open the “Power” menu. This menu will allow us to exit desktop mode.

3. To exit gaming mode, select the “Switch to Desktop” option.
Opening the Terminal
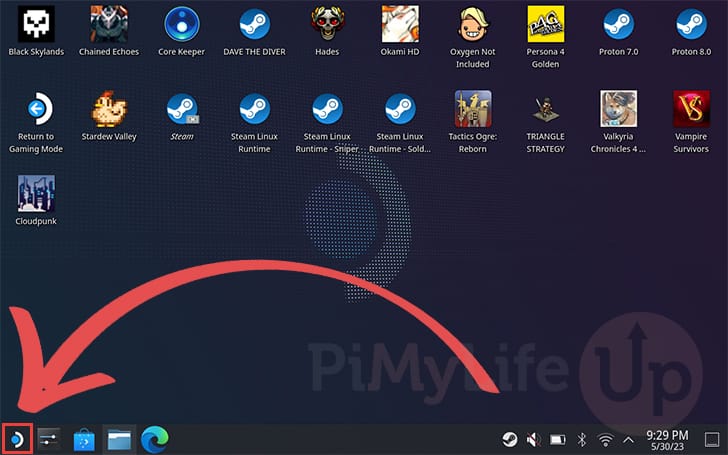
4. Once you have switched to desktop mode, you must open the terminal on your Steam Deck. To get to the terminal, open the start menu by clicking the icon in the bottom-left corner.
The terminal is the only way to activate SSH on your Steam Deck.
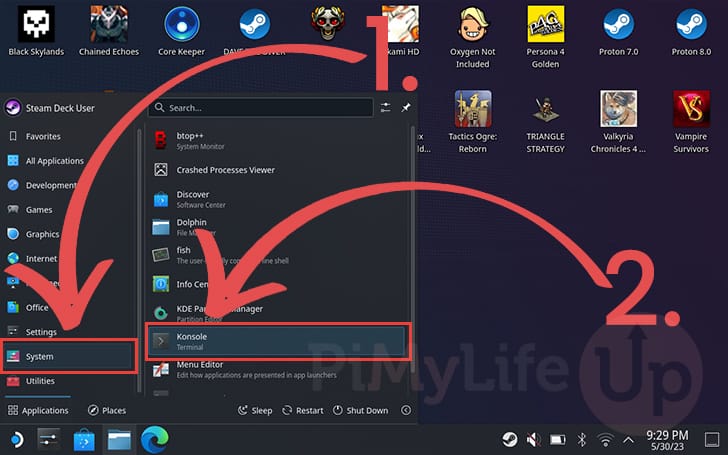
5. With the start menu open, hover over the “System” option (1.).
Hovering over “System” will give you some additional options. Within this list, click the “Konsole” application (2.) to open the terminal.
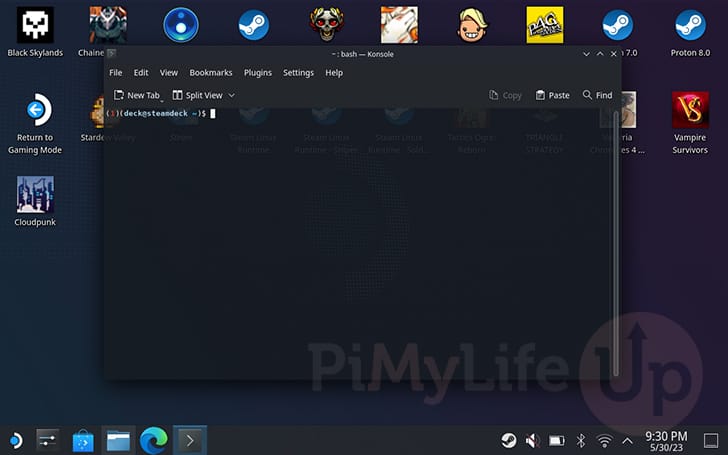
6. You should now have the terminal open on your Deck. We will be using this to enable SSH shortly.
If you don’t have a keyboard plugged into your Deck you can bring up the virtual keyboard by pressing the X button.
Setting a Sudo Password
7. Before enabling the SSH server on our Steam Deck, we will need to set a password for your account so we can use sudo. If you have already set a password, skip to the next section.
To start setting a password, use the following command within the terminal.
passwdCopyYou will be prompted to enter a password for your account twice. Ensure that you keep this password secure, as it gives someone administrator access to your Deck. Additionally, enabling SSH makes it even more crucial to keep the password secure.
New Password:
Retype New Password:
Using the Terminal to Enable SSH on your Steam Deck
8. As mentioned earlier in this guide, the Steam Deck has the SSH daemon pre-installed, but it has not been started or enabled.
Use the following command to start up the SSH daemon and begin accepting connections on your Deck.
sudo systemctl start sshdCopy9. Even though we have started SSH, it will not be started next time your Deck restarts. To work around this, you will need to enable the SSHD service.
When a service is enabled, the operating system will start after it powers on.
sudo systemctl enable sshdCopy10. If you ever decide you want to stop SSH from being available at boot, you can disable the service by running the command below.
sudo systemctl disable sshdCopy11. Finally, you can stop the SSH daemon at any time by using the “stop” command.
If you do this over an SSH, your connection will be terminated immediately after running the command.
sudo systemctl stop sshCopyConnecting to your Steam Deck using SSH
This section will show you how you can connect to your Steam Deck using SSH.
While this focuses on using the SSH command line, the steps aren’t too crazy different if you want to use something like WinSCP, Putty, or MobaXTerm. There are just so many different clients that it’s easiest to focus on the terminal application.
An advantage of using something like WinSCP is that you can upload or download files to your Steam Deck over the SSH connection.
Getting the IP address of your Steam Deck
1. While you are still in the terminal you can retrieve the IP address of your Steam Deck using a single command.
You will want to use the following command to get the Deck to print out its IP address.
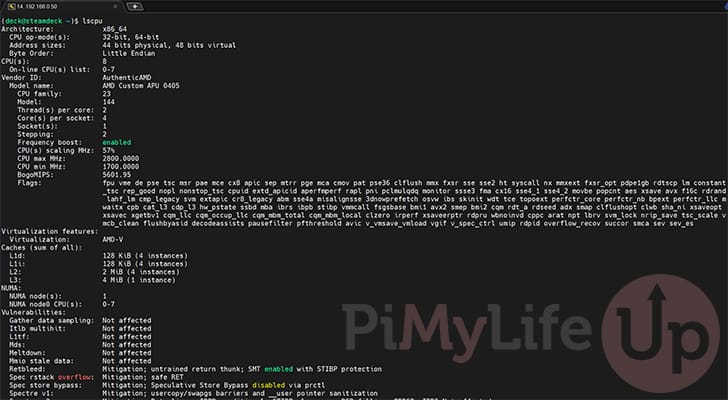
ip aCopy2. After running the above command, you will see various bits of information. The section containing your IP will look like the one shown below.
2: wlan0: <BROADCAST,MULTICAST,UP,LOWER_UP> mtu 1500 qdisc noqueue state UP group default qlen 1000
    link/ether 14:d4:24:d1:af:ab brd ff:ff:ff:ff:ff:ff
    inet 192.168.0.50/24 brd 192.168.0.255 scope global dynamic noprefixroute wlan0
       valid_lft 86090sec preferred_lft 86090sec
    inet6 XXXX:XXXX:XXXX:XXXX:XXXX:XXXX:XXXX:XXXX/64 scope global dynamic mngtmpaddr
       valid_lft 935sec preferred_lft 334sec
    inet6 XXXX::XXXX:XXXX:XXXX:XXXX/64 scope link
       valid_lft forever preferred_lft forever
3. Within this text, look for an IP address similar to the following. The line will start with “inet” and then be followed by your IP address.
For example, the IP we want to use to connect over SSH is “192.168.0.50“.
inet 192.168.0.50/24Using SSH in the Terminal to Connect to your Steam Deck
4. Once you know the IP address of your Steam Deck, you can connect using SSH. You will want to use your IP address as the place to connect to and then “deck” as the user.
For example, using SSH in the terminal, you can connect to your Deck using the following command.
ssh deck@<IPADDRESS>Copy5. When connecting to your Deck you will be prompted to enter your password.
You will have set this password earlier in this guide, which is the same one you use when using the “sudo” command.
deck@192.168.0.50's password:Copy6. At this point, you should now be connected to your Steam Deck over SSH and be able to start issuing commands.
(deck@steamdeck ~)$Conclusion
Hopefully, by this point in the tutorial, you will know how to enable and start the SSH server on your Steam Deck.
SSH is a great way to manage your Steam Deck remotely. It allows you to issue commands remotely and even upload and download files.
Please feel free to comment below if you have any questions about using SSH.
If you found this tutorial helpful, we recommend checking out our many other Steam Deck guides.


Thanks for the quick and concise tutorial. And thank you for the short comments of what the commands acutally do