In this quick guide, we will be showing you how to access the BIOS on your Steam Deck.
The BIOS is the firmware your Steam Deck uses to initialize its hardware. It is one of the first steps your device runs through before eventually booting into the operating system.
By accessing the BIOS, you can control certain aspects of the Steam Deck that you can’t do through the operating system itself.
Using the BIOS is also how you can put your Deck into long-term storage mode to improve battery health when you aren’t using the device for an extended period.
Over the following few steps, we will show you how to get in and out of the BIOS with a few straightforward steps.
Before proceeding, we should warn you to be careful within the BIOS. These settings can affect the ability of your Steam Deck to boot correctly.
Entering the BIOS on the Steam Deck
Accessing the BIOS menu is a pretty straightforward process. You must ensure your Steam Deck is powered off and hold down two particular buttons.
Shutting Down the Steam Deck
1. To enter the BIOS on your Steam Deck, you must first safely shut down your device.
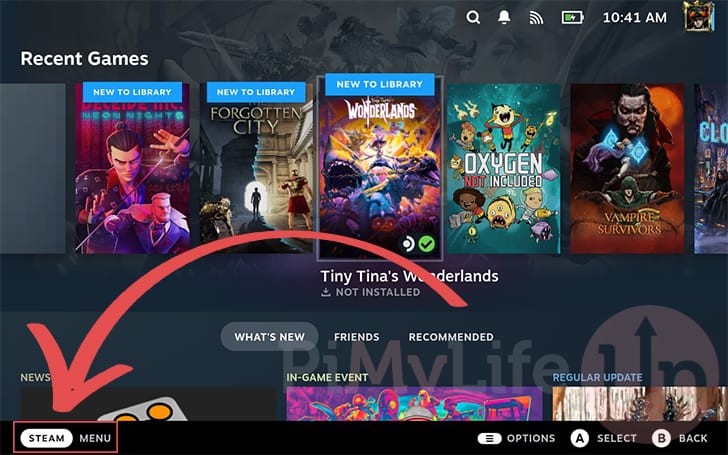
To shut down, you will want to open the STEAM Menu. You can open this menu by clicking “STEAM Menu” in the bottom-left corner or pressing the STEAM button on your Deck.
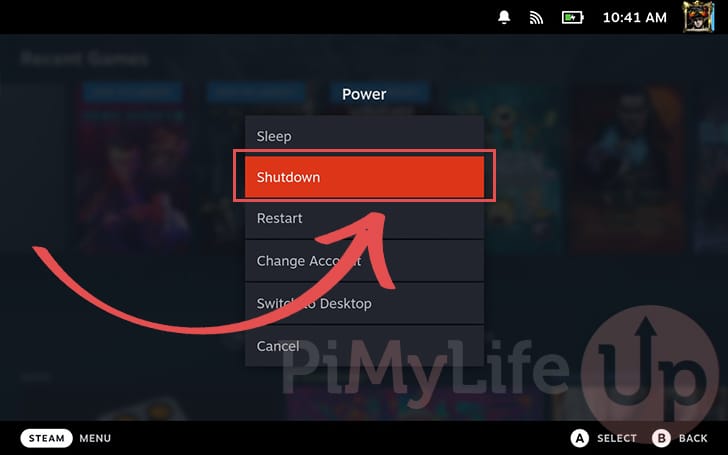
2. With the Steam menu open, navigate down and open the “Power” options.

3. Once you have the power menu open, select the “Shutdown” option.
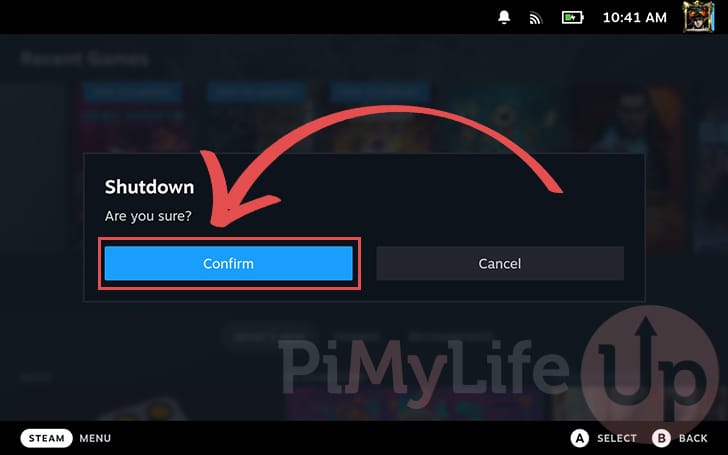
4. You will be asked to confirm whether you want to shut down your Steam Deck.
Select the “Confirm” option to power off your device safely.
Booting into the Steam Deck BIOS
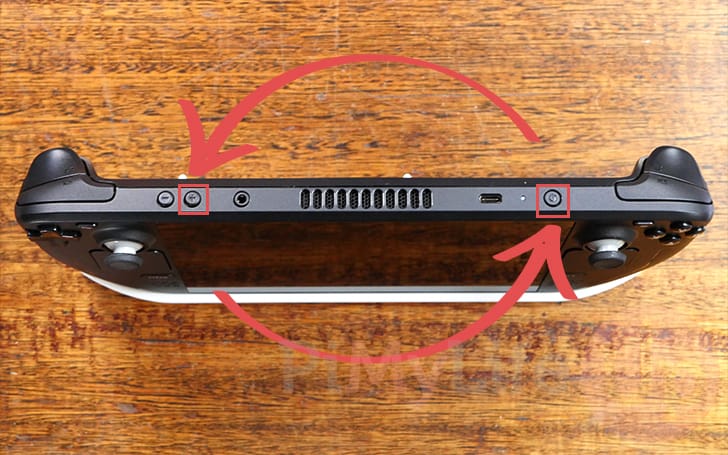
5. With your Steam Deck powered off, you can boot into the BIOS.
To do this, you need to press the VOLUME + and POWER buttons at the same time. Hold these buttons until you hear a beep, and let go immediately.
If you continue to hold the buttons after the beep, the Steam Deck will likely power itself back off.
Entering the BIOS Setup Utility on the Steam Deck
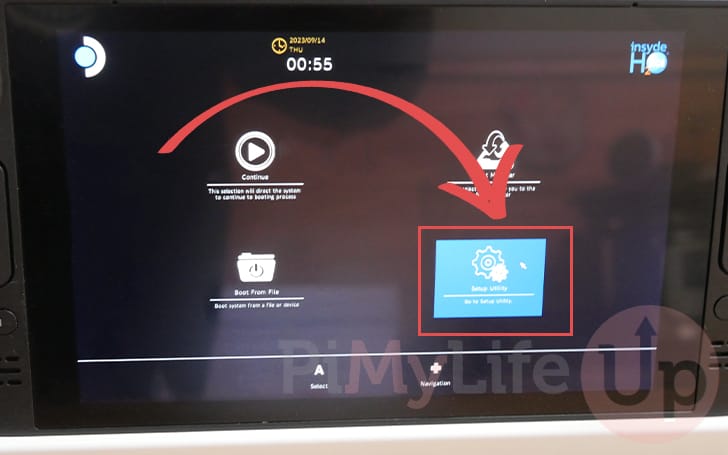
6. After your Steam Deck finishes powering on, you will be greeted with the BIOS screen shown below.
To navigate this menu, you can use the D-PAD on your Steam Deck and use the A button to select. You can also use the right touchpad to use the mouse and the R2 trigger to click.
You have four different boot options here that you can utilize.
- Continue: This option will boot your Steam Deck directly back into the default operating system.
- Boot Manager: Using the boot manager, you can select the operating system you want to boot into. This option is useful when you are dual booting on your Deck.
- Boot From File: You can also tell the device to boot directly from a file or device.
- Setup Utility: The setup utility will allow you to modify your Steam Deck’s BIOS settings.
For our guide, we will be open up the “Setup Utility” within the BIOS.
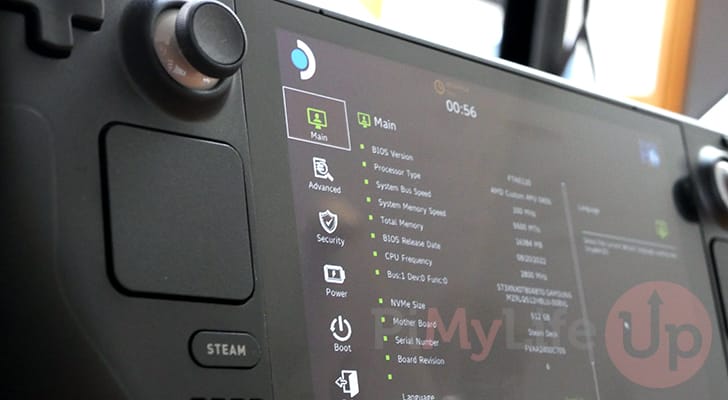
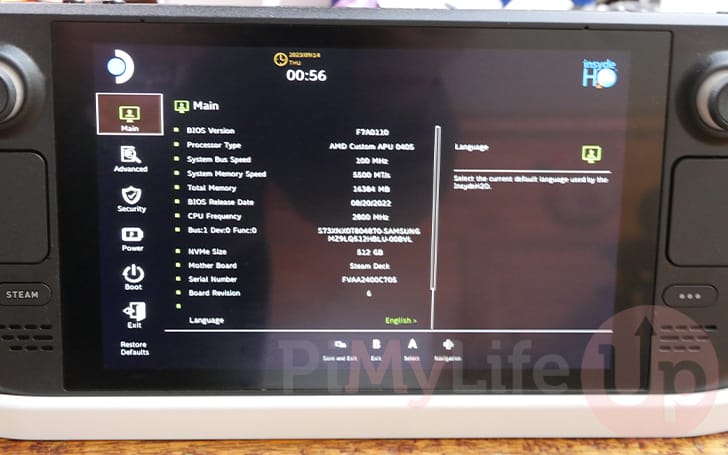
7. You can now see the BIOS setup utility screen on your Steam Deck.
The initial screen gives you a rundown of your device, including the processor type, BIOS version, and other information.
You can browse the different options here to change settings on your Steam Deck. However, be careful changing any of these settings unless you understand what you are doing. Bad changes in the BIOS could stop the Steam Deck from booting.
Exiting the BIOS Setup Utility
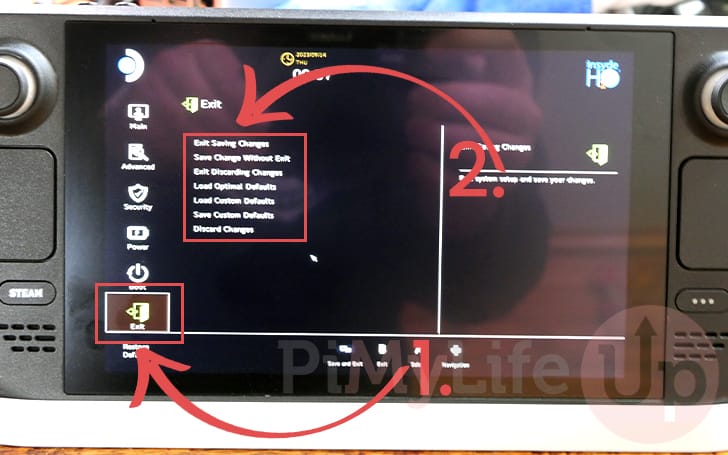
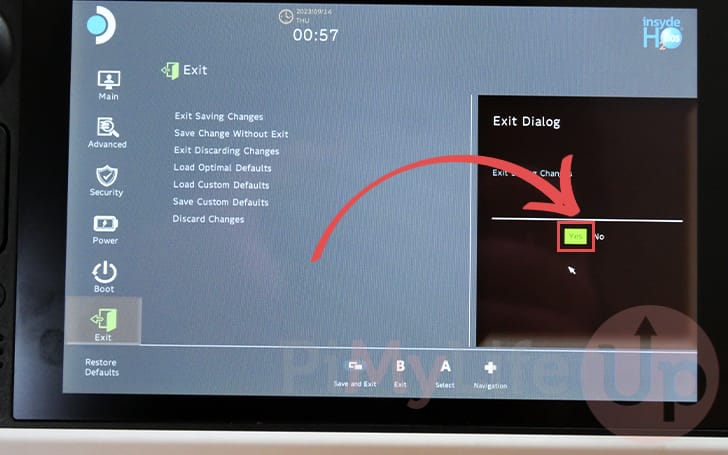
9. Once you are done configuring settings within the BIOS, you can now exit by clicking the “Exit” button (1.) in the bottom-left corner.
You will be given a variety of options (2.) that you can use to quit out of the BIOS and back into Steam OS.
Choose the relevant one for what you want to do to proceed. For our example, we are selecting “Exit Saving Changes“.
10. Before you are returned to Steam OS, you will be asked to confirm your selection.
To proceed back to Steam OS, select “YES” on the right side of the screen.
Updating the Steam Deck BIOS
The Steam Deck’s BIOS updates are provided through the normal update process.
You will need to open the settings screen to check whether any updates are available for your firmware.
1. On your Deck, bring up the STEAM Menu by clicking “STEAM Menu” in the bottom-left corner or tapping the STEAM button.

2. Next, you need to navigate down and open the “Settings” panel.

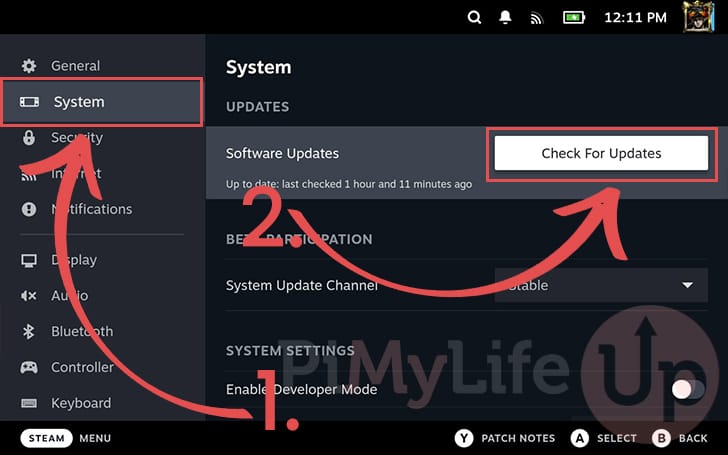
3. Once you are in the settings menu, change to the “System” tab using the left-hand sidebar (1.).
If you have any updates available, here is where you will be able to install them. You can also click the “Check for Updates” button (2.) to force your Steam Deck to search for updates.
Conclusion
Hopefully, at this point, you will have a good understanding of how you can boot your Steam Deck into the BIOS.
The BIOS allows you to control certain aspects of the Deck’s hardware. You should always be careful with what you change within these settings.
Please feel free to comment if you have questions about getting into and using the BIOS.
If you found this tutorial to be useful, be sure to check out our many other Steam Deck guides.