A Raspberry Pi wireless access point is a great way to extend the length of your Wi-Fi coverage and provide additional access to your network.
This tutorial will show you how to set up a Wi-Fi access point using your Raspberry Pi. A wireless access point sometimes goes by “hotspot”, but it is essentially the same thing.
The process of setting up your Pi as a Wi-Fi hotspot has been made simple thanks to the Pi’s usage of the Network Manager. Older methods used to require you to configure several pieces of software that could prove quite unstable.
One crucial thing to remember is that your Raspberry Pi’s inbuilt Wi-Fi or a Wi-Fi dongle will most likely not be able to handle as much traffic as a regular router. This means you should avoid allowing too many connections to the device to prevent it from becoming overburdened and slow.
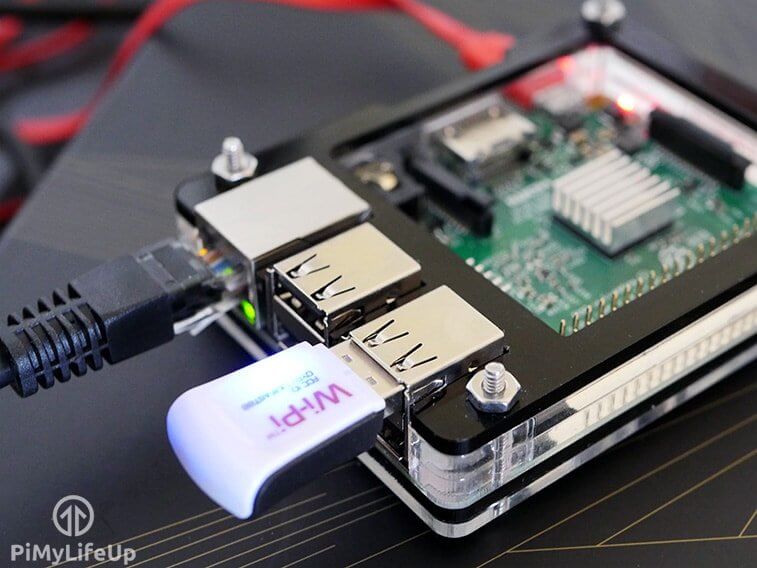
While you can use any Wi-Fi dongle that supports being enabled as an access point, our tutorial will directly focus on how to set this up for the Raspberry Pi’s built-in Wi-Fi module. If you are using an early model of the Raspberry Pi, you can purchase a Wi-Fi adapter that supports being utilized as an access point from numerous websites. Make sure you research before buying to make sure it works on the Pi.
Additionally, the newer the Raspberry Pi, the better experience you will have with setting up an access point. Newer Pi’s have better processing power and have had improvements to how it’s networking works at a hardware level.
This tutorial can be combined well with our VPN Access Point tutorial. The VPN access point tutorial will show how to set up an OpenVPN client and redirect all traffic through that client.
Equipment List
Below are all the bits and pieces we used for this Raspberry Pi Wireless Access Point tutorial. You will not need anything super special to complete this guide.
Recommended
Optional
- Raspberry Pi Case Amazon
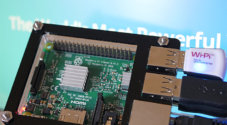
This tutorial was last tested on a Raspberry Pi 5, running the latest version of Raspberry Pi OS Bookworm.
Setting up a Wi-Fi Access Point using your Raspberry Pi
In this section, we will walk you through the super simple method of setting up your Raspberry Pi’s Wi-Fi as an access point.
Thanks to the new versions of Raspberry Pi OS using Network Manager to manage the network stack, setting up a hotspot from your Raspberry Pi is as simple as running a couple of commands. If you are running a version of Pi OS without Network Manager, follow our instructions for installing it.
Before proceeding, you will want to have your Pi plugged into an ethernet connection. This will offer you the best performance, and we expect you to have your Pi set up this way for the following steps.
If you want to extend an existing Wi-Fi network using your Pi, we recommend checking out our Raspberry Pi Wi-Fi extender guide.
Preparing your Pi
1. Before we set up the Raspberry Pi as a Wi-Fi access point, you will want to ensure that you are running an updated operating system. This ensures that we have the latest version of Network Manager.
Use the following two commands to update the package list cache and upgrade any out-of-date packages.
sudo apt update
sudo apt upgrade -yCopy
The first command updates the package list cache. This cache contains a list of the packages you can install, their version, and where apt can download them.
The second command uses the updated package list cache to find and update any out-of-date packages.
Getting the Wi-Fi Device to Hotspot from on your Raspberry Pi
2. With your Raspberry Pi now up to date, you will need to get the name of your Wi-Fi device so you can hotspot from it.
Your Wi-Fi adapter will need to support access point mode, which luckily for us, all the Pi’s built-in Wi-Fi supports.
Use the following command to get a list of Wi-Fi capable devices available on your Raspberry Pi. Typically, on most setups your wireless device will use the name “wlan0“.
iwconfigCopyBelow you can see a list of network devices this tool found on our Pi. We only have one Wi-Fi adapter available to us which is “wlan0“. There is a chance your adapter might use a different name.
lo        no wireless extensions.

eth0      no wireless extensions.

wlan0     IEEE 802.11  ESSID:off/any
          Mode:Managed  Access Point: Not-Associated   Tx-Power=31 dBm
          Retry short limit:7   RTS thr:off   Fragment thr:off
          Power Management:on
Configuring a Wi-Fi Access Point on your Raspberry Pi
3. Once you know the device name for your Wi-Fi adapter, we can configure your Raspberry Pi to act as a wireless access point.
Luckily, the Network Manager tool, which was discussed earlier in this guide, will handle most of the hard work.
To change your Raspberry Pi’s Wi-Fi into hotspot/access point mode, use the following command.
While typing out this command, there are a few details that you must replace with your own.
<DEVICE>: This is the device name assigned to your Raspberry Pi’s Wi-Fi adapter. In the vast majority of cases, this should be “wlan0“.<SSID>: Replace this placeholder with the name you want broadcast by your access point. It is the ID that will be used by others when connecting to your hotspot.<PASSWORD>: The last value you must replace is the password that will be used to secure your Raspberry Pi’s Wi-Fi access point.
sudo nmcli d wifi hotspot ifname <DEVICE> ssid <SSID> password <PASSWORD>Copy4. We can verify that the Wi-Fi hotspot has been created using the “nmcli” tool to output all connections.
nmcli con showCopyBelow is a list of connections that exist on our Pi. At the top, you can see that we now have a connection called “Hotspot” with the device set to “wlan0“.
NAME                UUID                                  TYPE      DEVICE
Hotspot             59f9160c-b49f-47a2-ac54-87987f743df2  wifi      wlan0
Wired connection 1  9d27eb3e-7657-3a54-ad8a-344cb4bb56e3  ethernet  eth0
lo                  a54edcc4-0ffa-4090-a2b3-081905aee1c5  loopback  lo
preconfigured       6e07c33c-9764-4145-af3f-49875c8a9342  wifi      --
5. Another cool feature of the Network Manager tool is that it can generate QR codes that you can use to access your Wi-Fi hotspot easily.
All you need to do to get the “nmcli” tool to generate this code is to use the following command.
nmcli dev wifi show-passwordCopyTroubleshooting your Wireless Access Point
6. You should now have a Wi-Fi hotspot broadcasting from your Raspberry Pi. Hopefully, everything is working correctly, but you should test the internet connection before proceeding.
If you need help connecting to this access point, move on to the next section.
7. If you have issues connecting to your access point despite entering the correct password, you may have to disable the network stack’s protected management frames functionality.
While this functionality helps with security, it can cause issues with certain Wi-Fi adapters and clients.
Disabling this functionality is as simple as using the following command within the terminal.
sudo nmcli con modify Hotspot wifi-sec.pmf disableCopyHopefully, you can now access your new Raspberry Pi Wireless Access Point without any more issues.
Conclusion
This is yet another great project for the Raspberry Pi that can be extended to make it an extremely useful utility. As I mentioned above, you can make this a Wi-Fi hotspot where you can route all the internet traffic through a VPN.
Hopefully, you will now have your Raspberry Pi set up as a Wireless access point, and you have successfully expanded the reach of your Wi-Fi network.
If you encounter any issues or have feedback related to this tutorial, please don’t hesitate to leave a comment below.


You might want to have a look at RaspAP. That’s pretty impressive with a nice GUI for configuration.
Hi Mark,
That is actually quite a neat piece of software! Have added it to my to-do list to check out and probably write a tutorial up on and reference it within this guide to use.
Kind regards,
Emmet
Thanks for this! the nmcli is much easier than the older methods. Question… If I modify step 4
sudo nmcli d wifi hotspot ifname ssid password
where we use wlan0, to use eth0 instead, can we use the pi to connect to a wifi SSID, and share the connection over the ethernet? I’m guessing we skip the ssid & password.
Thanks!
Hi Jay,
Not quite, things need to be done a bit differently and we actually have a guide that covers this. You instead need to set up your Wi-Fi as a shared connection, which is something we cover in our Raspberry Pi Wi-Fi bridge guide.
Please let me know if you need any further help.
Kind regards,
Emmet