In this project, we will show you how to set up a static public website from a Raspberry Pi using both NGINX and Cloudflare.
For this tutorial, we will focus on how you can run a publicly accessible static website off your Raspberry Pi.
A static website does not rely on a service to render the content dynamically. For example, a website written in PHP requires PHP to process it before it can be rendered into HTML or any other format.
With a static website, a web server like NGINX can simply serve the static files directly to the end user. No extra processing is required, which allows it to run incredibly fast, even on a weaker device like the Raspberry Pi.
We can combine this process with a caching layer like Cloudflare to make it easier. There are two benefits that Cloudflare gives us.
First, we can use the Cloudflare Tunnel to create a connection between your Raspberry Pi and Cloudflare, saving you the need to port forward your connection or have a static public IP address. Additionally, if you are like us and your ISP locks you behind a CGNAT, you can still use this to give public access to a website running off your Raspberry Pi.
The second benefit is that Cloudflare has caching, even for those running on their generous free plan. This caching helps reduce the number of requests that will flow through to your Raspberry Pi, allowing you to handle even more traffic and reduce the bandwidth requirements to host a website.
With this tutorial, you must have a domain name and have it routed through Cloudflare. We won’t be covering how to do this, as Cloudflare itself does a pretty good job explaining it.


Equipment
Below you can find a list of some of the equipment that we used when setting up a publicly accessible static website on our Raspberry Pi.
Recommended
Optional
This tutorial was last tested on a Raspberry Pi 5 running the latest version of Raspberry Pi OS Bookworm.
Self-Hosting a Static Website from a Raspberry Pi
Over the next few sections, we will be walking you through the process of self-hosting a public, static website from your Raspberry Pi by making use of both Nginx and a Cloudflare tunnel.
Getting your Raspberry Pi Prepared
1. Before we get started, let us ensure our Raspberry Pi’s operating system is up to date by updating the package list and upgrading any out-of-date packages.
You can perform both tasks by running the following two commands within the terminal.
sudo apt update
sudo apt upgrade -yCopy
2. Once the update is complete, we must install a web server on our Raspberry Pi. In this tutorial, we will be focusing on using Nginx.
We are using Nginx over Apache as it is incredibly good and fast at dealing with static files, with us opening up our Raspberry Pi to serve a website to the public, speed is definitely more of the essence here.
To install the Nginx web server onto our Raspberry Pi, we only need to run the following command in the terminal.
sudo apt install nginx -yCopy3. Now that we have Nginx installed, let us remove the default web data it comes with by running the following command.
Typically, within this directory, you will find a basic bit of HTML that says, “Welcome to Nginx“.
sudo rm -rf /var/www/html/*Copy4. On top of deleting the default web data, we will want to delete the default Nginx web host.
We will be overriding this default one with our own shortly.
sudo rm /etc/nginx/sites-enabled/defaultCopyCreating Some Sample Data for Your Static Website
5. For our next step, let us use the Nano text editor to write a simple HTML file so that we can verify everything is working.
If your static website is ready already, you can simply copy it into the “/var/www/html” directory rather than following the next steps.
sudo nano /var/www/html/index.htmlCopy5. Within this file, enter the following lines. This is some incredibly simple HTML that will show the paragraph “Hello world from PiMyLifeUp“.
You can, of course, write whatever you want here. This is primarily to help verify that everything is working before setting up your website.
<!DOCTYPE html>
<html>
    <head>
        <title>Hello World</title>
    </head>
    <body>
        <p>Hello World from PiMyLifeUp</p>
    </body>
</html>Copy
6. Once done, save and quit by pressing CTRL + X, Y, and then ENTER.
7. Since we wrote everything using the superuser, we will want to ensure that it is all owned by the “www-data” user by using the chown command.
The Nginx web server that we are using runs under the “www-data” user by default.
sudo chown -R www-data: /var/www/CopyCreating the Virtual Host for Your Raspberry Pi’s Public Website
8. We are finally at the point where we can write a Nginx virtual host. This virtual host will define the static website we want to host on our Raspberry Pi publicly.
You can begin to write this virtual host on your Raspberry Pi using the following command. We will be calling this file “raspberrypistatic“.
sudo nano /etc/nginx/sites-available/raspberrypistatic.confCopy9. Now, within this file, type out the following lines.
This virtual host is pretty simple and simply servers whatever is stored within the “/var/www/html/” using HTTP on port 80.
Due to the way the Cloudflare tunnel works, if you want to run multiple websites, each one should run under a different port. For example, you could use this same config but change port “80” to another number like “8080” and run another website.
server {
    listen 80 default_server;
    listen [::]:80 default_server;

    root /var/www/html;
    index index.html;

    location / {
        try_files $uri $uri/ =404;
    }
}Copy
10. After filling out the virtual host file, save and quit by pressing CTRL + X, Y, and then ENTER.
11. With the file now written, we will want to create a symbolic link between where we just wrote the file and the “sites-enabled” directory.
This allows us to disable the site by deleting the link without deleting the config file itself.
sudo ln -s /etc/nginx/sites-available/raspberrypistatic.conf /etc/nginx/sites-enabled/raspberrypistatic.confCopyStarting up the Web Server
12. Finally, with the SSL certificate generated and the virtual host written, we can get Nginx to verify everything is valid by running the command below.
With this command, Nginx will test and verify that everything is ready and can be safely reloaded/restarted.
sudo nginx -tCopy13. If everything has worked correctly, we can now restart the Nginx web server by using the following command.
sudo systemctl reload nginxCopyMaking your Static Website Publicly Accessible on your Raspberry PI
14. At this point, we finally have our Raspberry Pi set up to serve a static website, but we need to make it publicly accessible.
Before proceeding any further, you must follow our tutorial on setting up a Cloudflare Tunnel on your Raspberry Pi. This is the key part of the puzzle that will enable you to set up a publicly accessible static website without the need to port forward or open up any ports on your firewall.
While following this tutorial, use the name “raspberrypitunnel” for your Cloudflare Tunnel.
Follow this tutorial until you get to the section called “Create the Cloudflare Tunnel on the Raspberry Pi” and that you have retrieved the UUID for your tunnel. We will need this UUID for the next few steps.
https://pimylifeup.com/raspberry-pi-cloudflare-tunnel/15. Once you have your tunnel UUID, we can set a tunnel up to make our Raspberry Pi’s static website publicly accessible.
Begin writing this config file by using the following command.
sudo nano ~/.cloudflared/config.ymlCopy16. Essentially, what we will be doing with this file is defining the Cloudflare tunnel that we will be using to make our Raspberry Pi’s static website publicly accessible.
Let us give a very quick rundown of what we achieve with this file.
- We start by defining a name for our tunnel, which in our case is “
raspberrypitunnel“. However, you can swap this out with whatever you would like. - Next, we point this tunnel to the credentials file that would have been generated during our “Raspberry Pi Cloudflare Tunnel” tutorial.
- After this we define the “
ingress” so that the tunnel knows how to handle incoming traffic.- Within this block, we start by defining a hostname. This tells the Cloudflare Tunnel it should route any traffic for this particular domain to a service.
- After defining a hostname, we set the service to which it should be routed.
With the example we have below, we are routing incoming traffic to the content being served at “http://localhost:80“.
The most important part of this line is the protocol at the start and the port at the end. With the virtual host, we set up earlier for our Raspberry Pi’s website, we set it up to use HTTP and set it to use port80.
Now, if you set up another public website on the same machine, you would probably still stick with HTTP but swap out port80with another one.
HTTPS can be tricky with Cloudflare Tunnel as hostname’s are not forwarded by default to your Raspberry Pi. This means it is unaware of the actual domain name, which causes an issue when serving a certificate. Luckily, for the end user, the website will be still served using HTTPS using a certificate generated by Cloduflare. - Finally, all Cloudflared files must end with a fallback service. This is a service that is sent to any requests that don’t match any of your hostnames. In our example, we set it so the HTTP status 404 is returned.
Now while you fill out this file, there are three different placeholders that you must replace:
<USERNAME>: Swap this out with your Raspberry Pi’s username.
For example, in our case, we would use the username “pi“.<UUID>: Replace this placeholder with the UUID you got when setting up your Cloudflare tunnel.<DOMAINNAME>: Finally, replace this last placeholder with the domain name you intend to publicly host your Raspberry Pi’s static website.
For example, a valid domain name would be something like “raspberry.pimylifeup.com“.
tunnel: raspberrypitunnel
credentials-file: /home/<USERNAME>/.cloudflared/<UUID>.json

ingress:
    - hostname: <DOMAINNAME>
      service: http://localhost:80
    - service: http_status:404Copy
17. After filling out this file, save and quit by pressing CTRL + X, Y, and then ENTER.
18. Our next step is to use the Cloudflared daemon to install the file we wrote as a service.
Essentially, what this does is set up a service file so that the tunnel is restored whenever your Raspberry Pi restarts, maintaining public access to your static website.
sudo cloudflared --config ~/.cloudflared/config.yml service installCopy19. Once the service has now been installed, enable it to start at boot and start it immediately by using the following command.
Once the service finishes starting up, you will now have public access to the static website being hosted off of your Raspberry Pi.
sudo systemctl enable cloudflared --nowCopyAccessing your New Static Website Hosted from your Raspberry Pi
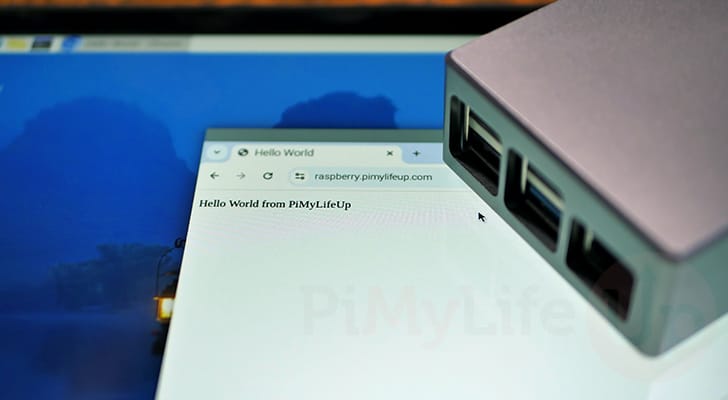
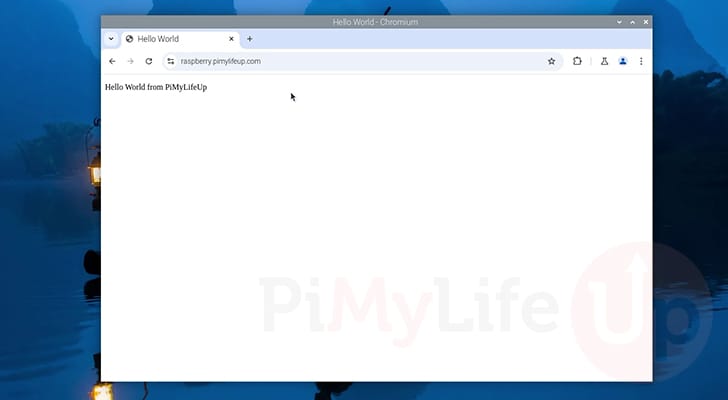
20. At this point, your static website being hosted off your Raspberry Pi should be publicly accessible using your desired domain name.
All you need to do now is go to that domain name in your favorite web browser.
Conclusion
Hopefully at this point you will have learnt how you can easily set up a public static website on your Raspberry Pi using both Cloudflare Tunnels and Nginx.
A static website is one of the easier things to get up and running as there is less risk, fewer moving parts, and significantly less strain on the Pi’s limited resources.
Please feel free to post a comment below if you have had any issues with getting a public static website running on your Pi.
If you liked this guide, be sure to check out some of our many other Raspberry Pi projects.