This quick guide will walk you through the steps to installing Mathematica on the Raspberry Pi.

Mathematica is an incredibly powerful computation engine for processing data and math.
If you deal with math at all, it is well worth checking out this piece of software.
The software typically costs but it is provided for free to any Raspberry Pi’s running Raspbian.
With this guide, we will be showing you the simple steps to installing Mathematica to your Raspberry Pi.
Before proceeding with this guide, make sure that you have at least 1GB of free space on your SD card.
Equipment List
Here is a list of the equipment we recommend for this installing Mathematica on the Raspberry Pi guide.
Recommended
Optional
To be able to use Mathematica on your Pi, you will need to be running a version of Raspbian that has a desktop.
We tested installing Mathematica on a Raspberry Pi 4 running Raspbian Buster. You can upgrade to Buster by following our guide on upgrading to Raspbian Buster.
Installing Mathematica to the Rasberry Pi
1. Before we can install Mathematica to our Raspberry Pi, we must first update the package list.
To update the package list all we need to do is run the following command
sudo apt updateUpdating the package list should allow us to install Mathematica, without any issues.
2. Now, to install Mathematica, we need to run the command below.
sudo apt install wolfram-engineThis installation process will take some time as the Pi will need to download and install over 500mb of packages.
Loading Mathematica on the Raspberry Pi
1. With Mathematica installed to your Pi, we can now launch it.
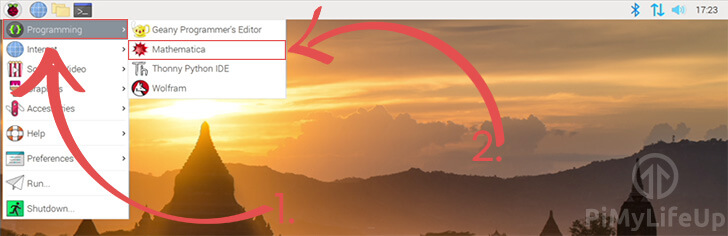
To open Mathematica, click the icon in the top left-hand corner of the desktop.
2. Within this menu, hover over “Programming” (1.).
In the menu that pops up, click “Mathematica” (2.).
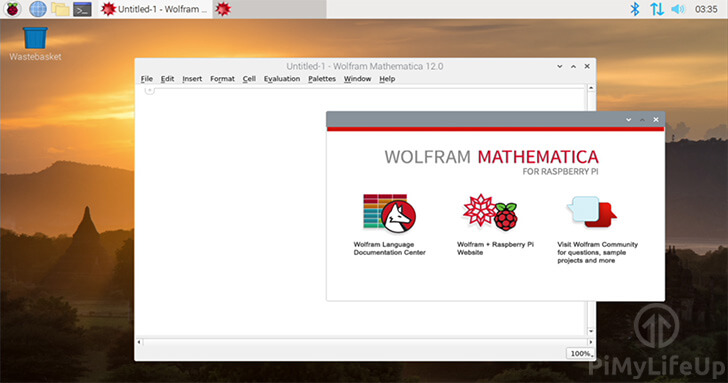
3. Mathematica will now launch on your Pi. You will be able to start using it straight away to perform mathematical calculations.
Testing Mathematica on the Pi
1. To test that the software is working as intended, you can try typing in a simple math problem such as the following.
2+22. With the math problem entered, you can press SHIFT + ENTER to evaluate the cell.
Alternatively, you can click “Evaluation” in the menu bar, then click “Evaluate Cells“.
3. If everything worked, the output in your Mathematica notebook should end up looking a bit like what we have below.
In[1]:= 2 + 2
Out[1]:= 4
At this point, you should now have set up Mathematica on your Raspberry Pi and done and initial test to see that it works.
If you run into any issues with Mathematica or have any feedback, feel free to drop a comment below.