In this tutorial, you will learn how to install and use the wget command on macOS easily.
wget is a powerful and useful tool that allows you to download content from a URL easily. It supports HTTP, HTTPS, and FTP protocols.
This tool isn’t actually installed on macOS by default; instead, it is expected that you would use a tool like curl. While you can do many things in curl that you can do with wget, not all of the functionality is there. On top of that, some users may want to stick with a tool with which they are more familiar.
If you would prefer to use wget, then don’t worry as it is relatively easy to install this tool. All you need to do to install wget is be happy to open the terminal and enter a few really simple commands.
We use wget frequently in our tutorials, as it is an easy and reliable tool for downloading files within a terminal.


Using Homebrew to Install wget on macOS
Over the following sections, we will be walking you through the simple steps of installing wget on macOS.
To install wget, we will utilize the Homebrew package manager. This greatly simplifies the whole installation process and allows you to update wget with a simple command. Best of all, Brew is just a useful package manager to have available.
Opening the Terminal
1. Before we can install wget on macOS you will need to open the terminal.
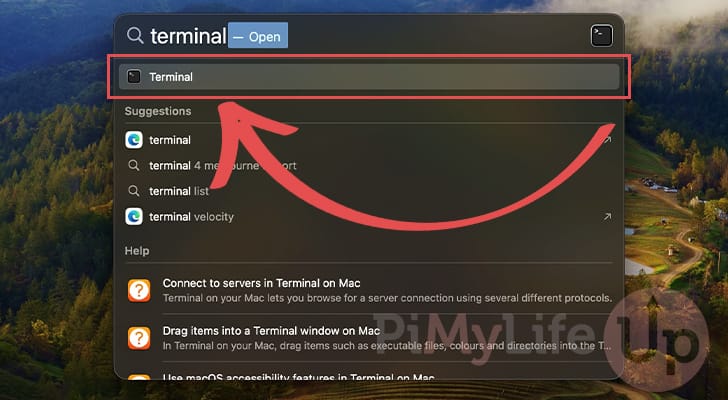
The easiest way to get to the terminal is to bring up the spotlight search by pressing COMMAND + SPACEBAR.

2. Once you have spotlight open, type in “terminal” and then press the ENTER key to open the terminal.
Installing Homebrew
3. Before we can install wget on macOS, you will need to install Homebrew by following our guide.
Homebrew is an open-source and free package manager for macOS and allows us to install additional software like wget with just a single command. If you are familiar with Ubuntu, then this is just like using “apt” or Python’s “pip“.
https://pimylifeup.com/install-homebrew-on-macos/Using Brew to install wget on macOS
4. Once you have Brew installed, you can install the macOS version of wget to your system by running the following command in the terminal.
This process should only take a few seconds to complete
brew install wgetCopyUsing wget on macOS
5. With wget now installed on macOS, let us quickly go over the basic syntax of the tool. We won’t be providing a deep dive on how you can use this tool but it should give you a basic understanding
The wget function has two parameters. The first is the optional options parameter, which you can use to control how wget functions on your Mac. The second is the URL parameter, which is the location of the content you want to download.
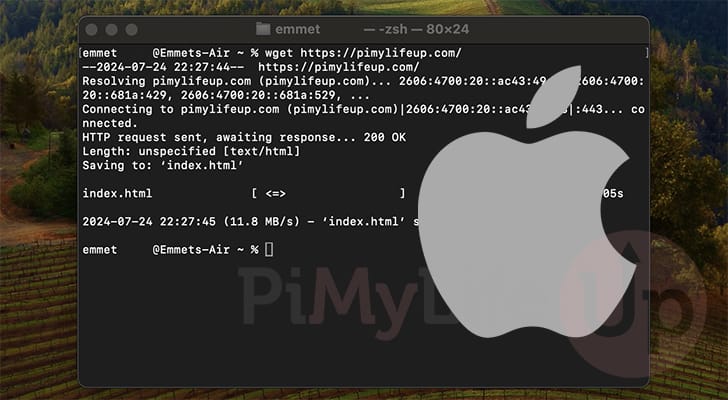
wget [OPTIONS] URLCopy6. For example, if you wanted to download a copy of the Google home page to macOS, you could use the following command.
With this command, wget will fetch the content served by “google.com“. Which, in this case, will be an “index.html” file that it will save and store in your current directory.
wget https://google.comCopy7. By default, wget will save whatever you download to the terminal’s current working directory. To override the save location, you will want to use the “-P” option followed by the directory.
For example, if we wanted to save a file straight to our macOS home directory, we could use the following.
wget -P ~ https://google.comCopy8. If you want to learn more about using wget on macOS, we highly recommend following our wget command guide.
While this guide was written originally for Linux, the syntax and options are all still highly relevant.
Conclusion
Hopefully, by this point in the tutorial, you will have successfully installed and used wget on macOS.
Wget is an incredibly handy tool for easily downloading content from the Internet. It even has neat features, such as the ability to recursively download from a provided link, which can be incredibly helpful for archiving data.
Please feel free to leave a comment below if you have any questions or concerns about using wget on your Mac.
If you found this tutorial helpful, we recommend that you explore our many other macOS guides.