In this guide, we will show you how to set up the RabbitMQ message broker using Docker Compose.
RabbitMQ is an open-source, robust, and performant message-broker. It has support for most of the popular message formats, including AMQP and MQTT.
This server has a variety of uses thanks to the way it works. When it receives a message, it stores it in a queue. A receiver can then request a message from this broker, taking it off the queue and processing it.
We use RabbitMQ internally for our image optimization. Each newly uploaded image is sent as a message into the queue. On the other side, we have an image optimizer that periodically pulls a message off the top of the queue and optimizes the image.
Using a broker this way, we can keep the uploading process feeling fast by handling the more intensive image optimization when the server is ready.
One of the easiest ways to get the RabbitMQ broker up and running is to utilize a Docker container. You can get this message broker up and running in just a few short commands, and upgrading to new releases is incredibly simple.


Installing and Running RabbitMQ using a Docker Container
Over the following sections, we will walk you through installing and running RabbitMQ using a Docker container.
This process is incredibly simple and will work on any machine that has support for Docker.
Preparing your System to Run RabbitMQ
1. To make setting up the RabbitMQ broker a simple process, we need to have the Docker runtime installed on your system.
If you haven’t installed this runtime previously, we highly recommend our guide on installing Docker.
https://pimylifeup.com/linux-docker-install/2. Once Docker has been installed, your next step is to create a directory where we will store the Compose file and data for the RabbitMQ broker.
You can create this directory by using the mkdir command within the terminal.
sudo mkdir -p /opt/stacks/rabbitmqCopy3. After creating the directory to store the Compose file, use the cd command to change into it. We must be in this folder to write and start the Docker file for RabbitMQ.
cd /opt/stacks/rabbitmqCopyWriting a Docker Compose File for RabbitMQ
4. Your next step is to write the Docker Compose file that will set up RabbitMQ on your machine. A Compose file is like a set of instructions that Docker will use to launch a particular piece of software.
You can begin writing this Compose file within the terminal by using the Nano command.
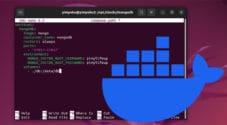
sudo nano compose.yamlCopy5. Within this Compose file, you will want to type out the following lines.
These lines define the RabbitMQ Docker container, the image we want to use, the ports to be exposed, as well as the volumes that will be mounted.
While filling out this file, you will need to make a choice on what version of RabbitMQ you want to install.
<CONTAINERNAME>: Here is where you have a choice of two variants of RabbitMQ.rabbitmq– Use this version if you just want the message broker itself and no management web interface.rabbitmq:management– This version adds a web management layer that you can use to manage the message broker. It is available on port15672.
If you aren’t using the management variant of RabbitMQ, remove the reference to port 15672 from the Compose file.
services:
  rabbitmq:
    container_name: rabbitmq
    image: rabbitmq:management
    ports:
      - 5672:5672
      - 15672:15672 #Remove if not using management
    volumes:
      - ./data/:/var/lib/rabbitmq/
      - ./log/:/var/log/rabbitmq
    restart: unless-stoppedCopy
6. Once you have filled out this file, you can save and quit out of the text editor by pressing CTRL + X, Y, and then ENTER.
Starting up the RabbitMQ Docker Container
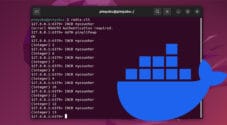
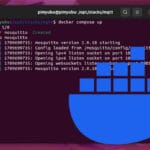
7. With the Docker Compose file written, all you need to do to start up the RabbitMQ message broker is to run the command below within the terminal.
Once this container is started, Docker will ensure it starts every time the Docker runtime boots. Additionally, by running the command below with the “-d” option, Docker will detach from the terminal once RabbitMQ has started.
docker compose up -dCopy8. You have now successfully set up the RabbitMQ broker using Docker. You should now be able to begin sending and processing messages through the broker.
If you have decided to use the management version of this software, you can continue on to the next section.
Accessing the Management Web Interface
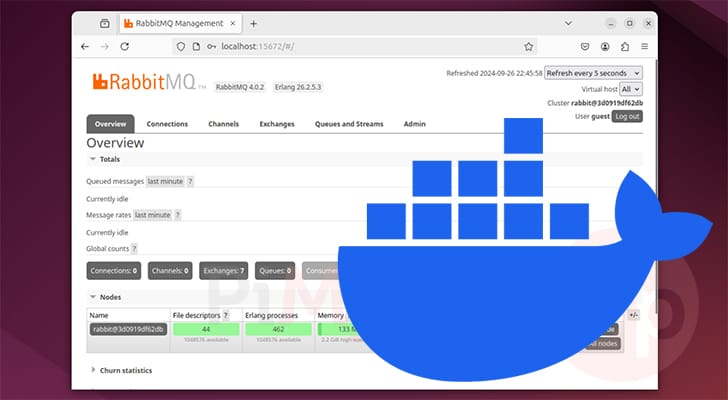
9. If you have decided to use RabbitMQ’s management Docker container, you will now be able to access a web interface to see what your message broker is doing.
For this, you will need to know the IP address of the machine on which you set up RabbitMQ. If, for some reason, you don’t know your IP address, you can often get it using the hostname command.
hostname -ICopy10. Within your favorite web browser, you will want to go to the following address. By default, the management web interface operates on port 15672.
http://<IPADDRESS>:1567211. You should now be greeted by the RabbitMQ login screen.
This message broker’s default username and password is “guest” (1.). You will want to change this after logging in for the first time.
After typing in your username and password, click the “Login” button (2.).

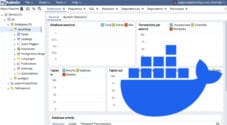
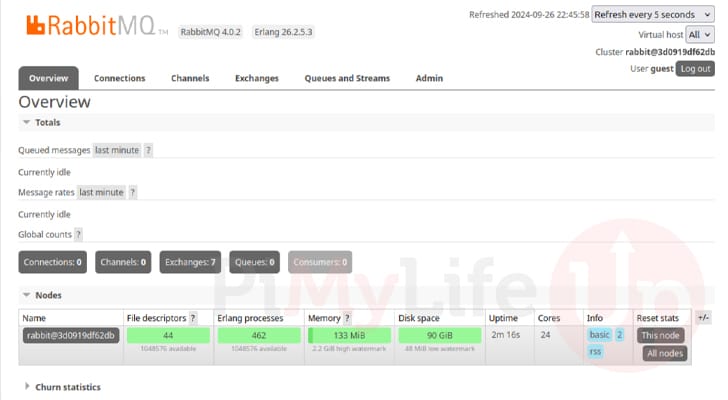
12. Below, you can see that we successfully got RabbitMQ up and running using our DockerContainer.
The web management tool can be incredibly useful for managing this message broker.
Conclusion
Since you have got to this point in the tutorial, you should now have RabbitMQ up and running using both Docker and Compose.
RabbitMQ is a great message broker and is well-regarded for its performance and reliability. We even use it for some of our own infrastructure.
Please feel free to drop a comment below if you have had any issues with getting this broker up and running.
If you found this tutorial to be helpful, we recommend exploring some of our many other Docker tutorials.