In this guide, we will show you how to run the boot repair tool on your Ubuntu system.
Ubuntu is one of the easiest Linux-based operating systems to use. It has a huge community, lots of features, and well-maintained documentation.
Of course, despite being a solid operating system, there is still a chance things can go wrong, and you end up breaking your Ubuntu system from booting.
Luckily, you can try several methods to repair your Ubuntu system’s boot issues. This guide will show you two different methods.
Before you proceed, you must have a couple of things handy. First, your Ubuntu system will need access to the internet. The boot repair tool we will be running on Ubuntu is not available in the base operating system.
Secondly, you will need a USB or CD with a bootable version of Ubuntu on it. We won’t be covering how to do that in this guide, but if you have installed Ubuntu yourself, you will be familiar with it. The official Ubuntu documentation will also walk you setting up a Live USB or CD.
Repairing your Boot using Ubuntu Recovery Mode
While you might be having issues with booting into your Ubuntu system, there is a good chance you can avoid having to use the boot repair tool.
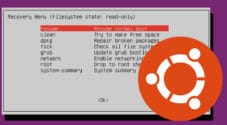
Ubuntu has a built-in recovery mode that you can use to repair common system issues. While this tool can’t fix all issues, it is always a great choice to avoid having to set up an Ubuntu Live USB.
For example, you can use this recovery mode to attempt to repair broken packages, check file systems for errors, and update the grub bootloader.
Of course, if your system refuses to even get to the recovery menu, you will have no choice but to attempt to use the boot repair tool.
If you want to attempt to use the Ubuntu recovery mode, be sure to follow our guide. It walks you through how to boot into this mode.
Using the Boot Repair Tool on Ubuntu
If your Ubuntu system refuses to boot and refuses to enter recovery mode, you will have no choice but to attempt to use the boot repair tool.
To use this tool, you will need a USB with Ubuntu installed. Ubuntu allows you to run it off a USB without installing it on your actual physical drives. We can even temporarily install packages on this live system, meaning we can install and run the boot repair tool.
Booting into Ubuntu Live Mode
1. With your Live CD / USB inserted into your system, turn on your system and ensure that you tell it to boot from those devices.
The method for selecting the boot device can differ drastically between systems, so you may want to consult your manual to see how to do this.
For example, I could switch to the boot selection screen on my computer by pressing the F12 key during startup.
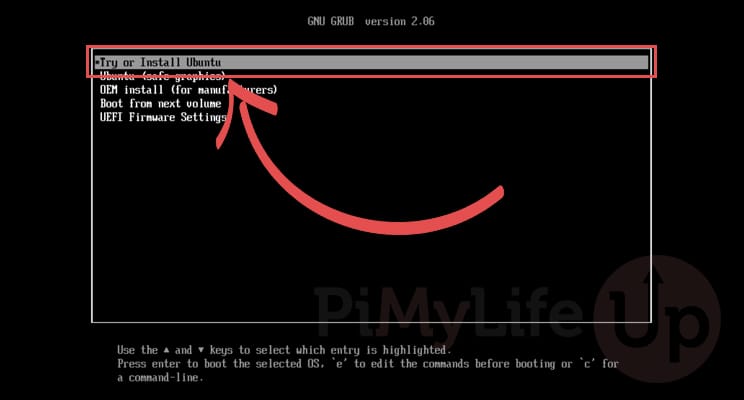
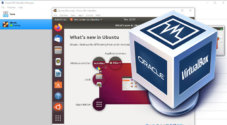
2. When Ubuntu boots it gives you several options. The one you will want to select here is the one at the top labeled “Try or Install Ubuntu“.
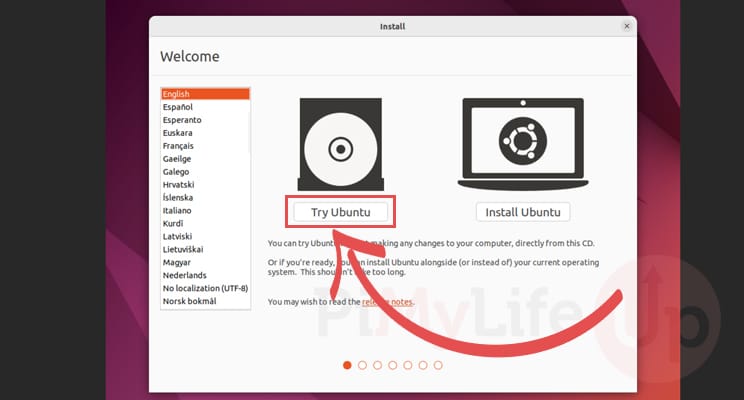
3. After a few minutes you will be greeted by the screen below.
Here, you should make sure that you select the “Try Ubuntu” option. This will get Ubuntu to boot without installing to your drives.
Installing the Boot Repair Tool to Ubuntu
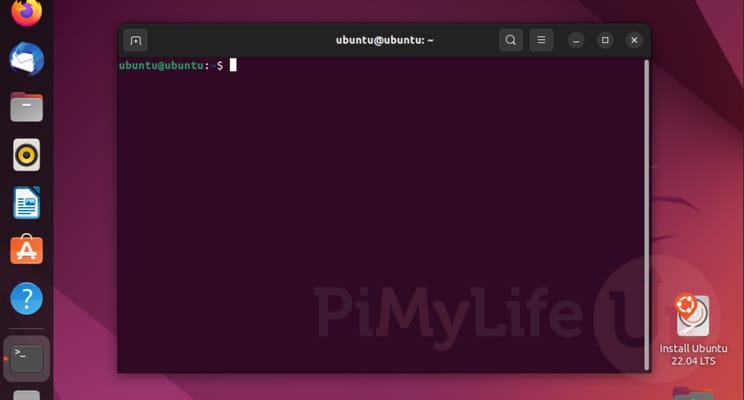
4. Depending on your system, Ubuntu may take a few minutes to boot into live mode.
Once it does, you will want to open the terminal on your system. You can open the terminal by pressing CTRL + ALT T on your keyboard.
We will need to use the terminal to install the Ubuntu boot repair tool. As mentioned earlier, this tool does not come with your system by default.
5. Within the terminal, we will need to start by adding the repository for the Boot repair tool.
You can add this repository by using the command below.
sudo add-apt-repository ppa:yannubuntu/boot-repairCopy6. As we changed the available repositories, we will need to update the package list cache by running the following command.
sudo apt updateCopy7. Once the package list cache has been updated, you can install the Boot repair tool to the Ubuntu live system by running the following command.
sudo apt install boot-repair -yCopyOpening the Ubuntu Boot Repair Tool
8. With the terminal still open on Ubuntu, all you need to do to launch the Boot repair tool is to use the command below.
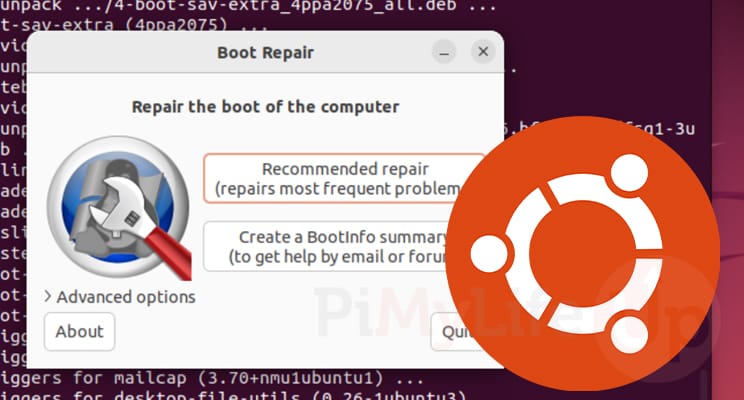
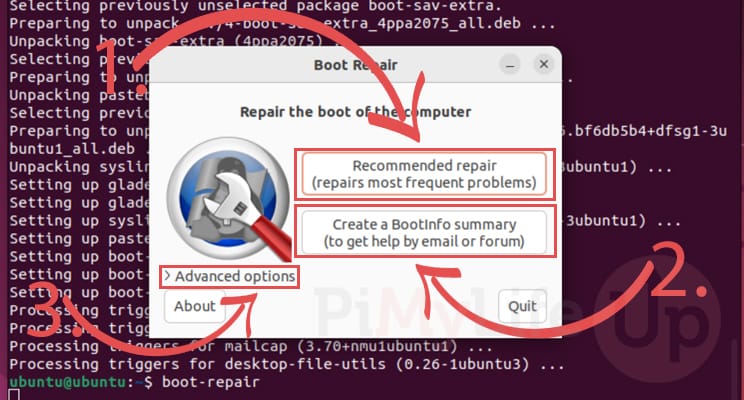
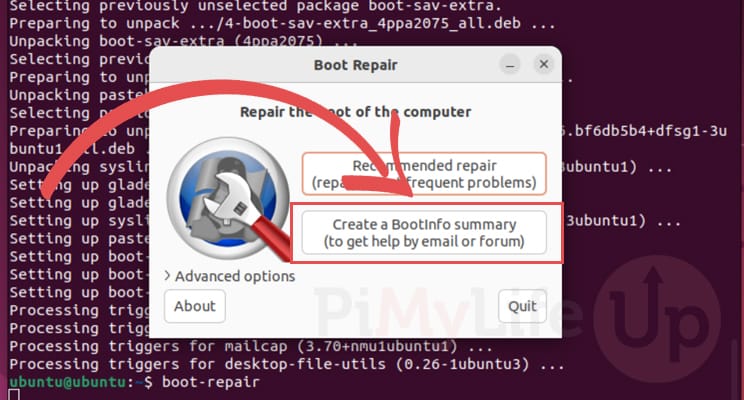
boot-repairCopy9. With the Boot Repair tool now open, you will see two large buttons and an additional drop-down.
The first button (1.) will attempt to repair your Ubuntu system so that it can boot using some recommended settings. In most cases, this can fix the boot issues you are running into.
The second button (2.) allows you to export information about your Ubuntu system that may be stopping it from booting. This is useful to post on forums if you want a more catered approach to fixing the boot issues on your system.
On this screen, you will find a third option (3.) that allows you to expand your control over what the boot repair tool does to your Ubuntu system.
Running a Recommended Boot Repair on your Ubuntu System
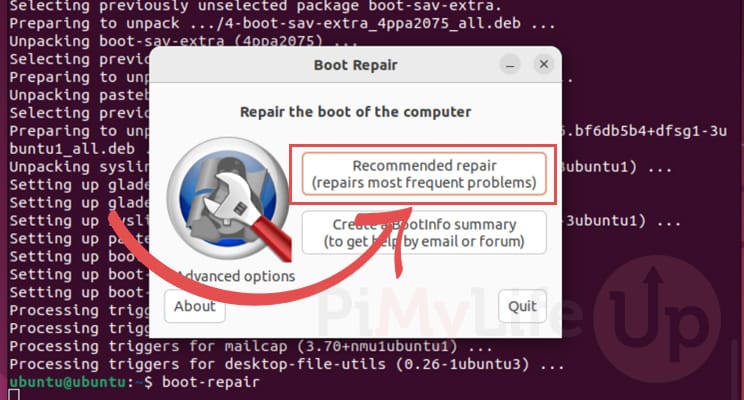
10. With the Boot Repair Tool open on your Ubuntu system, running a recommended repair is as simple as clicking the “Recommended Repair” button.
This button runs a basic set of tools that should help fix the most common issues that stop Ubuntu from booting.
11. The repair tool will run through a series of recommended tasks. This shouldn’t take very long and will hopefully repair the problems you are having booting to Ubuntu.

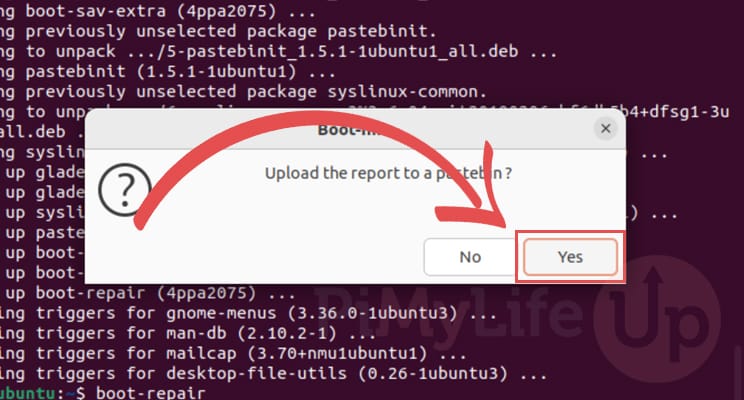
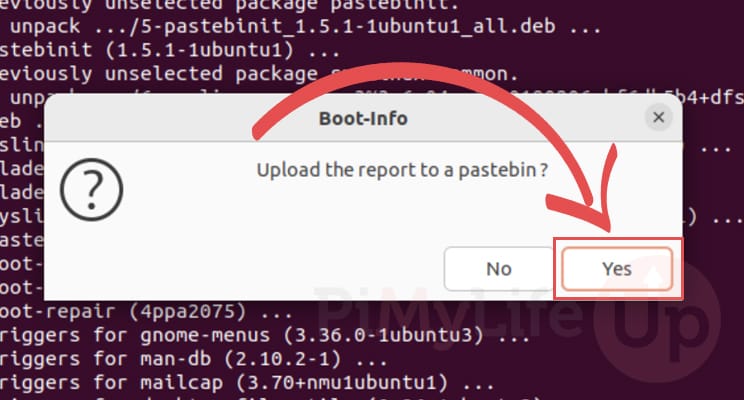
12. Once the repair has been completed, you will be asked if you want to automatically upload the report to the Ubuntu Pastebin.
By selecting the “Yes” option, the boot report will be saved to a place where it is easily accessible. Uploading it makes it easy to share with others if you are getting help.
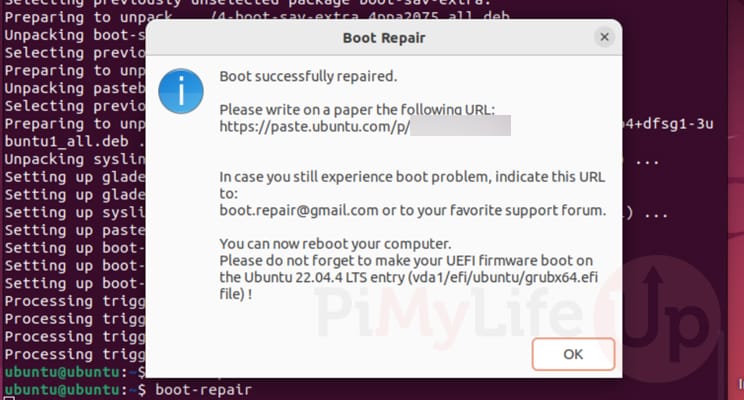
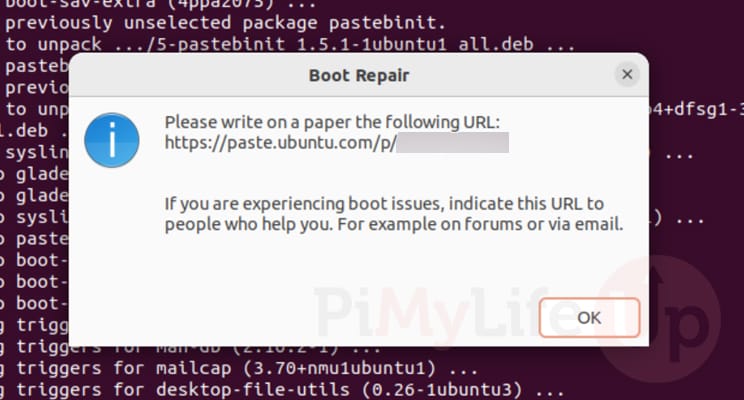
13. If the repair process has been completed successfully, the following message appears within the terminal.
When you restart your Ubuntu system, it should successfully boot. If you continue to run into issues, the report mentioned in this message will help you diagnose what is going wrong.
Generating a Summary of Your Boot Information
14. The Boot Repair Tool allows you to generate a summary of your boot without performing any repair tasks.
This option is useful when someone or you are trying to help work out what is going wrong with your system and stop it from booting.
15. You will be asked if you want this report to be uploaded to the Ubuntu Pastebin. As this makes sharing the report significantly easier, we recommend you select the “Yes” option.
16. Once the report has been generated, you should see a message similar to the one below.
Exploring Advanced Mode
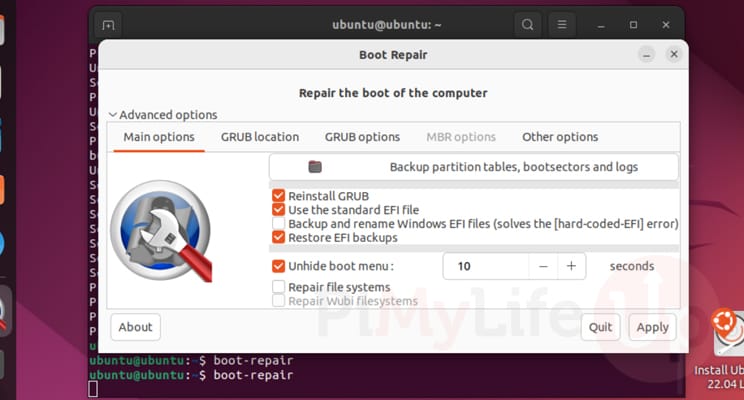
18. The Ubuntu Repair Tool offers advanced options if you want more control over this tool’s repair tasks.
Typically, you will only want to touch these options if you know what you are doing, or someone has advised you on what to change to fix your boot issues with Ubuntu.
Conclusion
At this point in the tutorial, you should know how to install and use the boot repair tool on Ubuntu.
This tool is incredibly useful for getting your Ubuntu system working again when you encounter common issues. It allows you to perform some basic repairs with a simple click of a button.
Additionally, you can use the boot repair tool to produce a report of your system that can be useful for others to diagnose what exactly is going wrong.
Please feel free to drop a comment below if you have any questions about running the boot repair tool.
If you found this guide to be useful, consider checking out our many other Ubuntu guides.

Very good guide. Thanks a lot for the time and effort.
THANK YOU! I was in hour no. 4 trying to have lubuntu & win8 dual boot with legacy bios – you helped 🙂
THANKS! Just installed (8/7/2024) Ubuntu 24 on one of my systems, told it to install ‘alongside’ my Windoze 10 for DualBoot option. After the install, GRUB only booted into Ubuntu.
This fixed the problem.