In this tutorial, we will be showing you how to enable full disk access on a Mac.
Full Disk Access allows an application such as the macOS terminal to touch all parts of the system. This means you can also use that app to adjust certain system settings.
It is a safety feature that helps protect your Mac from a dodgy application gaining access to parts of the system it shouldn’t.
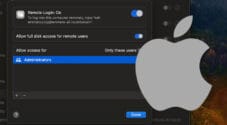
For example, if you attempt to enable or disable remote login on your Mac using the Terminal, you will run into an error with full disk access disabled.
This extra permission is assigned on an application-per-application basis. You can’t grant a user global privileges, even if they are an administrator. Again, this protects from a bad app accessing things it shouldn’t be.
You will still have to authenticate yourself to complete any actions needing you to be an administrator.
Try and be careful with the applications you grant Full Disk Access to on your Mac. System applications like terminal can be safe under most conditions.
Enabling Full Disk Access on macOS
Throughout this section, we will be walking you through the process of granting an application full disk access on your Mac.
In particular, our tutorial will show you how to give full disk access to the terminal application. However, these steps will work for any application you want to use.
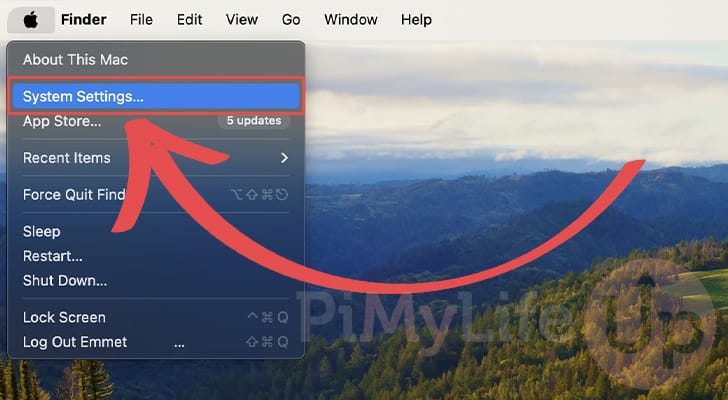
1. Start by opening the Apple menu on your Mac.
You can open this menu by clicking the Apple icon in the top-left corner.

2. With the Apple menu open, find and click the “System Options...” option.
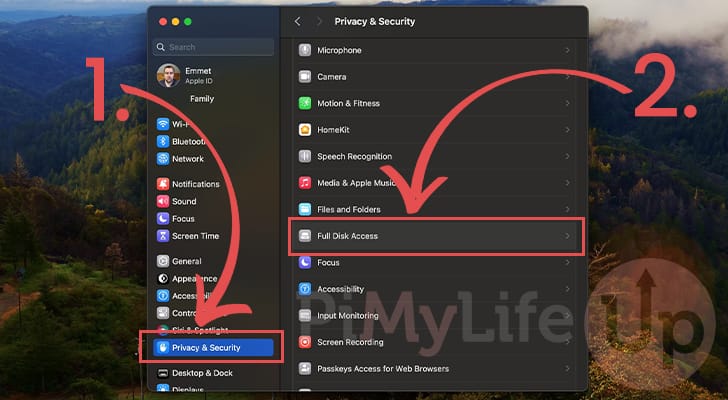
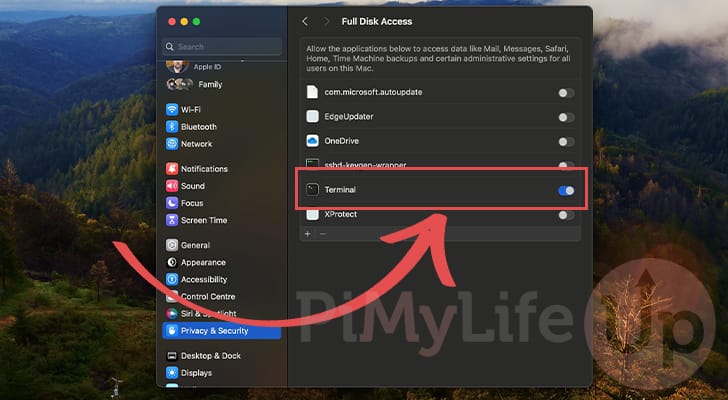
3. Now that the system settings page is open on your Mac, change to the “Privacy & Security” tab (1.).
Once you are on this tab, scroll and click the “Full Disk Access” option (2.).
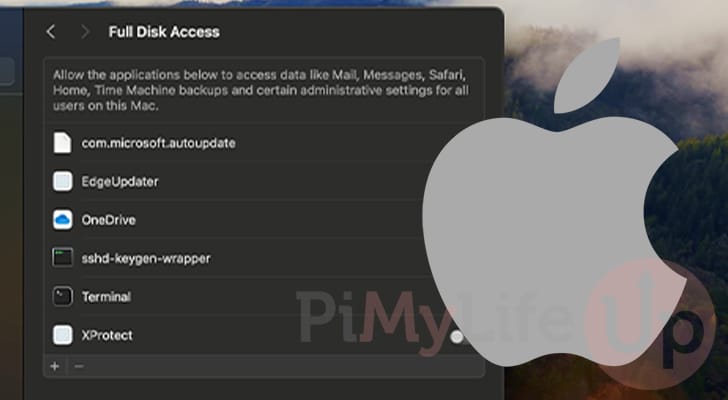
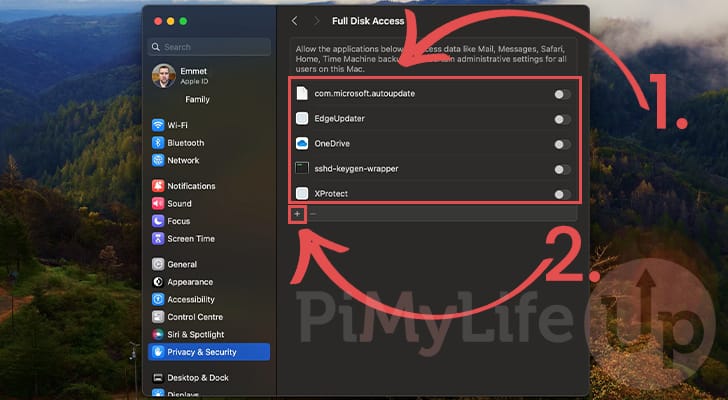
4. Once you are on the Full Disk Access settings page on your Mac, you will see a list of applications that have already been added to the list (1.).
Each of these apps can have full disk access toggled on or off. In our screenshot below, all the applications have this privilege disabled.
As the terminal isn’t on our list, we must click the “+” symbol (2.) to add a new application to the Full Disk Access list.
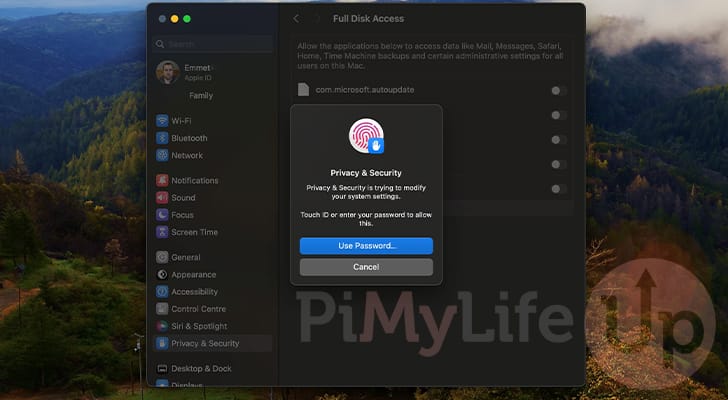
5. Since adding an application on Mac to the Full Disk Access requires administrative privileges, you must now type in your password or use Touch ID.
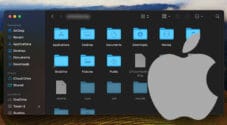
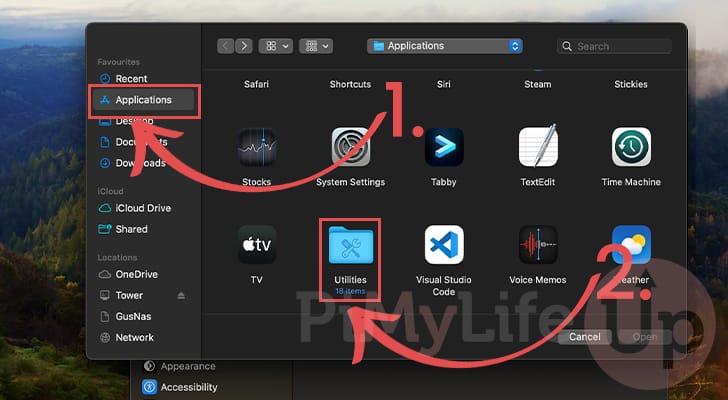
6. You can now navigate and select the application you want to enable full disk access. Our steps below will focus on selecting the terminal application.
Under “Favourites” in the sidebar, find and click the “Applications” folder (1.).
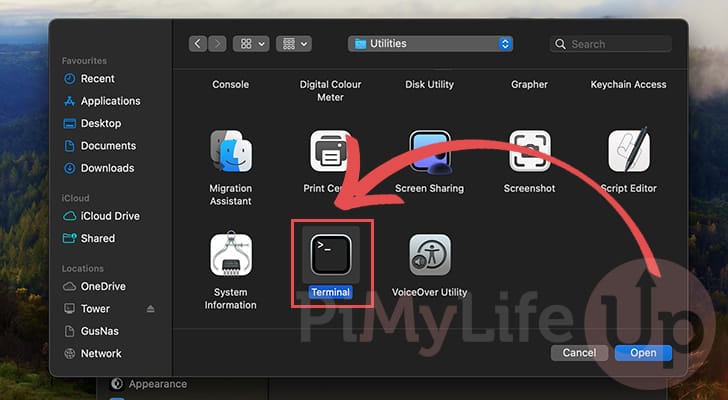
Once you are in the “Applications” folder, look for and double-click the “Utilities” folder (2.).
7. Once you have found the application you want to add to this permission list, double-click it.
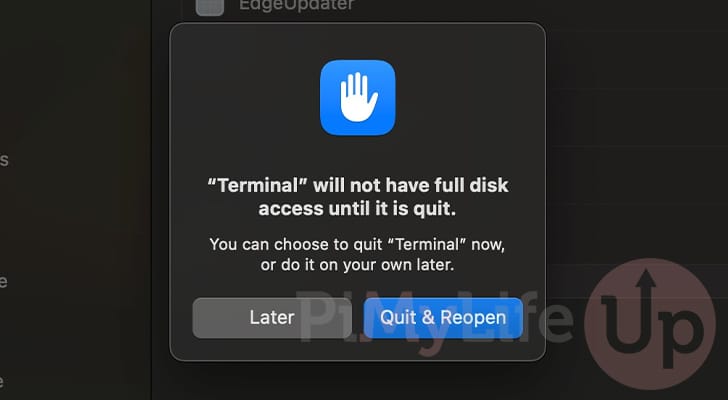
8. If you happen to have that application open, you will see a warning that macOS can’t enable Full Disk Access for the application until it has been restarted.
To apply these permissions immediately, click the “Quit & Reopen” button. Alternatively, you can click “Later” and Full Disk Access will be granted once you restart the app.
9. You should now see your application within the “Full Disk Access” list with the toggle switched to the on position.
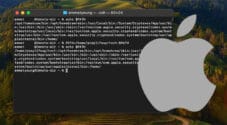
In our case, you can see how we have enabled Full Disk Access for the Terminal. We can now do things such as enable SSH using only the terminal.
Conclusion
At this point in the guide, you should hopefully know how to enable full disk access on a Mac.
Despite its name, full disk access does not just affect access to the disk. It also affects access to settings such as turning SSH on or off.
Please feel free to comment below if you have any questions about using full disk access on macOS.
If you found this tutorial to be useful, we recommend checking out our many other Mac guides.