In this guide, you will see how to show hidden files within Finder on macOS.
Finder is the default file browser for macOS. It is the application that you use to navigate your files and folders.
By default, Finder is set not to show hidden files and folders on your system. It does this to prevent people from mindlessly messing with files and folders they shouldn’t be.
Typically, a file or folder is hidden on your Mac, so it isn’t needlessly edited or deleted by someone who doesn’t know what they are doing.
Additionally, any file or folder that starts with a dot (.) will be automatically hidden by macOS. You will notice this same behaviour on both Linux and Windows based systems as well. Typically files starting with a dot are system or configuration files.
By the end of this guide, you will know how to show hidden files or folders using macOS Finder.
Showing Hidden Files in macOS Finder
In this section, we will show you how easy it is to show and hide hidden files while using Finder on macOS.
While it can initially be slightly confusing, displaying hidden files is a very simple process. Looking through the Finder applciations settings, you will notice there is no “Show Hidden Files” option.
Luckily, all you need to do to display hidden files within Finder is to press three buttons on your keyboard.
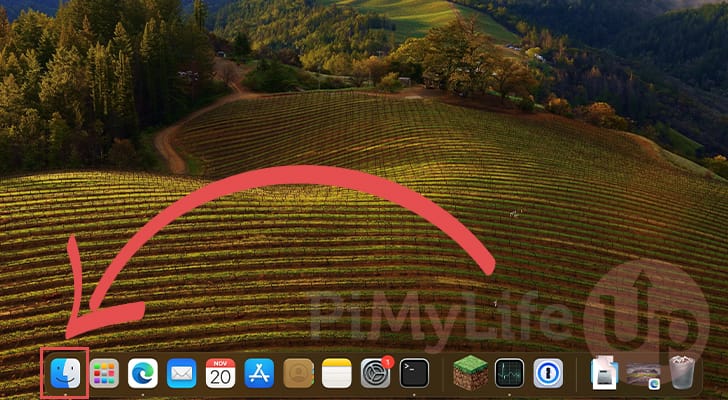
1. First, you will want to open the Finder app on your Mac.
This app is usually located within the dock at the bottom of your screen. It is the icon with the face on it.
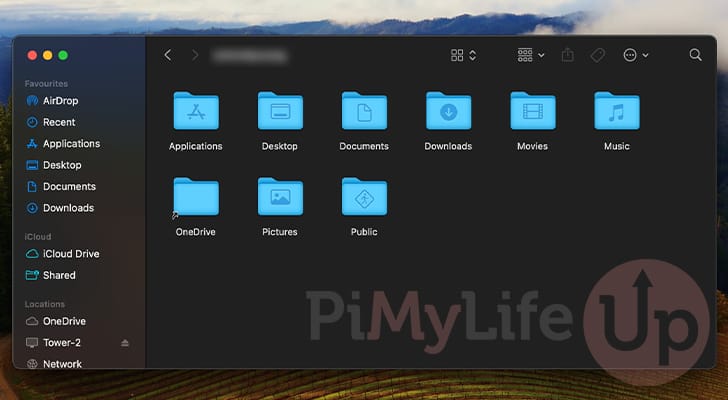
2. Once you have Finder open, navigate to the folder where the hidden files or folders you are after are located.
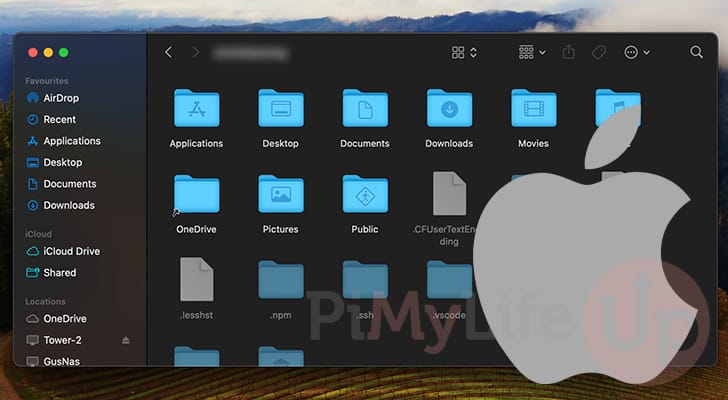
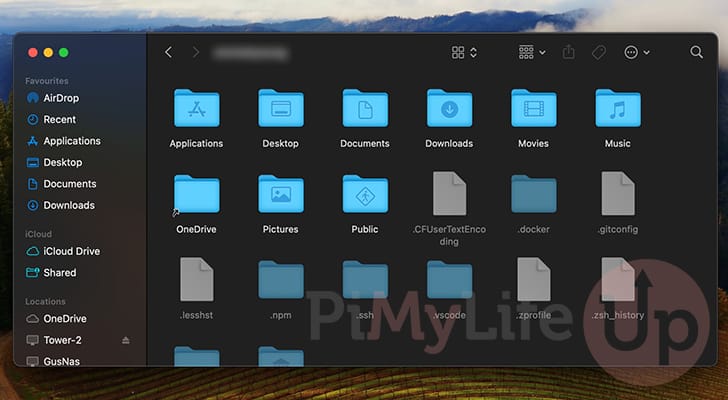
To show hidden files in Finder on your Mac, press COMMAND + SHIFT + . on your keyboard.
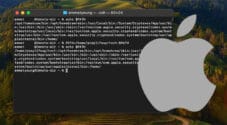
3. Below, you can see that our hidden files and folders contained within our Mac users home directory.
If you want to hide these files again, press COMMAND + SHIFT + ..
Using the Terminal to Enable Hidden Files in Finder
If for some reason the keyboard shortcut isn’t working to enable hidden files within Finder there is an alternative method.
That method is to use the terminal to change the default value for “AppleShowAllFiles” from “NO” to “YES“.
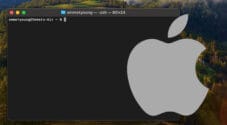
1. Before you can continue, you must open the terminal on macOS.
One of the easiest ways to do this is to press COMMAND + SPACEBAR, type in “terminal“, then press the ENTER key.
Show Hidden Files by Default
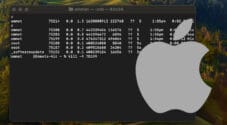
2. To change Finder to display all hidden files by default, you simply need to run the following command in the terminal.
This command sets an option called “AppleShowAllFiles” to “YES“.
defaults write com.apple.finder AppleShowAllFiles YES
Copy
3. Before Finder will start using this option, you will need to restart the application.
We can easily do this by using the “killall” command followed by the name “Finder“. The app will automatically restart after being stopped.
killall FinderCopyHide Hidden Files and Folders by Default
4. If you no longer want to see hidden files in Finder on macOS by default, change the “AppleShowAllFiles” option back to “NO“.
You can set this new value using the command below within the terminal.
defaults write com.apple.finder AppleShowAllFiles NOCopy5. Like showing hidden files, you must restart Finder for this change to take effect.
Terminate the Finder process by using the following command.
killall FinderCopyConclusion
Hopefully, at this stage, you will now understand how to show hidden files within the Finder app on macOS.
Please feel free to comment below if you have issues showing or hiding hidden files and folders.
If you found this tutorial to be helpful, we highly recommend checking out our many other macOS guides.