In this tutorial, we will walk you through the simple steps of installing Proxmox VE on a machine.
Proxmox Virtual Environment is an open-source virtualization platform that enables easy deployment and management of virtual machines and containers through a simple web interface.
This software is packed with a ton of functionality that makes it more useful than just a virtualization platform. It has many features that make managing VMs a breeze. These include the ability to easily create backups, view the console through your web browser, and more.
To install and set up Proxmox, you will need several things. The first and most important is a machine on which to set up your virtual environment.
- This machine must have a bare minimum of 1GB of RAM, but since you are setting up virtual machines, the more, the better. The more RAM you have available, the more VMs you will be able to run without issue
- Your CPU and Motherboard must support Intel VT or AMD-V. Proxmox will require these technologies to run the virtualized environments properly on your machine.
- Of course, you will need at least one hard drive to install Promxox directly. You can actually set up multiple drives to build a larger drive pool. The bigger the drive, the better, as you will be able to give more space to the VMs.
- Finally, your machine must have an ethernet connection. Proxmox will not work properly over Wi-Fi due to key issues with the Linux networking stack.
You will also need a machine to install Proxmox on and a USB drive with at least 4GB of space available. All content on this drive will be lost when you write the Proxmox VE installer to it later in this guide.
Please note that you cannot follow this guide if you are running a Raspberry Pi. Proxmox does not provide builds for ARM systems. However, we have a guide showing you how to install an unofficial ARM port of Proxmox to the Pi.

Installing and Setting up Proxmox
In the following sections, we will walk you through all of the steps needed to install and run Proxmox VE. At this stage, you will want to have everything you require on hand, including a spare USB drive and a machine that you will actually install Proxmox on.
Getting the Required Software
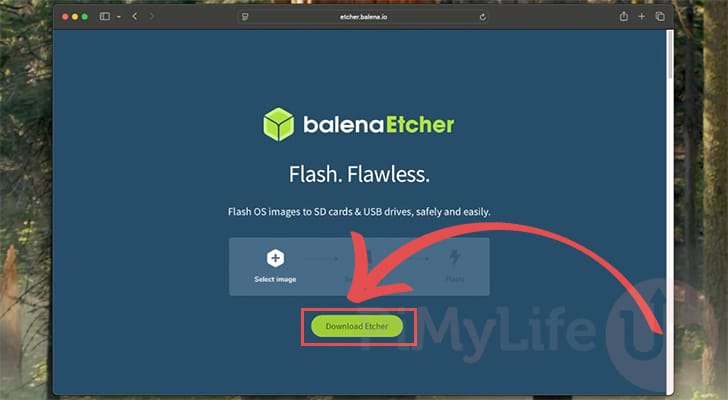
1. The first software we will use to install Proxmox onto our machine is balenaEtcher. This software will enable us to write the Proxmox VE Installer on a USB drive.
You can download this software by going to the Etcher website. It supports the vast majority of operating systems and is generally relatively reliable.
https://etcher.balena.io/You should be able to get taken to the download list by clicking the “Download Etcher” button.
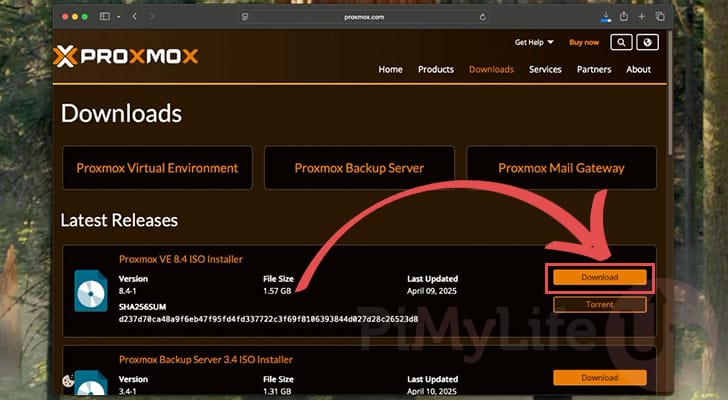
2. With balenaEtcher installed, we need to download the Proxmox VE installer itself. We can get this by going to the official website and grabbing the “ISO Installer“.
https://www.proxmox.com/en/downloads/proxmox-virtual-environment/isoThe download you are after will be labeled something like “Proxmox VE 8.4 ISO Installer“. This will change whenever new releases are published, but the general name should remain the same.
Writing the Proxmox VE Installer to a USB Drive
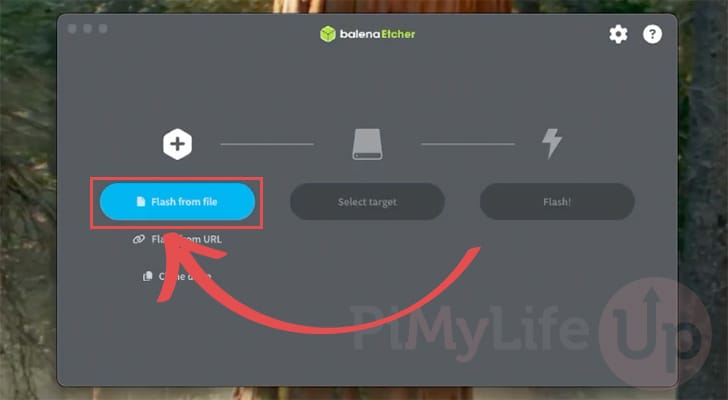
3. With Etcher now installed, we can utilize it to install the Proxmox ISO you downloaded onto a USB drive. First, you will want to plug your USB drive into your computer and then open Etcher.
Once Etcher is open on your machine, click the “Flash from File” button and then browse and select the Proxmox VE Installer ISO.
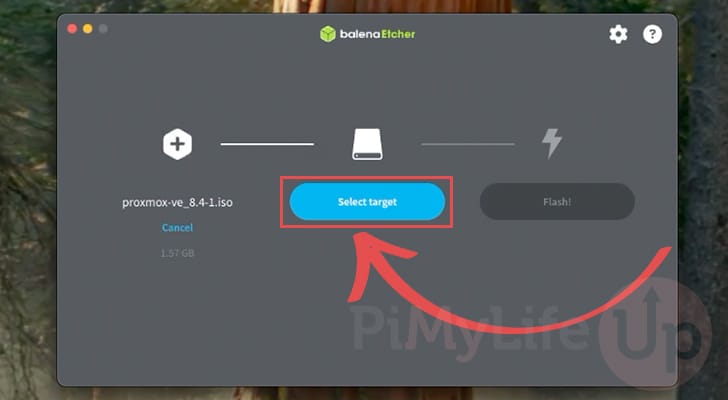
4. With the Proxmox image selected, we must now click the “Select target” button and use the dialog box to select the USB drive to which we want this image written.
Ensure that you have selected the correct drive, as this drive will be wiped during the writing process.
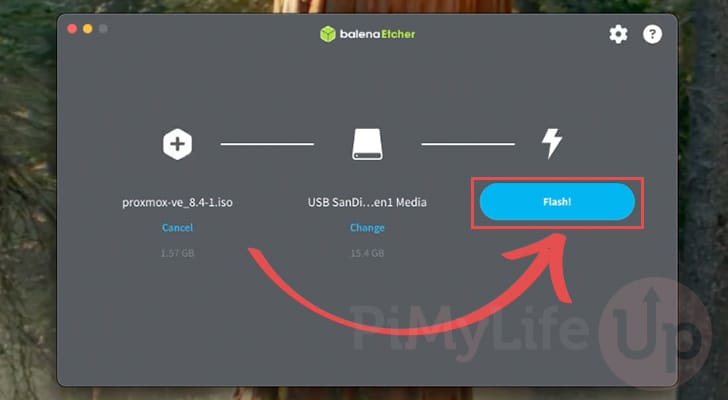
5. Once you are happy that you have selected the Proxmox image and the correct USB drive, click “Flash!” button to begin the flashing process.
Depending on the drive you are using, this process shouldn’t take very long to complete.
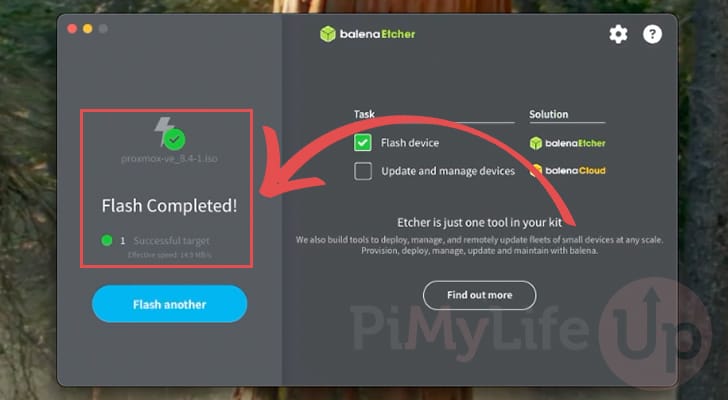
6. After Etcher has finished writing Proxmox VE to your USB drive, you will see a message on the left side of the window saying,”Flash Completed!“
7. At this stage, you can take your USB drive and insert it into the machine on which you intend to run Proxmox.
You will also want to have a monitor attached as well as a keyboard and mouse.
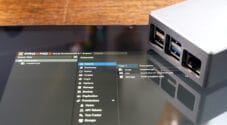
With your USB drive inserted into your machine, you will want to boot into the Proxmox installer. The USB drive has already been set up to boot into Proxmox, but you may need to adjust the boot order within your device’s BIOS.
The button you must press to enter the BIOS differs from manufacturer to manufacturer. The most common ones are F2, F10, F11, F12, and Delete.
Running the Proxmox Installer
8. Once you have set your PC to boot into the USB drive, we will set up the Proxmox installer. You will be greeted by the following screen.
This screen gives you three different options. The one that we are after is the “Install Proxmox VE (Graphical)” option. Using this option gives us a nice graphical installer we can use to set up Proxmox VE.
Please note that if you have a GPU already installed in your system, such as an NVIDIA GPU, you may have to make one change to actually run the installer. The installer can get stuck when it goes to load the GPU drivers. Luckily, we can work around this by pressing the E key and making some adjustments to the boot command.
If you don’t have a GPU plugged into your system or want to see if things work without adjustments, press ENTER with “Install Proxmox VE (Graphical)” selected.

9. For those running an NVIDIA GPU, you will need to make a slight adjustment to prevent the installer from using the GPU for rendering. By setting the “nomodeset” option, the Proxmox Installer will continue to use the BIOS frame buffer for rendering instead of loading in the video drivers.
Find the line that starts with “linux” and add “nomodeset” to the end of it. Ensure there is a space between ‘splashsilent” and “nomodeset“.
Below is what the line looks like before you add the additional option.
linux /boot/linux26 ro ramdisk_size=16777216 rw quiet splashsilentAfter adding the “nomodeset” option it should look more like what we have shown below.
linux /boot/linux26 ro ramdisk_size=16777216 rw quiet splashsilent nomodeset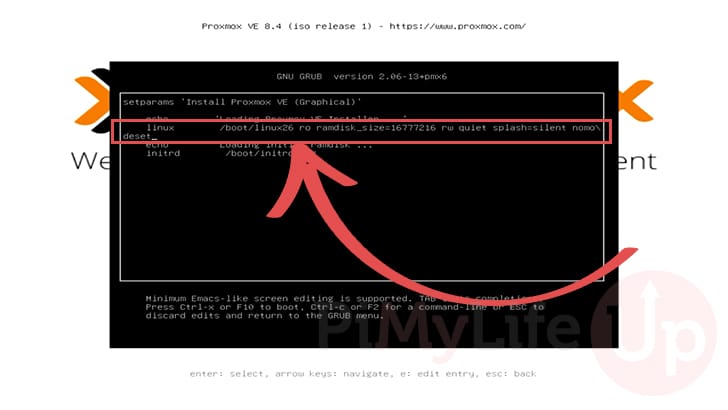
10. With the Proxmox installer now up and running, you first need to read through the EULA.
It is super important to read through this before proceeding. Once you are happy, click the “I agree” button to continue.

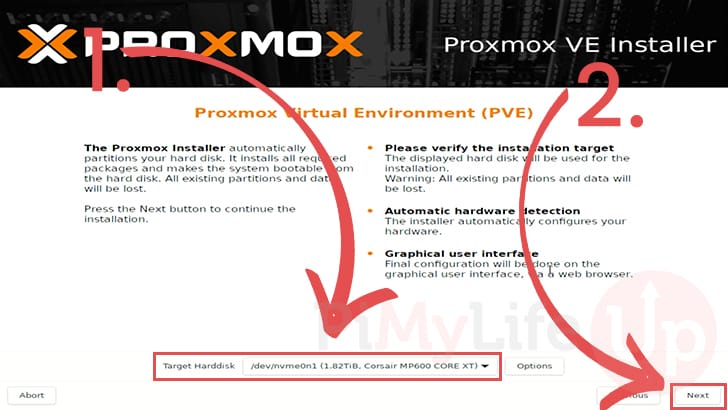
11. This next screen will ask you where you want the Proxmox Virtual Environment to be installed.
Use the select box (1.) to ensure that you have the hard drive selected where you want Proxmox installed. If you only have one drive installed, you don’t have to worry about this.
Once you are happy with your selected drive, click the “Next” button (2.).
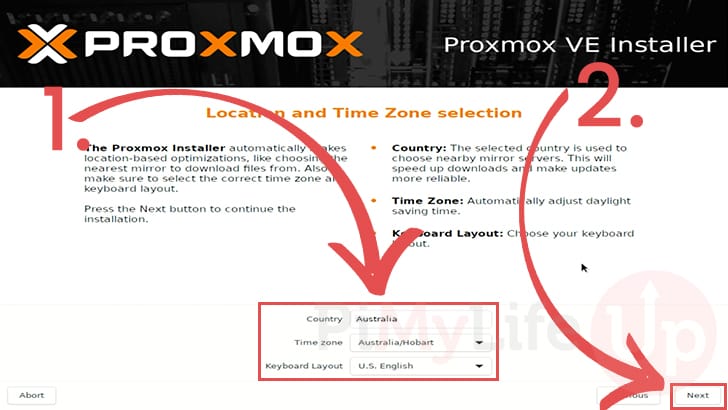
12. Next, you can control the location and time zone that Proxmox (1.) will utilize within its interface. Ensure that you have these selected correctly, as they will help Promxox select the correct mirror to download updates.
After selecting your country, time zone, and keyboard layout, click the “Next” button (2.) to continue with the setup process.
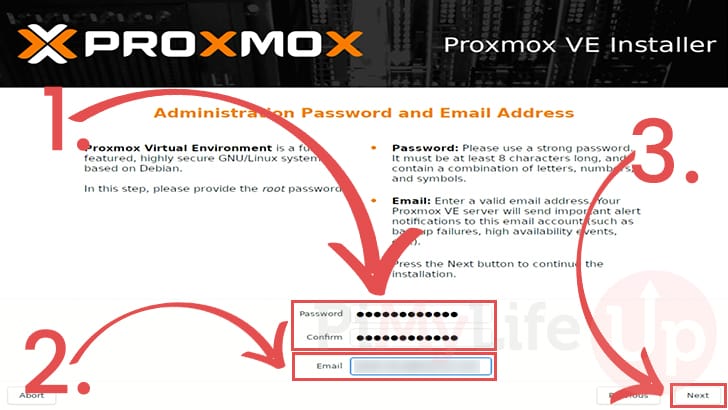
13. This next screen is one of the most important as it is where you specify the password for the admin user.
Start by typing out a secure password for your installation (1.). This password must be at least eight characters long and contain letters, numbers, and symbols.
Next, you must also specify an email address (2.). This address will be utilized to send you email notifications.
Once you are happy with your password and email, click the “Next” button (3.) to continue installing Proxmox.
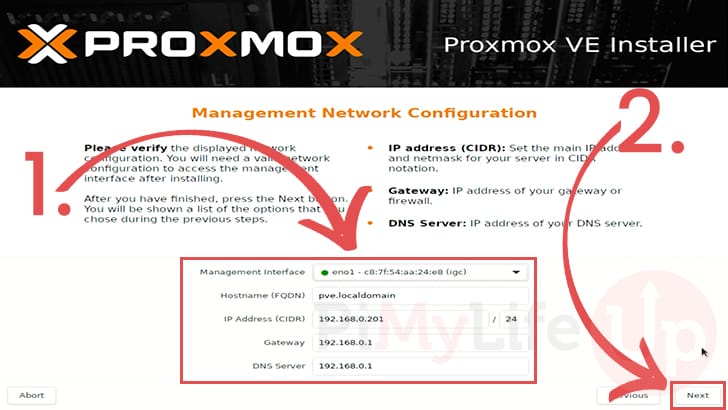
14. Upon connecting to your network, the installer will attempt to calculate the correct details for your network configuration automatically. If any of these details look incorrect, now is your chance to fix them (1.).
If you are happy with the default settings, click “Next” to proceed (2.).
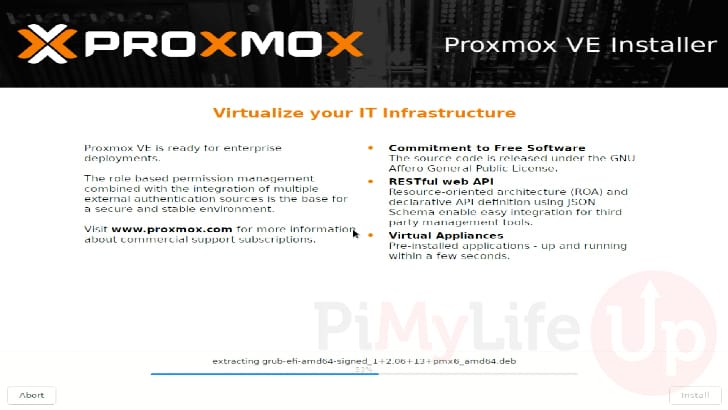
15. The installer will now install and configure Proxmox VE for your system. How long this process takes very much depends on the speed of your machine
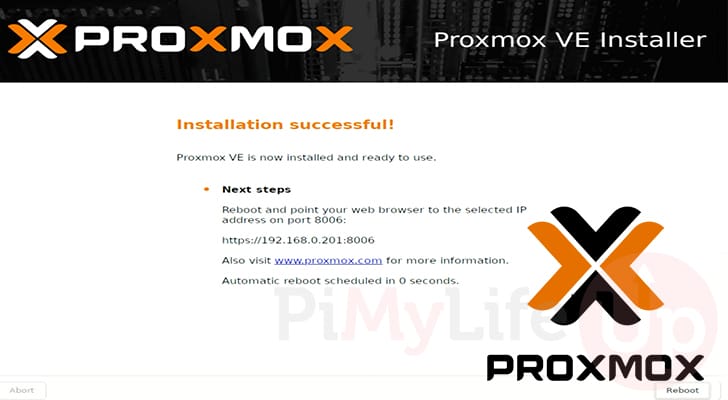
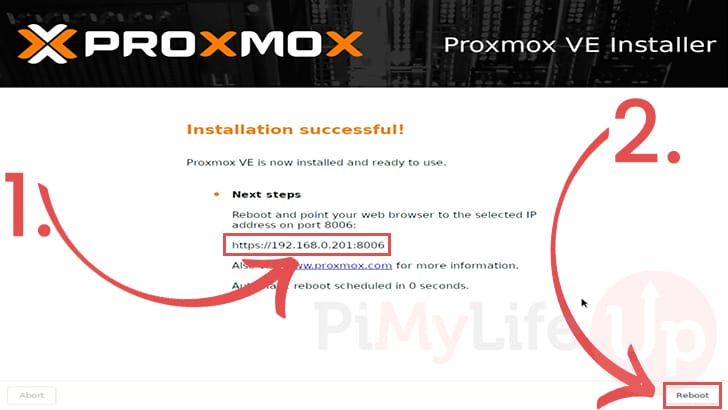
16. Proxmox has now been successfully installed on your system. This final screen will tell you the port you need to use to access the web interface and show you the URL that you need to go to in your favorite web browser (1.).
Before you head to the web interface, you must first click the “Reboot” button (2.)
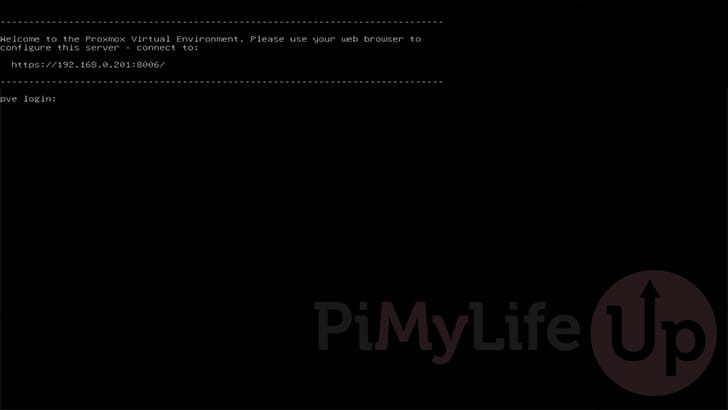
17. Once you see the welcome to Promox Virtual environment screen, you know that the software is up and running and ready to be used.
Accessing the Proxmox Web Interface
18. In your favorite web browser, you will want to go to the following address, ensuring that you replace “<IPADDRESS>” with the IP of the machine you installed Proxmox on to.
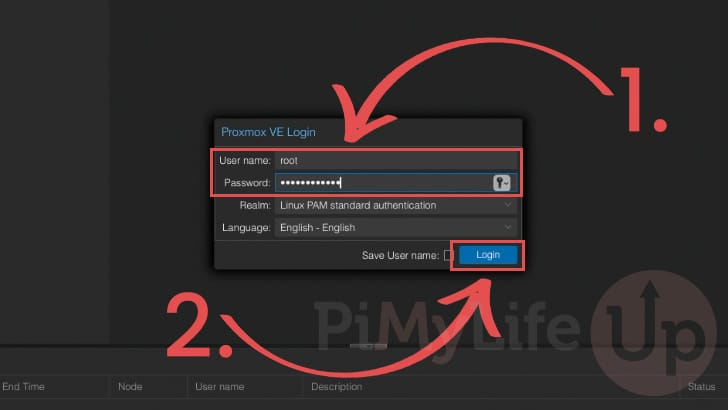
https://<IPADDRESS>/800619. Upon loading up the Proxmoxx web interface, you will be asked to log in before you can do anything.
For the username, you should use “root” instead of the email you set during installation. For the password, you will want to use the one you set during installation.
Once you have typed out the username and password (1.), click the “Login” button (2.).
Improving your Proxmox VE Installation with the Post-Install Script
20. At this point, your Proxmox VE installation is complete, and you can begin using it to set up your virtual machines or LXC containers.
However, to improve your experience, we highly recommend running the post-install script, which was originally written by tteck and is now managed by a community.
This script makes some adjustments, such as removing the enterprise nagware and setting your installation up to use the free package repositories.
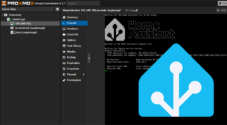
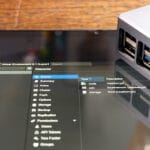
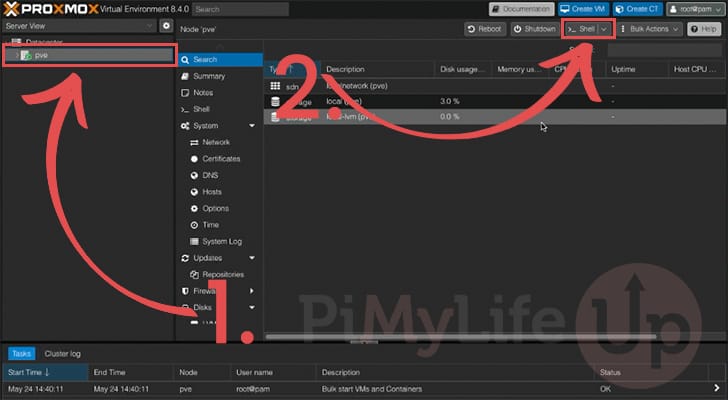
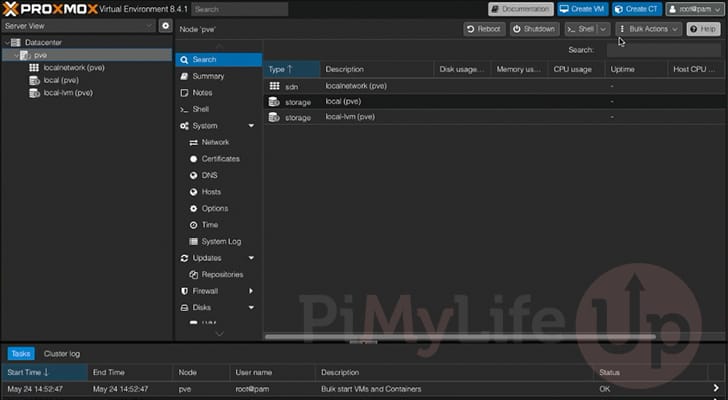
To begin this process, you will first want to select your Proxmox instance in the left-hand sidebar (1.) On a free installation, this is typically called “pve.”
Once selected, click the “Shell” button (2.), typically at the screen’s top right.
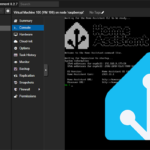
21. You should have a new window appear on your screen. Within this terminal, you will want to run the following command.
This command uses curl to grab and execute the “Post-PVE” install script directly from the project’s GitHub. You can verify the content of this script by going directly to it in your browser or by checking out the project’s GitHub.
bash -c "$(curl -fsSL https://raw.githubusercontent.com/community-scripts/ProxmoxVE/main/tools/pve/post-pve-install.sh)"Copy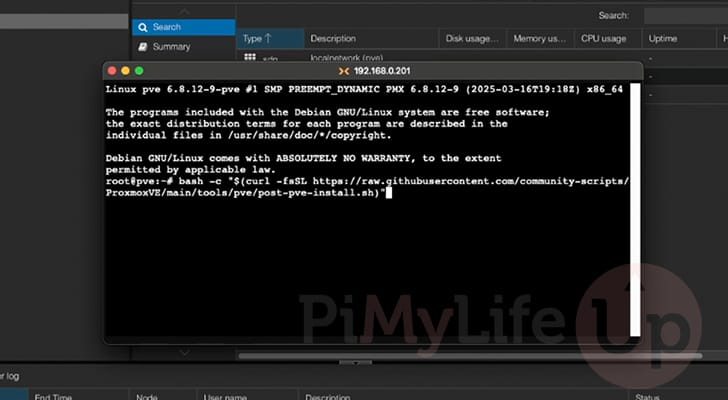
22. You will now be given a series of prompts. The Community Scripts team recommends responding, “Yes” to each question.
The script clearly explains what each action will do to your setup. Most of these involve removing the enterprise repository that is set up by default and disabling some functionality you may not require in the typical Proxmox setup.
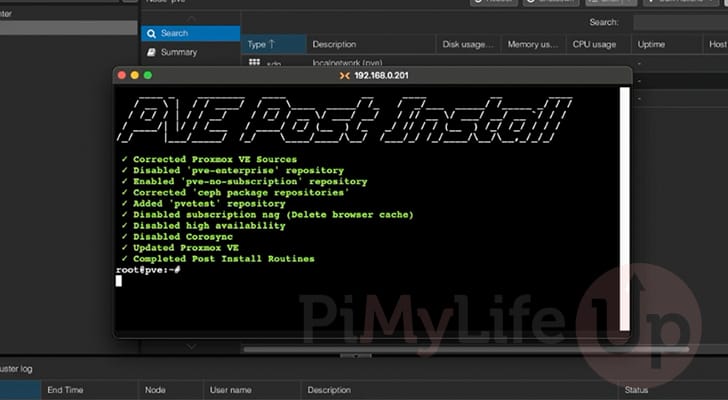
This script will enable and disable features and automatically update your Proxmox installation to the latest available version.
23. Once the script has finished running, your Proxmox installation will automatically be restarted.
24. Once your system has finished restarting, you have successfully installed and configured Proxmox.
You can now begin to set up your virtual machines or containers. Although this can be a little overwhelming at first, you will quickly find Proxmox to be a quite powerful and versatile virtualization platform.
Conclusion
If you have got to this point in the guide, you should now have the Proxmox virtual environment installed and running on your machine.
Proxmox provides a powerful virtualization platform that can easily be managed from a web interface. This interface gives you full control over your VMs and Proxmox itself.
Please feel free to comment below if you have had any issues getting Proxmox running or if there is something particular you would like us to cover in the future.
If you found this guide helpful, we recommend checking out some of our other Proxmox tutorials or exploring our wealth of Linux and Ubuntu tutorials.