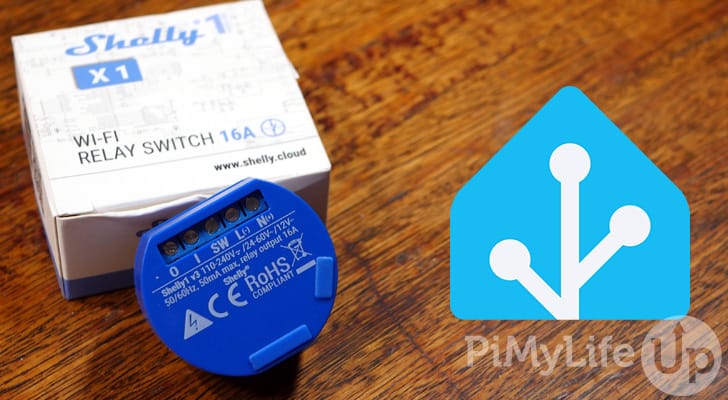
In this tutorial, we will go through the process of setting up a Shelly on Home Assistant.
Shelly is a brand of smart home devices that are compatible with a wide range of platforms, such as Google Home, Alexa, Home Assistant, and more. They have devices for lighting, switches, wall displays, energy metering, and more.
Integrating your Shelly devices into Home Assistant allows you to monitor and control them. You can use Home Assistant’s automations or Node-Red to design smart logic to control these devices based on a range of different data. If you are looking to make your home smart, Shelly is a great way to achieve this goal.
This tutorial covers the basics of connecting a Shelly to Home Assistant. We also go through what you will need to set up before you connect the Shelly to the Home Assistant.


Connecting Shelly to Wi-Fi
Before you begin this tutorial, you will need to set up and connect your Shelly devices to your local network. This process is relatively straightforward, but it can be somewhat confusing if you are just starting out.
Below is a rough guideline for connecting your Shelly to your local Wi-Fi. Be aware that these instructions may differ between Shelly devices.
1. When you first turn on your Shelly, it will create its own Wi-Fi network. You will need to connect to its Wi-Fi. It should have a name like Shelly-81DD512B2ABD.
2. Once connected to the Shelly, you must enter the following IP into your browser.
192.168.33.13. Within the interface, you will need to connect the Shelly to your local Wi-Fi. Depending on the Shelly you are using, the interface may differ.
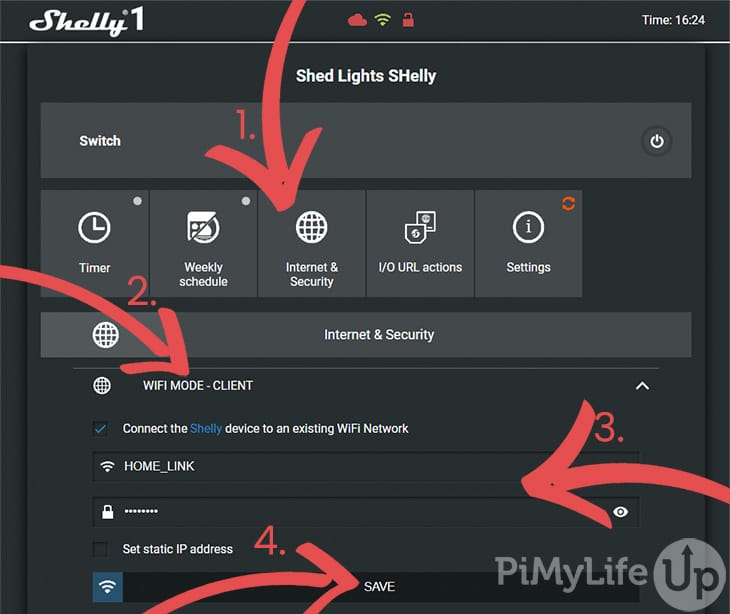
On a Gen 1 Shelly device, click Internet & Security (1). Once done, click Wi-Fi Mode – Client (2) and fill in the relevant information (3). Once you have filled out the information, click SAVE (4).
A Gen 2 Shelly device may have a slightly different user interface. Instead, go to Settings, select Wi-Fi, and enter all the relevant information. If the connection is successful, you should see an IP appear under the Mac address field.
4. You will need to find the IP address for your Shelly. The easiest way is to find the device listed within the router’s list of connected devices. For Gen 2 Shelly devices, you can find the IP address in the Wi-Fi config tab.
Connecting Shelly to Home Assistant
In this section, we walk through the steps to connecting a Shelly to a Home Assistant. To proceed, you may need the IP address of your Shelly. If you do not know it, we recommend you find it within your router’s connected device list.
If you haven’t already, you will need to have Home Assistant set up on a device such as a Raspberry Pi. We recommend running Home Assistant on a Raspberry Pi for a low-cost, reliable solution.
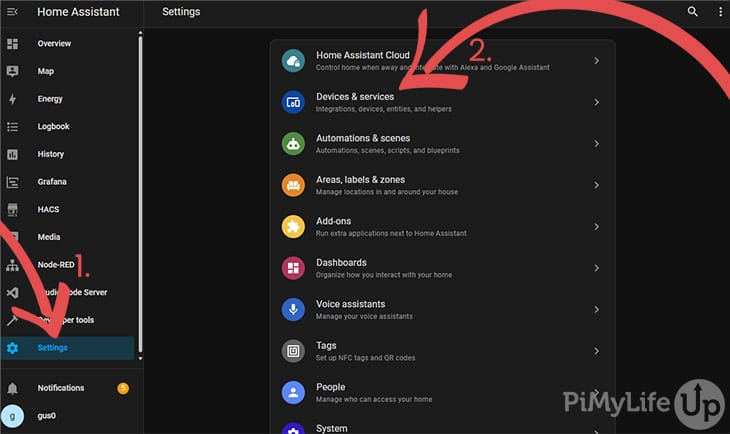
1. In Home Assistant, go to the Settings page (1) and click on Devices & services (2).
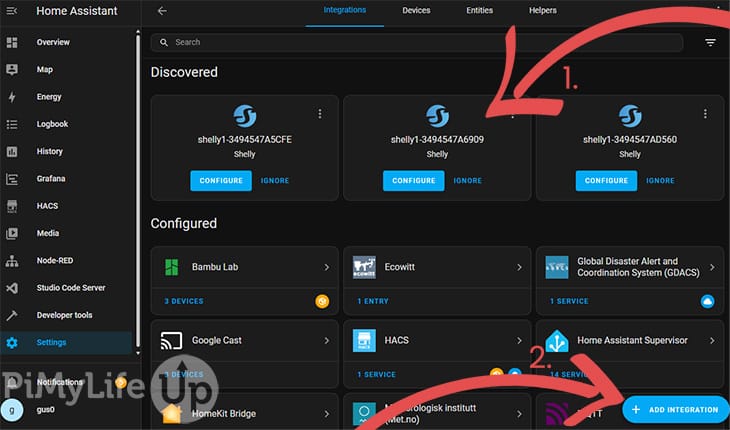
2. On the integrations page, you should see your Shelly device under the Discovered header (1). You can skip the next couple of steps (go to step 6) by clicking Configure under one of the Shelly devices.
If you can’t see your Shelly, click Add Integration (2), located in the bottom right corner.
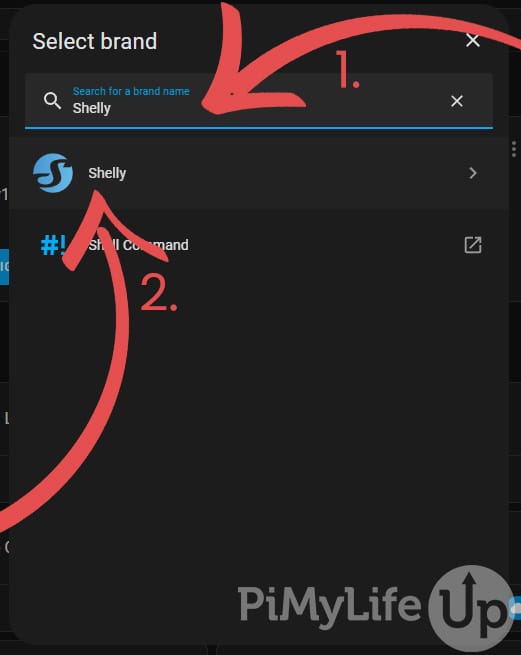
3. In the search box (1), enter Shelly and choose Shelly (2) from the list of brands. Alternatively, you can scroll through the list and find the Shelly integration,
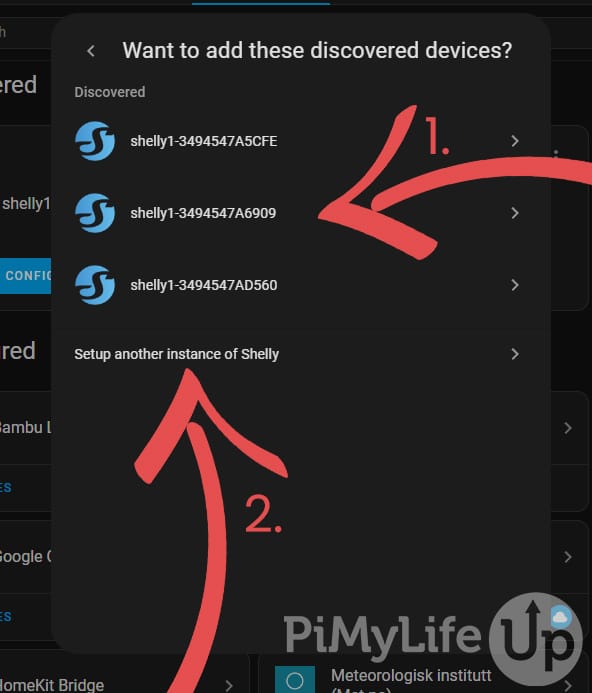
4. Your Shelly may appear under the Discovered list (1). However, if it doesn’t, click Setup another instance of Shelly (2).
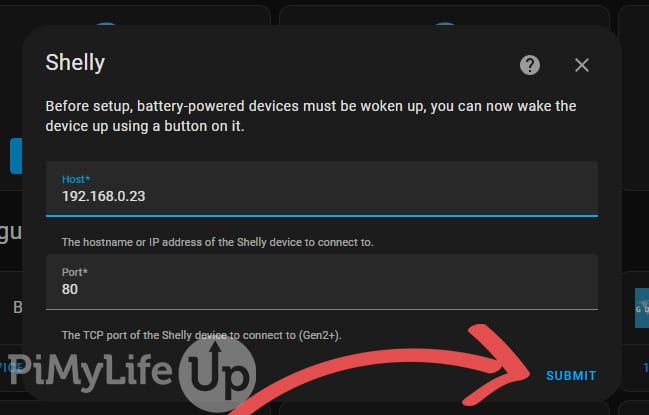
5. On the next page, enter your Shelly details.
You will need to get the IP address of your Shelly if you don’t already have it available. I recommend getting it from the router’s connected device page.
The port number should be 80 unless you have changed it.
Once done, click Submit.
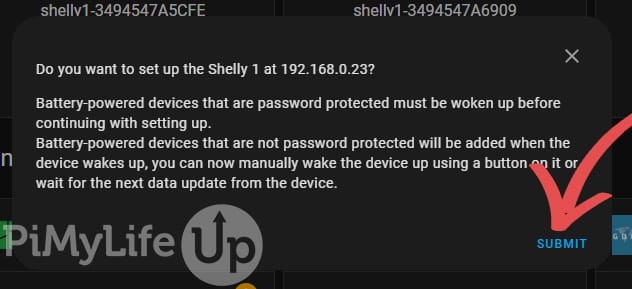
6. You may see a notice about the Shelly. Click SUBMIT to proceed.
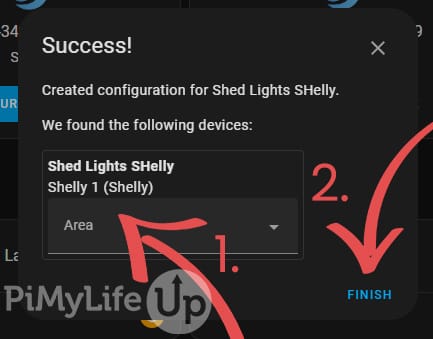
7. Now, you should see a success message. You can add your Shelly to an Area (1) before clicking FINISH (2).
8. On the integrations page, search or scroll to find the Shelly integration. It should specify 1 device underneath the integration. Click on Shelly.
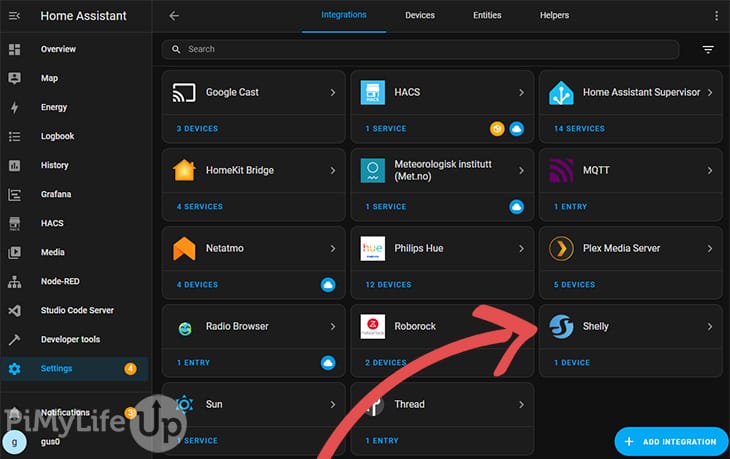
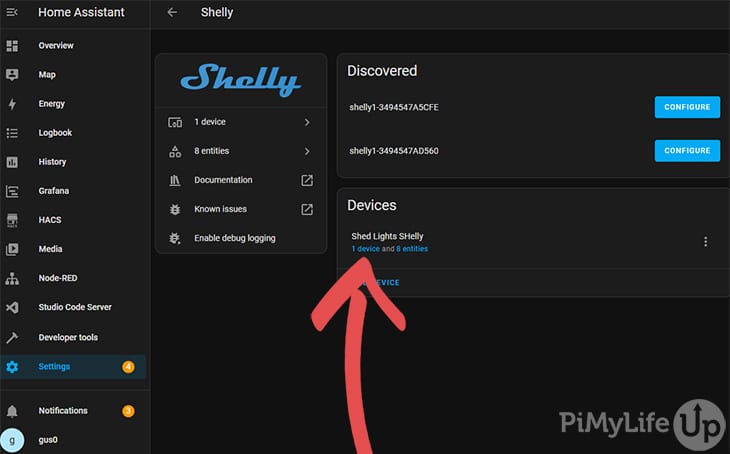
9. On this page, you should see all the Shelly devices connected to Home Assistant. You can also see any Shelly devices discoverable on your network, but not added to Home Assistant.
Click on 1 device under the Shelly you just added to Home Assistant.
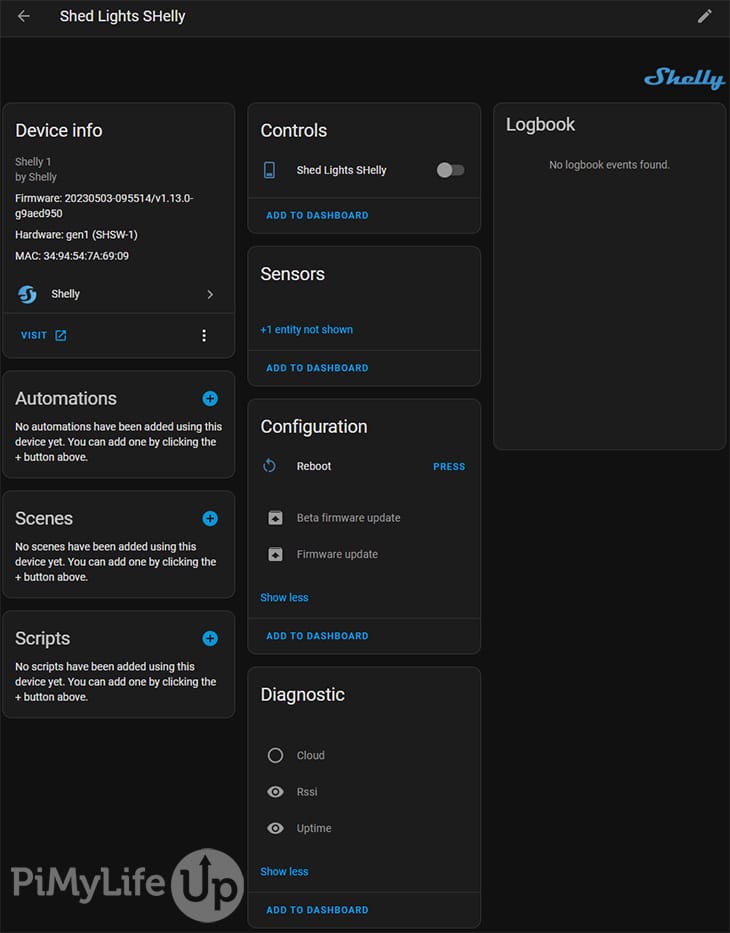
10. On this page, you should see all the details for your Shelly, such as controls, sensors, configs, and diagnostics. Some of the entities will be disabled, but you can enable them if you require the data they provide.
The example below is a Shelly 1 switch, so it only has the function of turning the device on or off. However, other Shelly devices may provide more controls or information. For example, a power monitoring Shelly will give you statistics on the device’s power usage.
You can now use the controls and sensor data in your automations and dashboards. It is a fantastic self-hosted way to control your Shelly devices.
Conclusion
Hopefully, you now have your Shelly connected to Home Assistant without issues. You can run through this tutorial to add as many Shelly products as you want.
If you want to add more devices, check out our ever-growing range of Home Assistant tutorials. We cover a wide range of devices, such as security cameras, weather stations, and more.
If you have any feedback regarding this tutorial, please be sure to leave a comment below.