In this tutorial, we will be showing you how to set up the Plex monitoring and tracking tool Tautulli using Docker.
Tautulli is the perfect companion for your Plex server as it monitors your media server and provides additional statistics and functionality not included in the base server.
Some of the data this analytics tool allows you to track is what was watched, who was watching it, when and where they were watching a show, and how it was watched. All of this data is presented in an easy-to-view format.
You can even use Tautulli to keep track of when content is added to your Plex server’s libraries and build a newsletter of the recently added media.
A Docker container is one of the best ways to quickly get Tautulli up and running. It saves you from having to set up the various software components and makes updating to the latest release a breeze.
This guide pairs perfectly with our guide on setting up a Plex Media Server with Docker.

Installing and Running Tautulli Using Docker
In this section, we will walk you through how to install and run Tautulli using Docker.
For this section, you just need a machine that can run the Docker runtime. The development team provides builds for most architectures, including both ARM64 and ARMv7, so this guide will even work on a Raspberry Pi.
Preparing your System
1. The first thing you must do before setting up Tautulli is install the Docker runtime.
If you don’t have this installed, we highly recommend our guide on installing Docker on Linux.
https://pimylifeup.com/linux-docker-install/2. Once installed, we can create a directory to store the Compose file for this Plex analytics software. It is also the same folder where you will keep the Tautulli database and configuration files.
You can use the mkdir command within the terminal to create a directory at the “/opt/stacks/tautulli“. We like to use the “/opt/stacks/” directory as a base as it allows you to easily use your Compose files with Dockge.
sudo mkdir -p /opt/stacks/tautulliCopy3. With the directory created, you can change to it by using the cd command within the terminal.
cd /opt/stacks/tautulliCopyWriting a Docker Compose File for Tautulli
4. Now that we are in the correct place, we can move on to writing the Docker Compose file that will manage Tautulli on your device.
A Compose file is a set of instructions for Docker to execute. With this, we can specify the Tautulli Docker container we want to use alongside any settings it requires to function.
You can begin writing this Compose file by using the Nano text editor.
sudo nano compose.yamlCopy5. With the text editor now open, you will want to enter the following lines to define the Tautulli Docker container.
While filling out these lines, you must replace a placeholder with your own value.
<TIMEZONE>: You will want to set this value to the TZ identifier of where your Plex server is located.
You can find a list of valid values for this from Wikipedia. The values you want will be under the “TZ Identifier” column.
An example of a valid value is: “Australia/Hobart“.
services:
  tautulli:
    image: ghcr.io/tautulli/tautulli
    container_name: tautulli
    restart: unless-stopped
    volumes:
      - ./config:/config
    environment:
      - PUID=1000
      - PGID=1000
      - TZ=<TIMEZONE>
    ports:
      - 8181:8181Copy
6. After filling out this file, save and quit out of Nano by pressing CTRL + X, Y, and then ENTER.
Starting up the Tautulli
7. With the Docker Compose file written, all we must do to start up the Tautulli Docker container is to run the following command.
Once you run this command, Docker will download the latest version of the Tautulli container and immediately start it. Since we use the “-d” option, we detach this
docker compose up -dCopyAccessing the Tautulli Web Interface
8. Now that Tautulli is up and running within your Docker container you will want to access its web interface.
This web interface is how you will configure the software to begin monitoring your Plex media server. If you don’t know the IP address of the machine you just set up Tautulli on, you can always try using the hostname command to retrieve it.
hostname -ICopy9. Once you know the IP address of your machine, go to the following address in your favorite web browser.
Ensure that you replace “<IPADDRESS>” with the IP of the machine you are running the Tautulli Docker container on.
http://<IPADDRESS>:8181Initial Setup of Tautulli
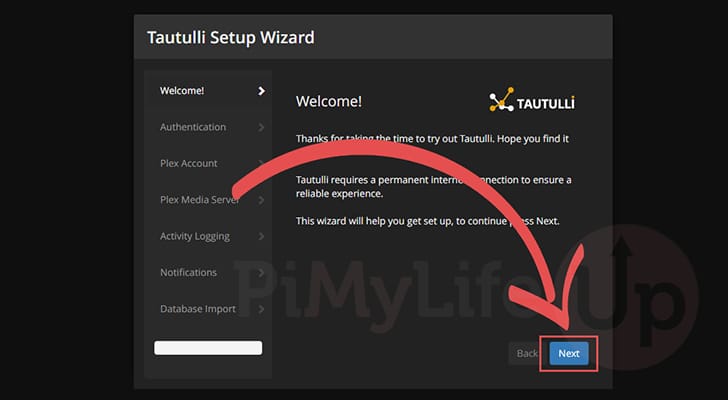
10. The first screen you will be greeted by welcomes you to the Tautulli setup wizard.
To proceed, click the “Next” button.
Creating your Tautulli User
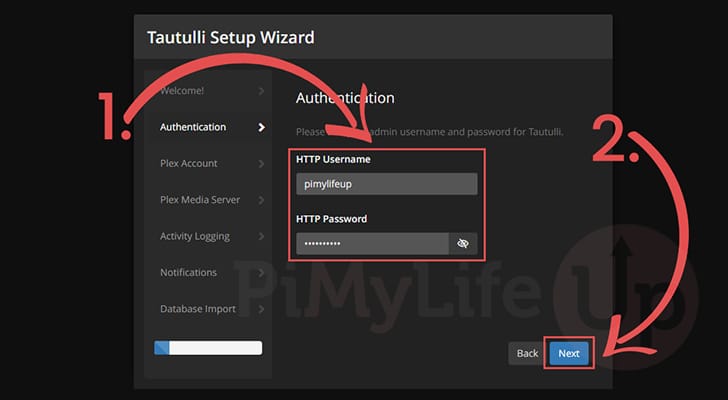
11. On this next screen, you can specify the username and password (1.) that you want to use to access Tautulli’s web interface. You will also be able to use your Plex.tv account.
After setting a username and password, click the “Next” button (2.).
Connecting your Plex.tv Account
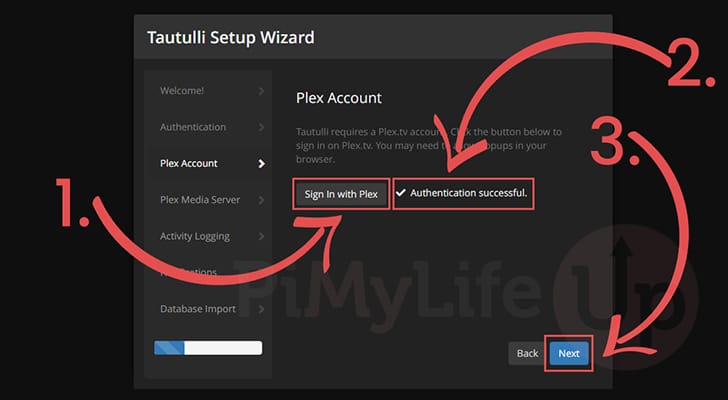
12. For Tautulli to work properly, you must use a Plex.tv account and connect it to your Tautulli instance. You can begin this process by clicking the “Sign In with Plex” button (1.).
If your account was connected successfully, you should see the text “Authentication successful” (2.) appear next to the button.
Once you have connected your Plex.tv account, click the “Next” button to proceed (3.).
Linking your Plex Media Server with Tautulli
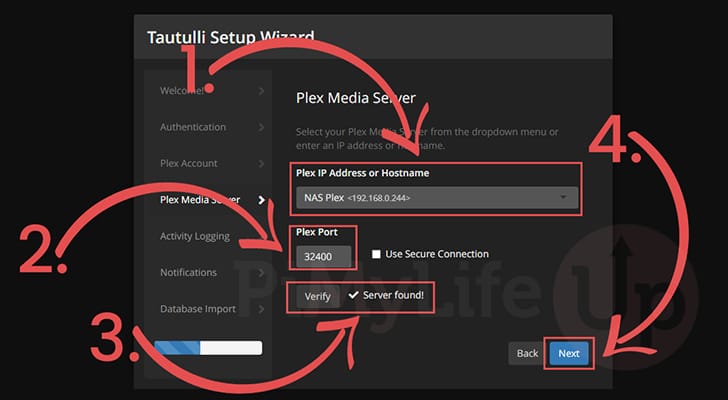
13. This next step is how you will connect your Tautulli Docker container with your Plex media server.
You should be able to click the select box (1.) and select your Plex media server.
If it hasn’t populated for some reason, enter your Plex machine’s IP address instead. You will also be required to set the “Plex Port” (2.) if this value doesn’t auto-populate. The default port for Plex is 32400.
You can verify that you have configured everything properly by clicking the “Verify” button (3.). If everything is working, you should see the text “Server found!” appear.
Once you are certain everything is working, click the “Next” button to continue with the setup process.
Configuring Activity Logging
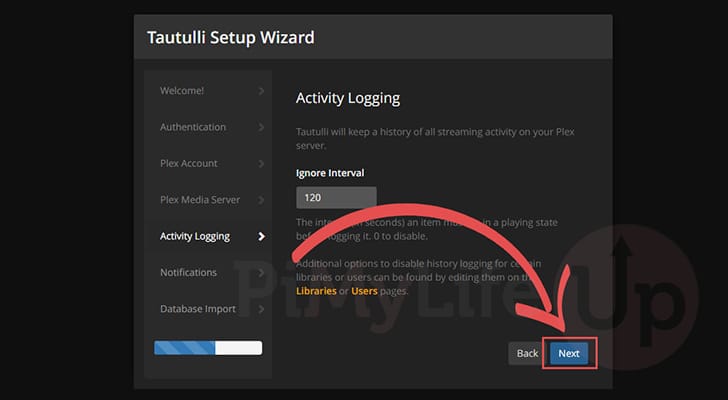
14. This next screen will allow you to control the activity logging functionality of Tautulli. To help prevent false data being captured, Tautulli will ignore a video being played for 120 seconds.
We feel like this is a good default setting, so we clicked the “Next” button to continue.
Finishing up the Setup Process
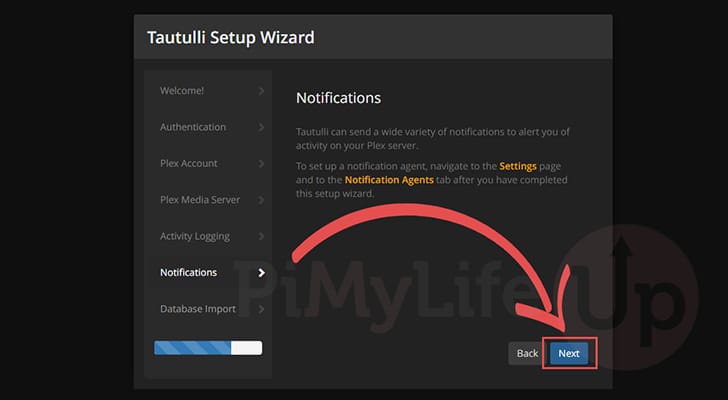
15. You will now be told about the notification functionality of the software. You can’t configure this functionality until you have finished setting up Tautulli.
Continue with the setup process by clicking the “Next” button.
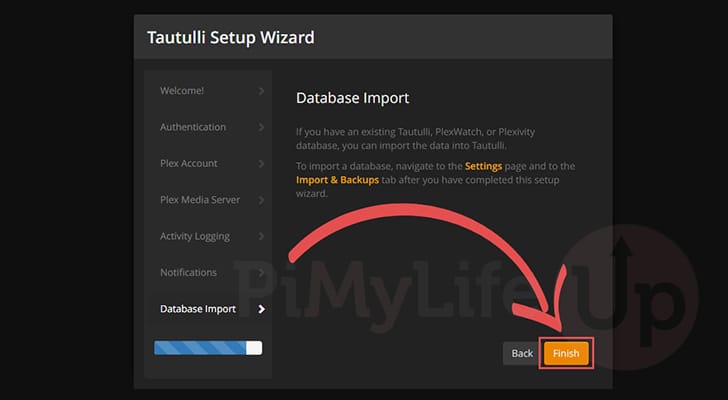
16. An additional feature allows you to import existing data from either Tautulli itself, PlexWatch and Plexivity. Like with notifications, you cant use this functionality until after the setup wizard.
To finish with this setup, click the “Finish” button.
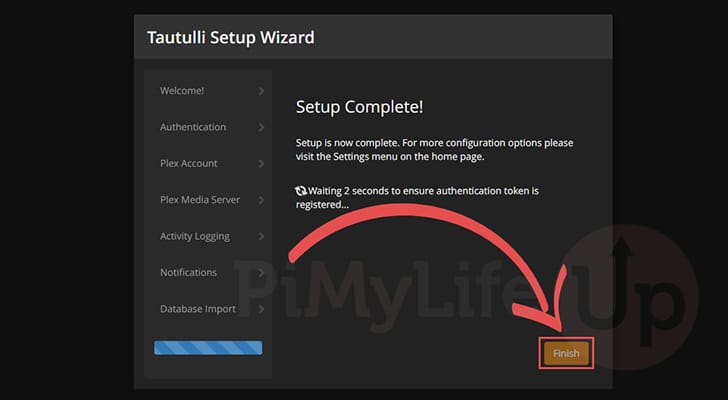
17. You have now successfully set up Tautulli using a Docker container. After a few seconds, you will be automatically redirected to the login page.
Logging into the Tautulli Web Interface
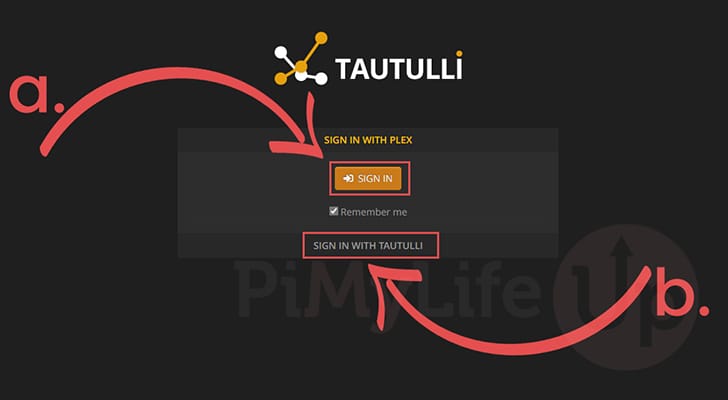
18. There are two different ways that you can log in to your new Tautulli Docker installation.
The first is to login using your Plex.tv account (a.). Clicking this button will take you to the Plex website to login.
Alternatively, you can click “SIGN IN WITH TAUTULLI” (b.) to use the account you created in the setup wizard.
19. At this point you have now successfully set up Tautulli using a Docker container and have managed to access the web interface.
You can see that this interface will immediately start to display data about your Plex media server. You can also use the settings within this software to configure how exactly Tautulli functions.

Updating the Tautulli Docker Container
One key advantage of using Docker to self-host Tautulli is that updating the latest version is a really simplistic process. You don’t have to worry about any dependency changes breaking your installation, as everything required is kept within the container you are updating.
1. Within the terminal, you first must change to the directory where we wrote the Docker Compose file for Tautulli.
If you followed our tutorial, the following command should take you to the correct location
cd /opt/stacks/tautulliCopy2. Once you are in the folder where you wrote the Compose file, you can pull the latest Tautulli image straight to your machine using the following command.
docker compose pullCopy3. After downloading a new image, you can update the container itself by running the command below.
Docker will detect the running container is using an older release, stop it, and then start it up again using the newly downloaded image.
docker compose up -dCopyConclusion
If you have reached this point in the tutorial, you should now have Tautulli up and running within a Docker container.
Docker makes getting this monitoring and analytics software up and running with just a few short steps. With this software running, you can get some deep insights into how your Plex server is handled.
Please feel free to post a comment below if you have had any issues with using Docker to run Tautulli.
If you liked this tutorial, we recommend taking some time to explore our other Docker guides to see other software you can self-host.