This tutorial goes through all the steps to getting started with Arduino Cayenne. It’s an easy way to enable a powerful IoT software for the Arduino.
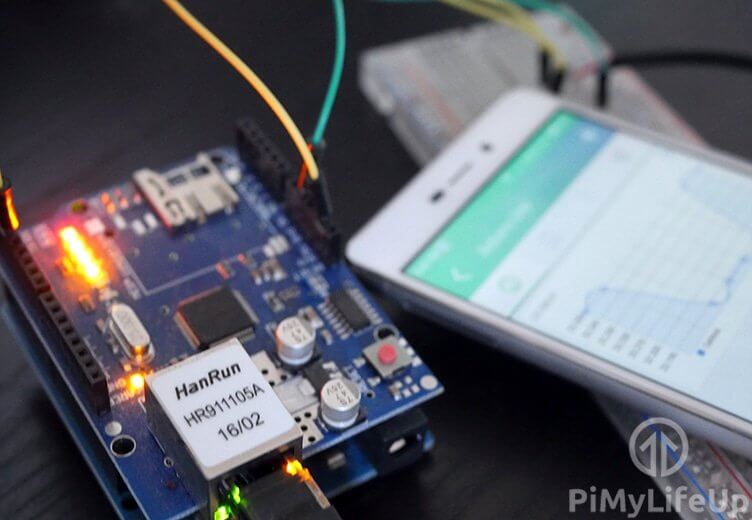
You will find using Cayenne it is a great way to integrate sensors and more with your board quickly. It will also drastically reduce the amount of coding you will need to do.
There are many ways you’re able to connect the Arduino to the Cayenne platform. The easiest way is to use either a WiFi or Ethernet shield. Other ways include using the serial/USB connection but can be really tricky to get working.
You can use MyDevices Cayenne with a whole range of different Arduino devices. This includes the Arduino Duo, Leonardo, Mega, Mini, Nano, Pro Micro, Pro Mini, Uno, and the Yun. This is a pretty hefty list, and they basically follow the same setup.
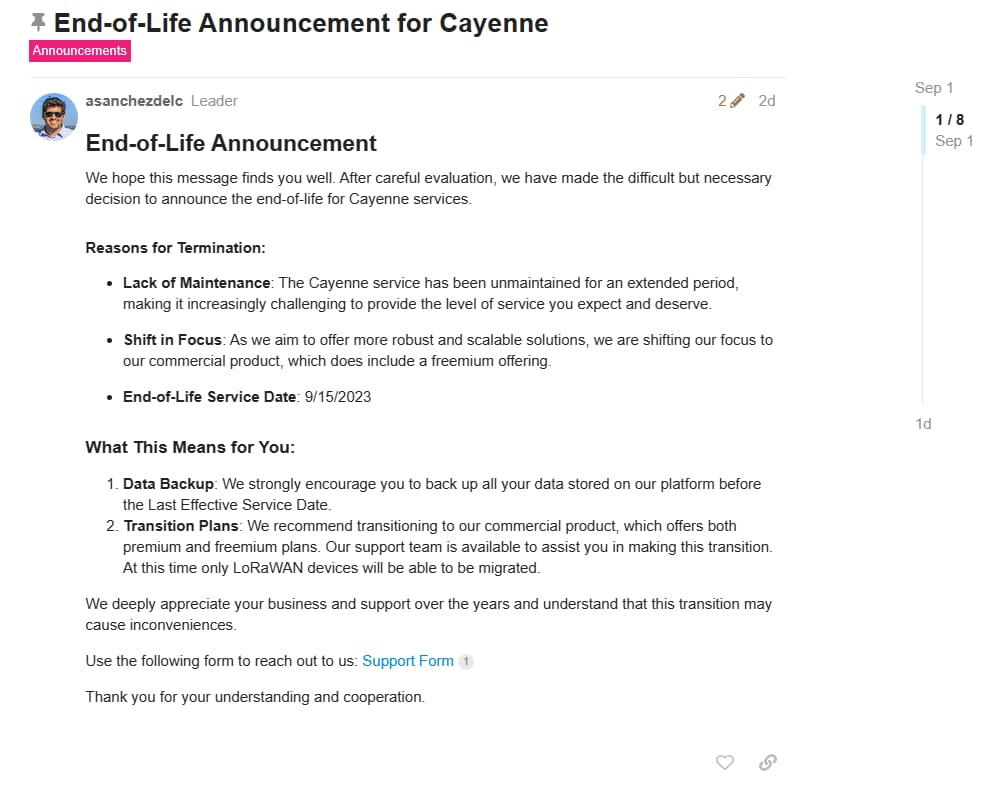
This tutorial is available for archive purposes only.
Equipment
You can find all the equipment that I used for this Arduino cayenne tutorial right below.
Recommended
- Arduino Uno Amazon or another compatible Arduino device.
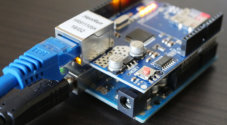
- Ethernet Shield Amazon , WiFi shield or similar
- Ethernet Cable Amazon (If using an Ethernet shield Amazon )
Optional
Setting up Arduino Cayenne
The process of setting up Cayenne for the Arduino is pretty straightforward. You will need internet access to the Arduino, this can be achieved by using an ethernet shield, WiFi shield, and some other methods.
Setting up the Arduino
1. Unfortunately, Cayenne is no longer supported and will soon be unavailable. This tutorial is archived.
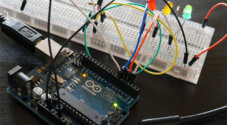
Add an ethernet shield or your chosen connection method onto the Arduino.
2. Next, add an ethernet cord to the ethernet shield.
3. Connect the Arduino to your PC using the USB cable.
4. Open up the Arduino IDE software, if you don’t have it installed, then you can grab it over at the official Arduino website.
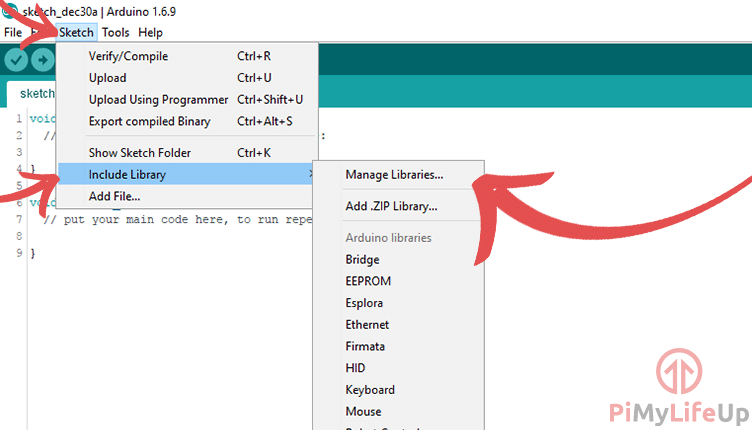
5. Once the IDE has loaded, go to sketch->Include Library->Manage Libraries
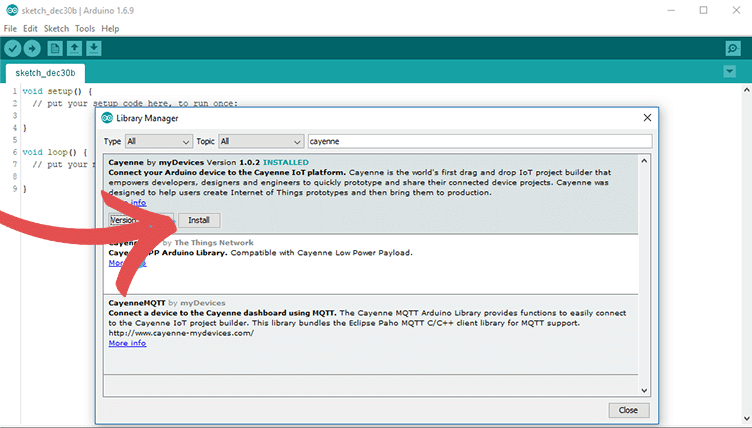
6. In this window, search for Cayenne and install the Cayenne package. If it doesn’t show, then make sure the Arduino IDE is up to date.
That’s all we need to do before moving onto signing up and configuring Arduino Cayenne.
Signing up & Configuring Cayenne
1. Firstly, head to the myDevices Cayenne website and signup for a free account.
2. Once you’re set up, you will need to connect the Arduino to the Cayenne platform.
3. First, select Arduino out of the list of devices that should be displayed.
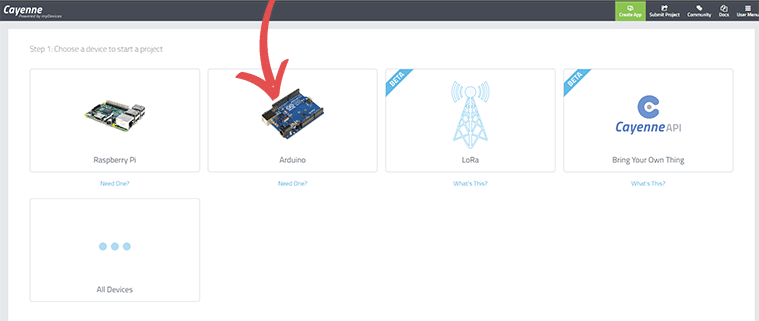
4. Hit next on the screen now shown.
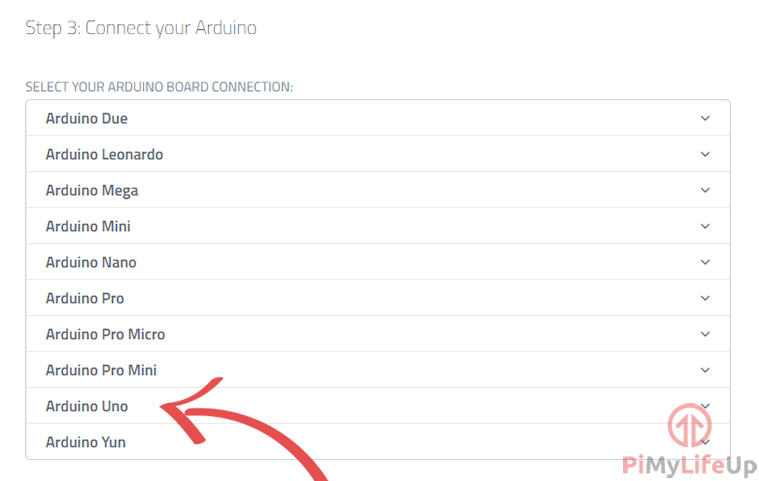
5. Select the type of Arduino you’re using, for me, I am using an Arduino Uno.
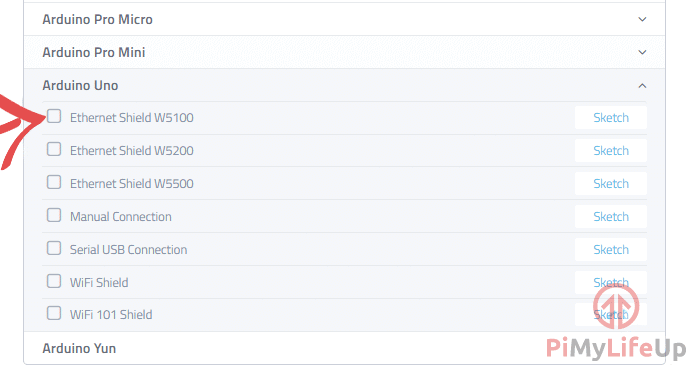
6. Now select the type of connection you’re going to use. I highly recommend using an ethernet or WiFi shield as the others may be tricky to use.
Some of the options will require a little bit more setting up. If you’re unsure of the type of ethernet shield you’re using, then select Ethernet Shield W5100.
7. Now copy and paste the code shown in your browser into the Arduino IDE.
8. Once copied, upload it to the Arduino, this may take a minute or two.
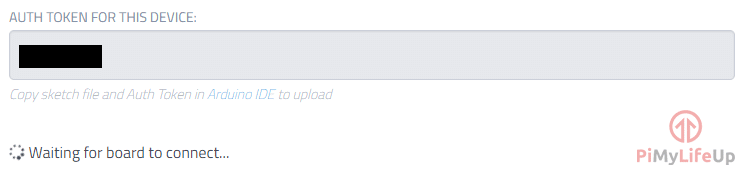
9. The Arduino board should now be able to connect to Cayenne, this should appear not long after uploading it to the Arduino. If it takes longer than a few minutes, then there might be something wrong.
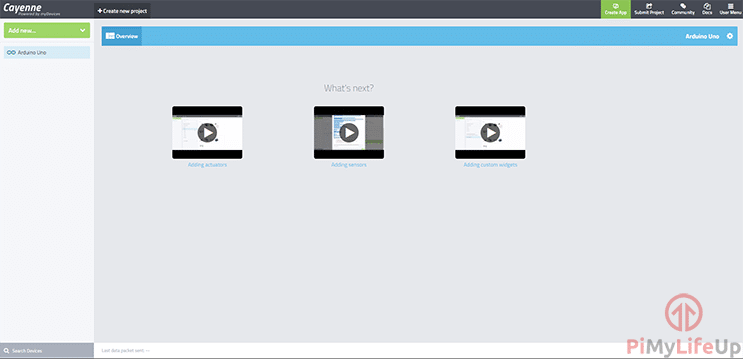
10. Once connected it will redirect you to the dashboard that should look something similar to the one shown below.
Setting up your first sensor
If you have seen how this is done for the Raspberry Pi version of cayenne, then you will realize the process is a little different for the Arduino.
To quickly show you how to set up a sensor I will go through the steps of setting up a the DS18B20 temperature sensor. My other tutorial explains how this is done without using Cayenne.
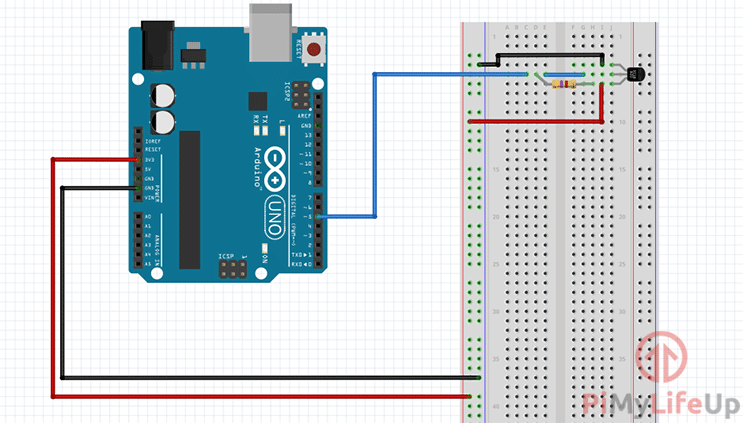
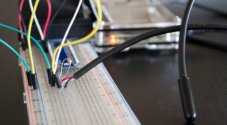
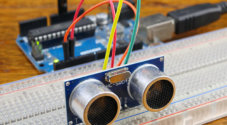
Firstly, set up the temperature sensor as shown in the diagram below. If you need more information on the sensor, then head over to the DS18B20 tutorial. It will take you through all the step for connecting the sensor to the Arduino.
1. Once your sensor is setup, go to the Cayenne dashboard.
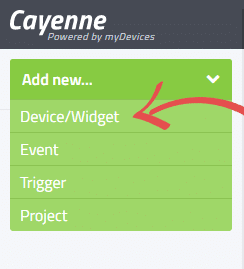
2. In the top left corner, click on Add new and then select device/widget.
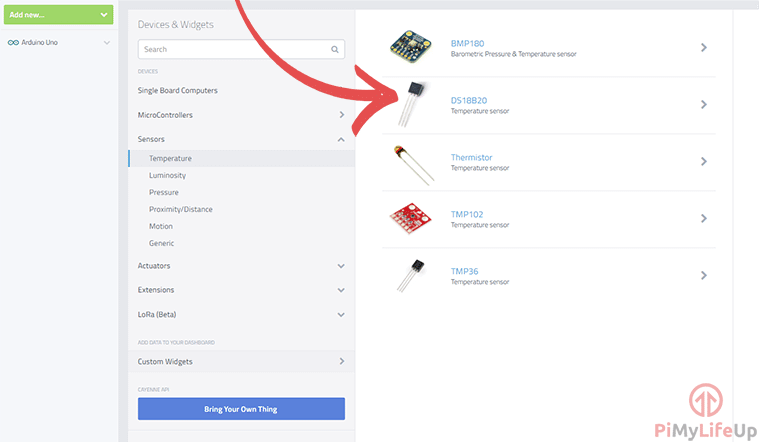
3. On this screen, select sensors, temperature and then DS18B20.
4. Now enter the settings for the DS18B20 sensor.
- Widget name: DS18B20
- Select Device: Arduino Uno
- Connectivity: Virtual
- Pin: V1
- Choose Widget: Line Chart
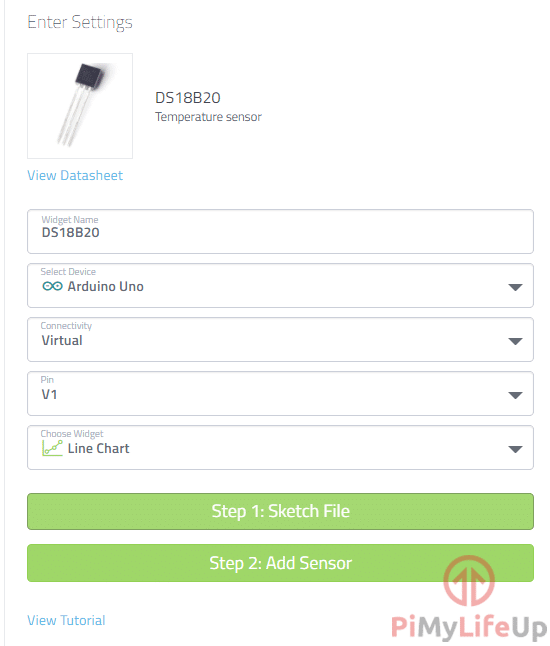
5. Now click on sketch file, this will give you all the code you need to add to your sketch file. You may need to change some values in this file.
For example, if you need to set virtual_pin to something different or the pin of your temperature sensor is different to 2 (tmpPin). We use pin 3 in the diagram above so we need to update tmpPin to 3.
It’s best to only copy the bits you need from the code into your sketch file.
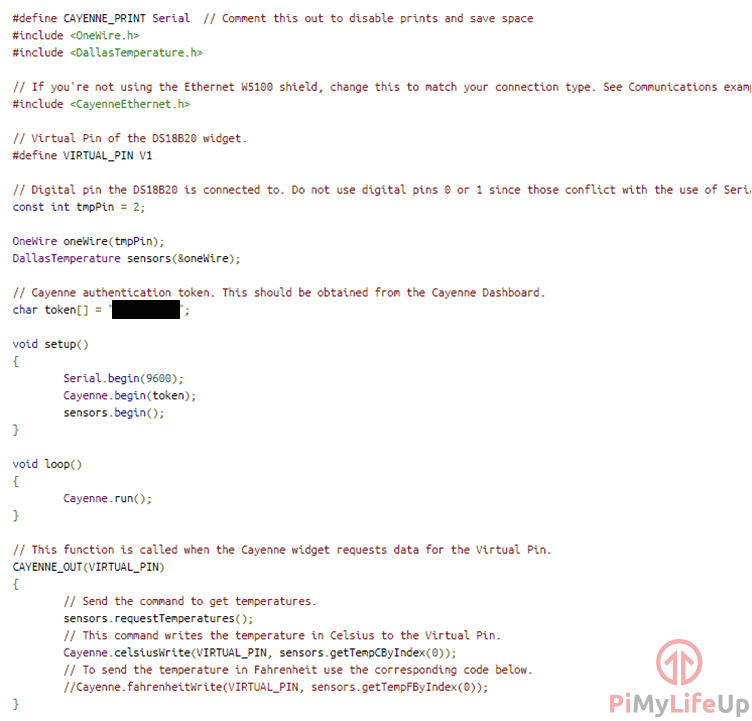
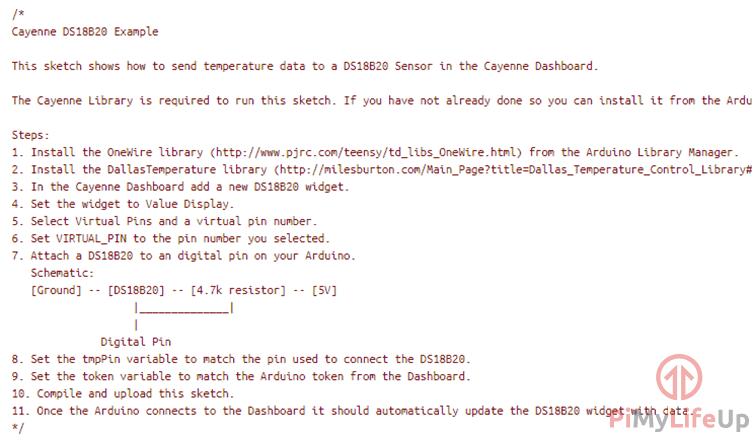
6. Secondly, to get the temperature sensor working, you will need to install the onewire library and the DallasTemperature library. If you followed my DS18B20 tutorial, then these should be already installed.
If you didn’t, then the Cayenne code has instructions on how to install the required packages.
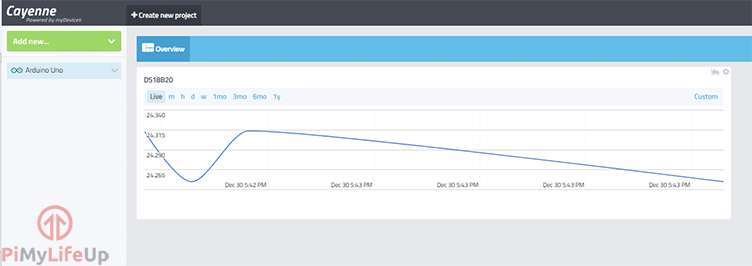
7. Once you have copied over the sketch code and uploaded it to the Arduino, select Add Sensor.
8. It should now be displayed on the dashboard. It may take a few minutes for data to start showing if it takes any longer than there is likely a setting wrong somewhere.
Adding more sensors
To add more sensors, you basically follow the same process but don’t simply copy and paste the code.
You will need to copy the bits you need to integrate that sensor correctly. Copying and pasting all the code will override your previous set devices.
Using cayenne triggers
The triggers in Cayenne are pretty much the same no matter the device you’re using. I will just quickly go through an example of a trigger that you can set up within the dashboard.
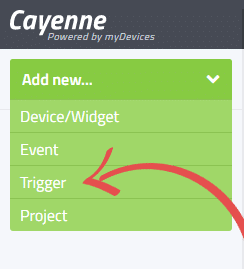
1. First, go to add new, then select trigger.
2. This will pop up with a screen to create your own trigger.
3. Next, add a name for your trigger. I’m going to call mine Too cold.
4. Now, drag the Arduino Uno from the left column into the if column.
5. Select the DS18B20 from the drop-down box called select trigger.
6. Set the degrees to 0°c and select temperature below.
7. Once that is done, you can proceed to set up the then action. You can either drag a device or set up a notification.
For example, if it drops below 0, you can have Cayenne switch another device on, something like a heater. I’m going to simply set a notification, and have it send an email to me.
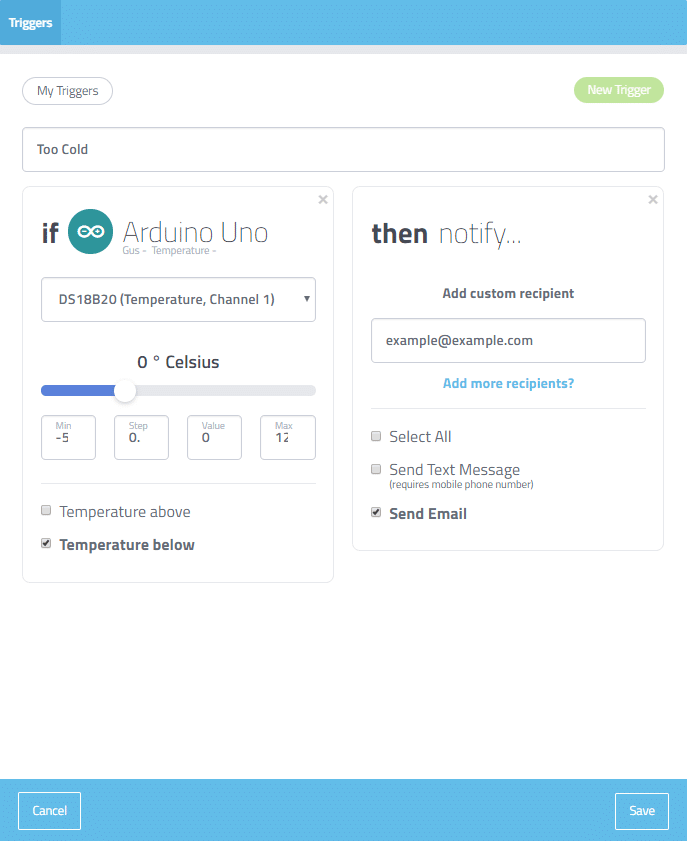
8. Once you’re done, simply hit save.
9. You can view your triggers by selecting my triggers.
That’s a basic overview of triggers, as you can see these can be extremely powerful with setting up automation or alerts.
Using Cayenne Events
Events within Cayenne are very similar to trigger but depends on time as the triggers rather than changes in sensors and other devices.
These are super easy to set up and perfect if you want to make sure a certain task is performed at your chosen time.
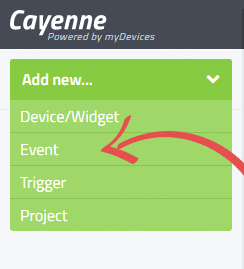
1. First, go to add new in the upper left corner and then select event from the drop-down box.
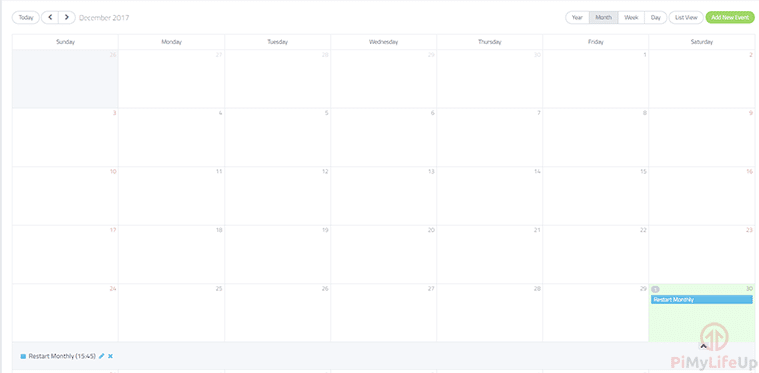
2. This will load a screen with a calendar, and the new event screen should pop up.
3. The settings on this screen are pretty straightforward, as you can see below.
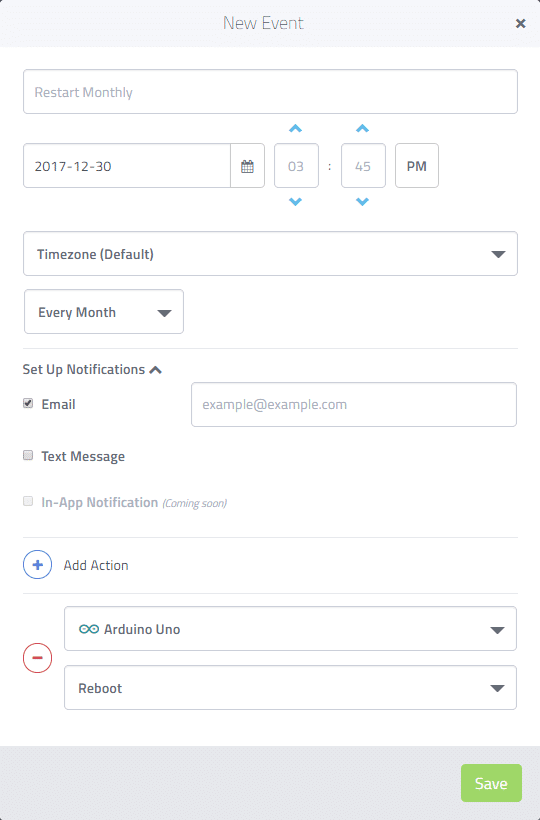
4. I set the name to be restart monthly. The date to be 30/12/2017, and the time to be 3:45PM. I have set it to repeat monthly and for email alerts to be sent to example@example.com. Lastly, it performs an action to reboot the Arduino.
5. Once saved, you can see the event in the calendar.
Some project suggestions
There are so many projects that you can do with the Cayenne software. It certainly makes things a lot easier when it comes to coding and implementing sensors with the Arduino.
- You can set up a weather station within Arduino Cayenne that monitors a whole range of different sensors. Some sensors will require a bit more work to get integrated correctly.
- If you need to monitor temperatures, then this is a great way to do it. If the temperature exceeds safe values, then you can set up alerts or triggers that will try to correct the temperature.
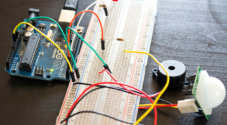
- Detecting motion and sending notifications to the right people is another project you can do. Simply use a motion sensor with the Arduino to detect the motion and let Cayenne do the rest.
I hope that this tutorial has shown you how to setup Arduino cayenne and that you didn’t run into any issues. If you have any feedback, tips or any issues, then please don’t hesitate to drop a comment below.

7.Now copy and paste code?
Where can find the code?
I try this connections of cayenne and uno for days, need help please.
Hi Zoran,
The code should be shown to you within the Cayenne web interface.
Cheers,
Emmet