In this guide, we will show you how to install the Google Chrome web browser on Ubuntu.
Thanks to its performance, security, and extensibility, Google Chrome is one of the most popular web browsers.
Through its open-source branch called Chromium, Chrome has also become the basis of many other web browsers you might use on Ubuntu.
Chromium has some significant functionality missing from it that either can’t be included due to licensing or is just functionality Google prefers to keep private.
By default, Ubuntu ships with the Firefox web browser. It is a solid browser and definitely one you should consider using if you want a more privacy-focused experience.
Due to Google Chrome being closed source, it isn’t available through the Ubuntu package repository or its software center.
Luckily, the Chrome team does provide builds for Linux operating systems, so installing this web browser is a relatively simple process.
One downside of using the official version of Chrome is that it only has builds for x64 systems. If you are running an ARM device such as the Raspberry Pi, you must use Chromium.
Installing Google Chrome to Ubuntu Using the Terminal
Using the terminal is one of the fastest ways to install the Google Chrome web browser on Ubuntu.
You don’t have to worry about navigating to the Chrome website using the default web browser. Instead, you can copy and paste a few short commands.
Of course, this section will expect you to be using the terminal on Ubuntu. You can open the terminal by pressing CTRL + ALT + T on your keyboard.
Preparing your Ubuntu System
1. Before we do anything, we need to ensure that the package list cache is up to date by using the following command.
This cache lists every package you can install, its version and the mirror from which the package manager can download them. Failure to update this cache can cause issues when installing packages later.
sudo apt updateCopy2. Once the update is complete, we need to ensure that the wget package is installed by running the following command.
We will use wget in the next step to download the official Google Chrome package to our Ubuntu device.
sudo apt install wgetCopyInstalling the Chrome Browser
3. Now that we know the wget package is installed, we can easily download Google Chrome for Debian-based systems such as Ubuntu.
To download the Chrome package, use the following command within the terminal.
wget https://dl.google.com/linux/direct/google-chrome-stable_current_amd64.debCopy4. With the package downloaded, you can install Google Chrome to Ubuntu using the following command.
You might notice we are still using the “apt” command here, but we are referencing the file we downloaded in the previous step.
sudo apt install ./google-chrome-stable_current_amd64.debCopyYou will be prompted to enter the password for your account before the installation will proceed.
Opening Google Chrome on Ubuntu from the Terminal
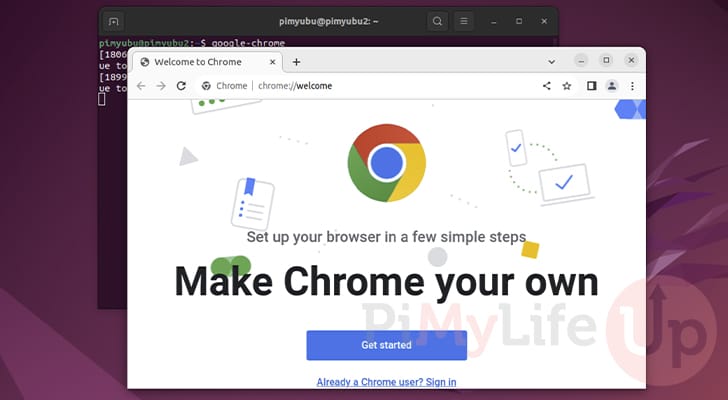
5. Now that you have Google Chrome installed on your Ubuntu device, you can easily run it using the following command in the terminal.
google-chromeCopy6. You should now have Chrome launched on your device. Since you opened the browser using the terminal, the terminal must remain open until you close your web browser.
Next time you want to launch this web browser, you can find it using the activities screen.
Using the Desktop to Install Chrome on Ubuntu
If you prefer to avoid using the terminal, you can still install Google Chrome to Ubuntu using the default web browser.
In this section, we will show you the website to go to and the prompts you need to follow to download and install Chrome.
It’s important to note that this package will set up the Chrome Google repository on your Ubuntu device by default. It does this so you can easily update the web browser through the normal update process.
Downloading Chrome from Ubuntu Desktop
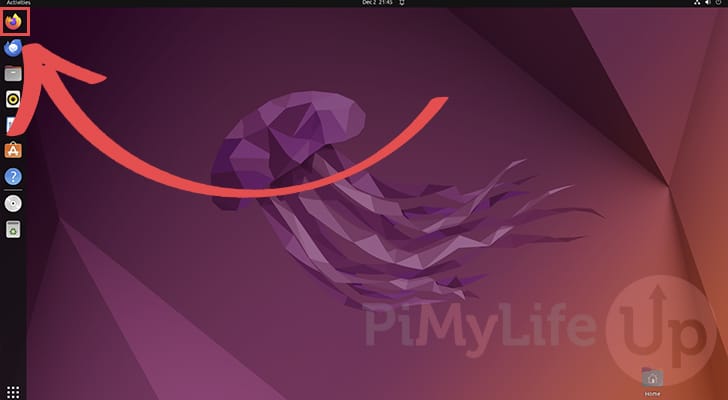
1. The first thing you must do is open whichever web browser you have installed on your system already.
By default, Ubuntu ships with Firefox, so that is the browser we will be opening.
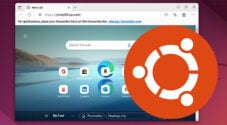
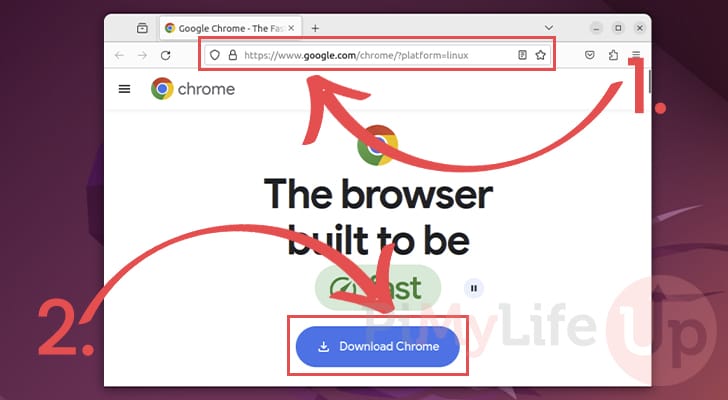
2. With a web browser open on your screen, you will want to go to the Google Chrome Linux download page (1.).
https://www.google.com/chrome/?platform=linuxOnce you are on the download page, click the big “Download Chrome” button (2.).
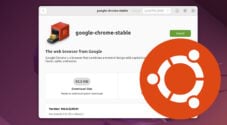
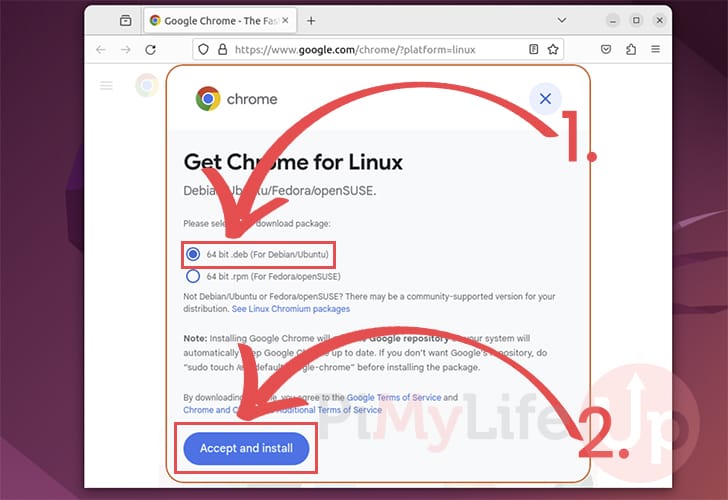
3. You will now have a pop-up appear within the window. This pop-up allows you to choose what version of Chrome for Linux you want to download to your Ubuntu device.
Since we are running Ubuntu, we want to ensure the “64 bit .deb” option is selected (1.).
Once you are sure it is selected, click the “Accept and install” button (2.).
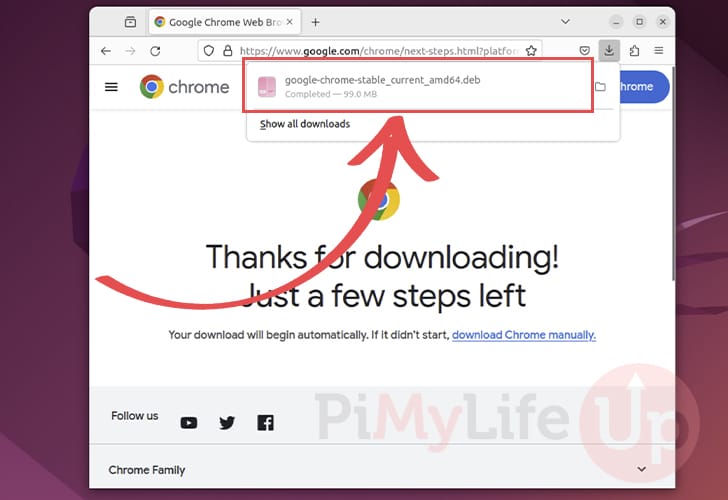
4. Once the Chrome installer finishes downloading to your system, the downloads menu should pop up at the top of the window.
You will want to double-click the “google-chrome-stable_current_amd64.deb” file to open it.
Installing Google Chrome to Ubuntu
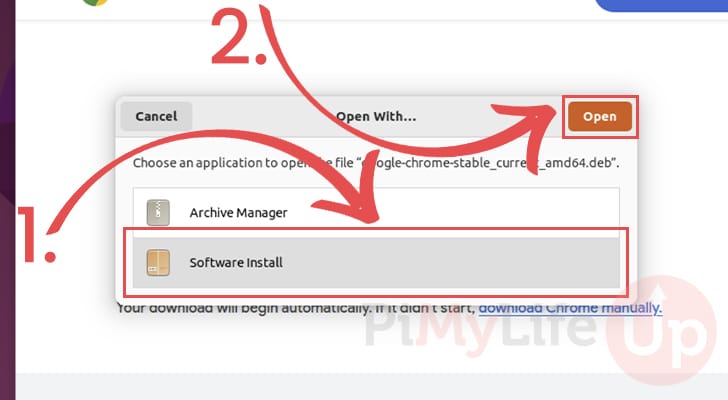
5. After opening the Chrome Debian file, Ubuntu will prompt you, asking what you want to use to open the file.
Since we want to install the web browser to our system, click the “Software install” option (1.).
After selecting this option, click the “Open” button (2.).
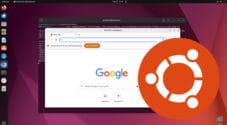
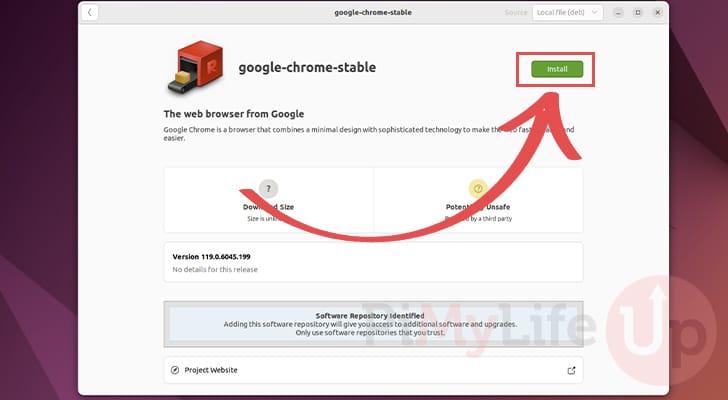
6. Eventually, the software installation window will appear. This screen gives details of the package you are about to install on your system.
To proceed with the installation of Google Chrome on Ubuntu, click the “Install” button.
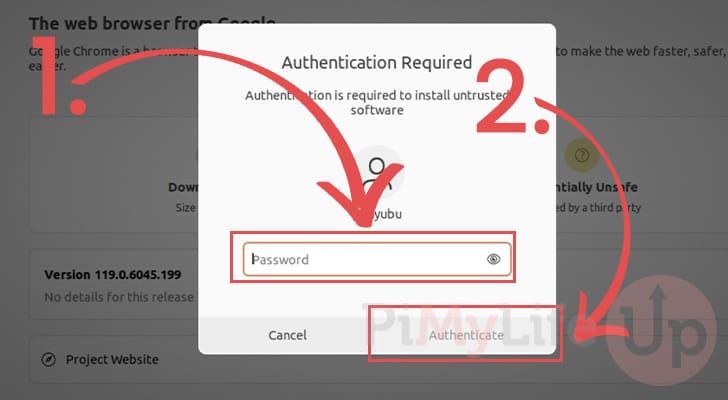
7. For the installation to proceed, you must authenticate yourself.
Type in the password for your account (1.), and then click the “Authenticate” button (2.) to continue.
Opening Google Chrome
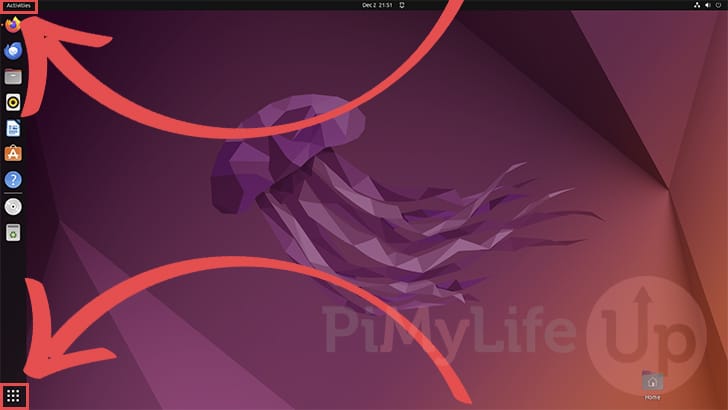
8. Now that Chrome is installed, you might want to know how to open it. Currently, the easiest way to get to the web browser is to use the Activities screen.
You can open this screen by clicking the top or bottom left side of the screen.
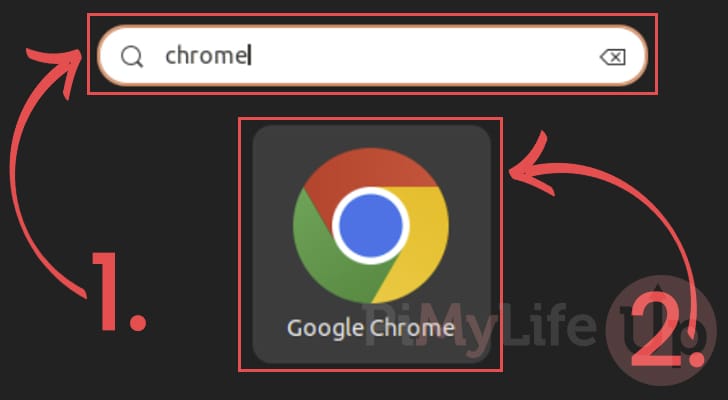
9. With the activities screen open, use the search bar at the top to look for “chrome” (1.).
Eventually, you should see the Google Chrome logo on your screen. Click this icon (2.) to open the web browser.
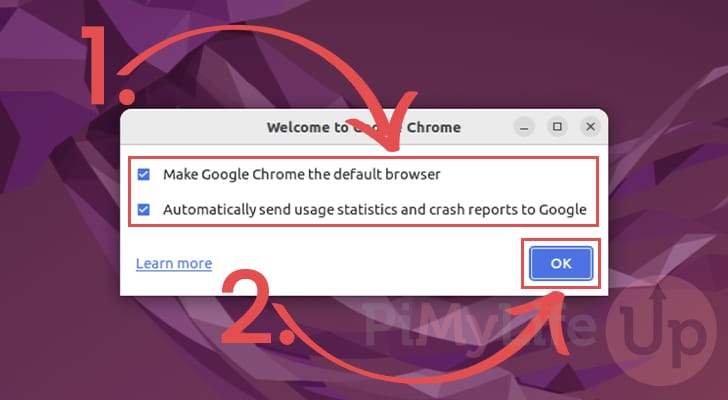
10. When you first launch Chrome, you will be prompted with a few options (1.). These options allow you to see Chrome as your default browser on Ubuntu.
Once you have decided whether to enable these options, click the “OK” button to continue (2.).
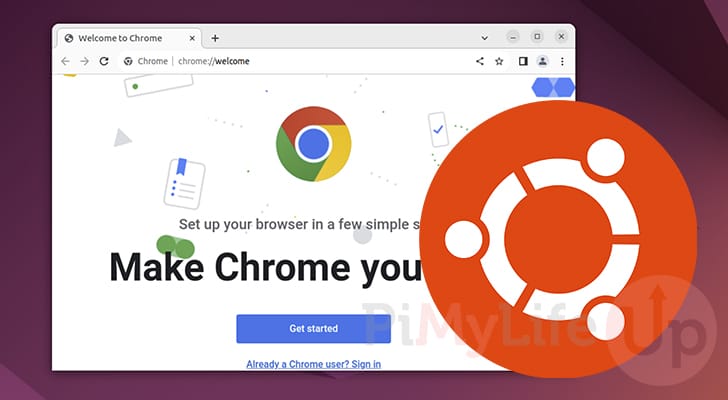
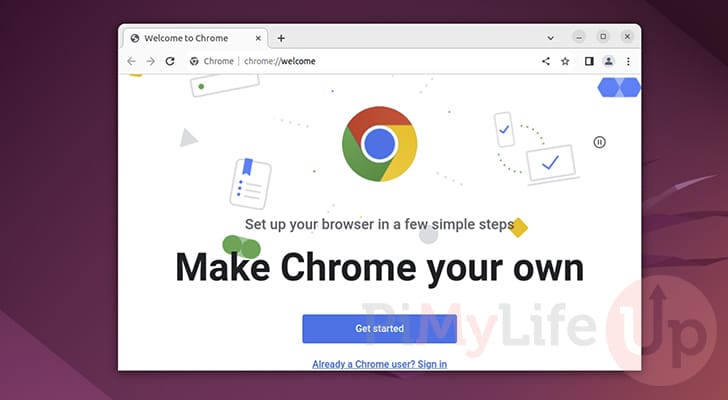
11. You should now have the Google Chrome browser open on your system.
Conclusion
Hopefully, at this stage, you will have the Google Chrome Web Browser installed on your Ubuntu system.
While the default Firefox web browser is still an excellent choice for many, Chrome does have its advantages, especially if you are a heavy user of other Google products.
If you have had any issues with getting this web browser to work on your system, please leave a comment below.
Be sure to check out our many other Ubuntu tutorials and guides to see what else you can do on your system.