This tutorial will show you how to set up Sunshine on to the Ubuntu operating system.
Sunshine is a self-hosted game streaming platform that is a re-implementation of the NVIDIA game streaming protocol and the keyway to stream to the Moonlight client.
While originally based upon the NVIDIA game stream protocol, this version has had a considerable number of improvements that make it one of the best ways to stream from one machine to another while offering incredibly low latency.
Another neat thing about Sunshine is that it is completely controllable through a web interface, so you don’t have to be physically on your streaming server to be able to control the client.
While Sunshine is primarily aimed at game streaming, you can use it to get low-latency streaming between systems. For example, if you want remote access to a system on your network, all you need to do is pair the Moonlight client with your Sunshine server.
The best way to use Sunshine is to have an NVIDIA, Intel, or AMD GPU, as it can utilize these to encode your stream. Sunshine can still function without these, but you will likely face performance issues.
Thanks to Sunshine supporting Linux, we can install and set up this game streaming platform on our Ubuntu operating system.
Of course, for Sunshine to be of any use, you will need to run a version of Ubuntu with a desktop interface. There is no point in streaming a device that has no output.
While this tutorial focuses on the Ubuntu operating system, these steps for installing Sunshine should work on any other Debian-based system without changes.


Installing and Running Sunshine on Ubuntu
Over the following sections, we will walk you through installing Sunshine onto your Ubuntu system.
We will also show you how to access the Sunshine web interface, which you will use to approve new streaming clients and configure the server itself.
Preparing your Ubuntu System
1. Before we install and set up Sunshine on Ubuntu, we should ensure everything is in place.
Your first step is to update the package list cache and upgrade any out-of-date packages using the following two commands.
sudo apt update
sudo apt upgrade -yCopy
2. After updating your system, you must ensure that the wget package is installed by running the command below.
We will use wget in the next step to download the Sunshine package for Ubuntu.
sudo apt install wgetCopyDownloading and Installing Sunshine on Ubuntu
3. As Sunshine isn’t available in the Ubuntu repository nor does it have its own package repository, we must download its own package.
We have commands that download a particular version of Sunshine. You can ensure you are downloading the latest by going to the Sunshine GitHub page. If a newer version is available, identify the variant for your version of Ubuntu and copy the link.
wget <LINK> -O sunshune-ubuntu-amd64.debCopyIf you are running Ubuntu 22.04, you can use the command below to download Sunshine 0.23.1 onto your system.
wget https://github.com/LizardByte/Sunshine/releases/download/v0.23.1/sunshine-ubuntu-22.04-amd64.deb -O sunshine-ubuntu-amd64.debCopyAlternatively, if you are running the newer Ubuntu 24.04, run the following command to download Sunshine 0.23.1.
wget https://github.com/LizardByte/Sunshine/releases/download/v0.23.1/sunshine-ubuntu-24.04-amd64.deb -O sunshine-ubuntu-amd64.debCopy4. Once you have downloaded the Sunshine Ubuntu package, you can install it using the following command within the terminal.
The advantage of using “apt install” to install this package is that it will also install any dependencies specified within the package.
Additionally, since we are using the official package, it will automatically configure access to all of the things that it
sudo apt install ./sunshine-ubuntu-amd64.debCopyStarting the Sunshine System Service
5. Now that you have installed the Sunshine game streamer on Ubuntu, you will want to enable the service.
By enabling its service, the streaming software will automatically be started when your system powers on. With this command, the service will be installed and set up for the current user.
systemctl --user enable sunshineCopy6. After enabling the service, you will likely want to get the software up and running immediately by running the following command in the terminal.
systemctl --user start sunshineCopyAllowing Sunshine through the Ubuntu Firewall
7. If you have your firewall enabled on Ubuntu, the first set of ports you will want to allow is “47984“, “47989“, “48010“, “47998“, “47999“, “48000“, “48002“, and “48010“.
These are the same ports you will want to port forward if you want to connect to your Sunshine server over the internet.
sudo ufw allow 47984/tcp
sudo ufw allow 47989/tcp
sudo ufw allow 48010/tcp
sudo ufw allow 47998/udp
sudo ufw allow 47999/udp
sudo ufw allow 48000/udp
sudo ufw allow 48002/udp
sudo ufw allow 48010/udpCopy
8. An additional port that you will want to open is port “47990“. This port is used by Sunshine’s web interface.
You probably won’t want to port forward this port as the web interface is what is used to control and configure Sunshine.
sudo ufw allow 47990/tcpCopyAccessing the Web Interface
9. There are two ways of accessing the Sunshine web interface running off your Ubuntu machine. If you are setting this up on the machine, you can simply use “localhost” as the IP Address.
Alternatively, if you want to access this interface remotely, you will want to know the local IP address of your machine. The easiest way to get the local IP address assigned to your Ubuntu machine is to use the hostname command.
hostname -ICopy10. Once you know the IP address you want to connect to, you will want to go to the following address in your favorite web browser.
Ensure that you replace “<IPADDRESS>” with the IP of your Ubuntu machine. Remember if you are running this physically on your Ubuntu device, you can simply use “localhost“.
https://<IPADDRESS>:47990Creating an Account
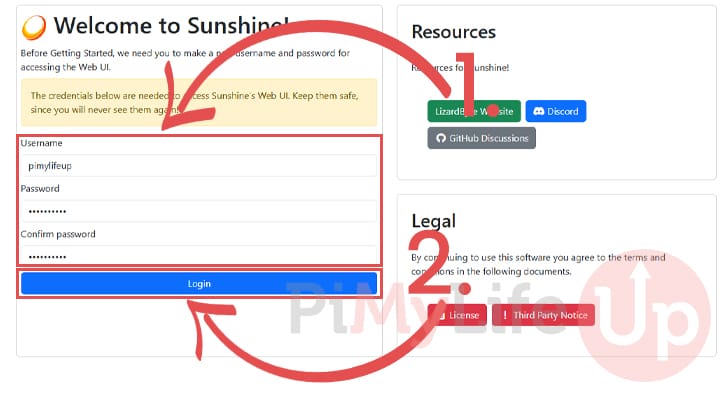
11. The first time you access the Sunshine web interface, you will be prompted to create an account.
Use the provided textboxes to enter a username and password for your admin account (1.). It’s important to set something memorable but secure for both of these as you won’t be able to find them later.
After filling out your new username and password, click the “Login” button (2.).
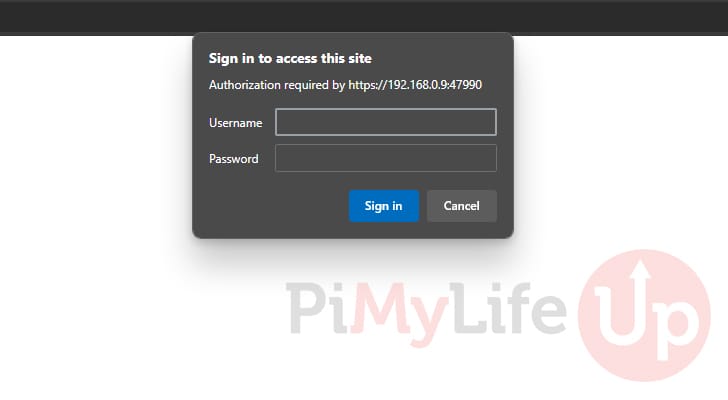
12. After a few seconds, the page will automatically refresh and prompt you to log in.
Use the username and password that you set in the previous step to access Sunshine.
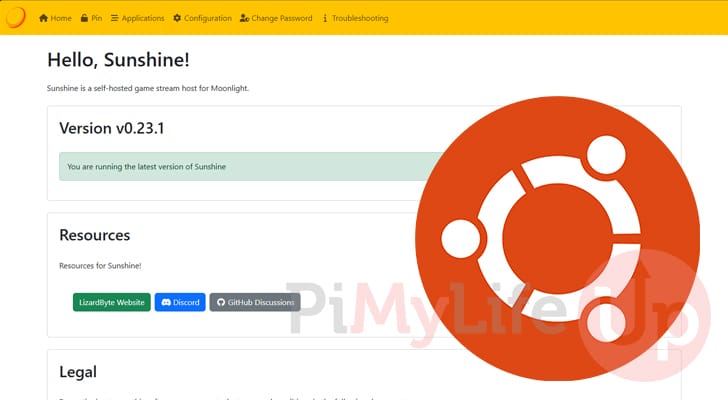
13. You now have full access to the Sunshine web interface, you can use this to control the server on your Ubuntu system.
Additionally, you will use this interface to pair a client such as Moonlight with the Sunshine server running on Ubuntu.

Conclusion
Hopefully at this point in the guide, you will have successfully installed and started up the Sunshine streaming server.
This awesome self-hosted service allows you to easily stream from one machine to another while maintaining a low enough latency that you can play the vast majority of games with little to no issues.
Please feel free to post a comment below if you have had any issues with getting Sunshine up and running on Ubuntu.
If you liked this guide, we recommend that you explore some of our many other Ubuntu tutorials.


Thanks for the guide man!
I had started to dread it after getting it right by myself the first time, then on another failed 3 times before giving up.
Works out perfectly on new Mint os install.
Cheers!