In this guide, we will be showing you how to use an AppImage on the Ubuntu operating system.
An AppImage is basically an application bundled with everything it needs to run without ever being installed. It is similar to Windows Portable executables if you have ever used those before.
An AppImage is similar to a snap on Ubuntu since they are both designed to be self-contained. However, there are some fundamental differences that we won’t be covering today.
Not requiring installation also means you can run an AppImage as an unprivileged user. This is useful if you want to use an application but don’t have access to the super user.
While these images should be easy to run, they are packaged by the developer and not by a special system. If the developer packs the image with missing dependencies, it may not run properly.
By their very design, an AppImage is very simple to run on Ubuntu. We will be covering exactly how to do this in the following sections.
Before you continue with this guide, ensure that the image you are attempting to run supports Ubuntu. An AppImage must be built to support every system it’s intended to run on.
Exploring an AppImage and What Makes it Different
An AppImage is quite a different concept from the typical “.deb” packages you may be familiar with on Ubuntu.
While a “.deb” package typically only comes with the program itself, an AppImage is meant to come with everything it requires to operate in te single package. This design choice is to create a highly portable, easily distributable copy of software.
Let us quickly go over some of the core design principles of an AppImage and why one might be interested in using one.
- You do not require super user privileges or admin privileges to run an AppImage.
These images, by design, are meant to be able to run without any extra privileges. This doesn’t mean the software contained within an AppImage doesn’t require admin privileges. - These images do not require installation, meaning you don’t have to worry about messing up other software on your system.
By design, these images are meant to contain everything needed to run them without being installed onto the operating system. - AppImages are designed to be distribution agnostic as long as it has been built for your base operating system.
For example, one image can be built to run on Ubuntu, Fedora openSUSE, and more. This saves a developer from distributing a separate image for each operating system.
However, if the who created that image didn’t build it for Ubuntu, it will likely not run. Luckily, Ubuntu is a popular operating system, so support is highly likely. - These images remain compressed on the operating system at all times.
When you run an AppImage, they are decompressed on the fly without being noticeable to the end user. It is done like this because, typically, decompressing is faster than reading off an HDD. - While an AppImage is self-containe,d it is crucial to mention it is not sandboxed like a Docker container.
Nothing restricts the AppImage from accessing other parts of your system except for the typical Linux permission system.
Preparing Ubuntu to Run an AppImage
While the AppImages don’t have any dependencies themselves the underlying technology does. That dependency is LibFuse2.0.
If you are using a version of Ubuntu older than 22.04 then you can skip this section entirely. Otherwise, continue reading.
Recent versions of Ubuntu have moved to using Fuse 3.0. However, an AppImage relies on Fuse 2.0 to function.
Luckily, we can install Fuse 2.0 alongside the older version to get AppImages working on newer versions of Ubuntu.
1. Before installing Fuse 2.0 on to our system, we should perform an update.
You can update the package list cache and upgrade any out-of-date packages using the command below.
sudo apt update
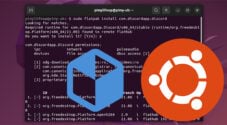
sudo apt upgrade -yCopy2. Now run the following command within the terminal to install “libfuse2.0” on your system.
Do not just type “fuse” into this. It will automatically remove Fuse 3.0 alongside some other system applications.
sudo apt install libfuse2.0CopyRunning an AppImage on Ubuntu
This section will show you how to run an AppImage on the Ubuntu operating system.
As mentioned earlier in this guide, an AppImage does not have to be installed to run. All we need to do is ensure that the file has execute privileges.
We will be splitting this section in two. One will cover how to use the desktop interface to run an AppImage. The other will show you how to use the terminal.
Starting an AppImage on Ubuntu Desktop
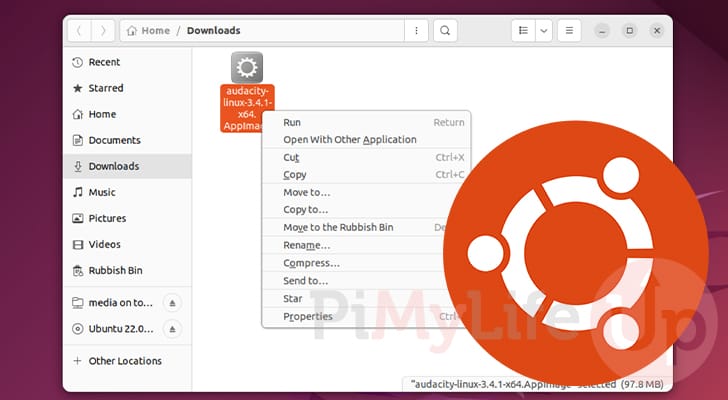
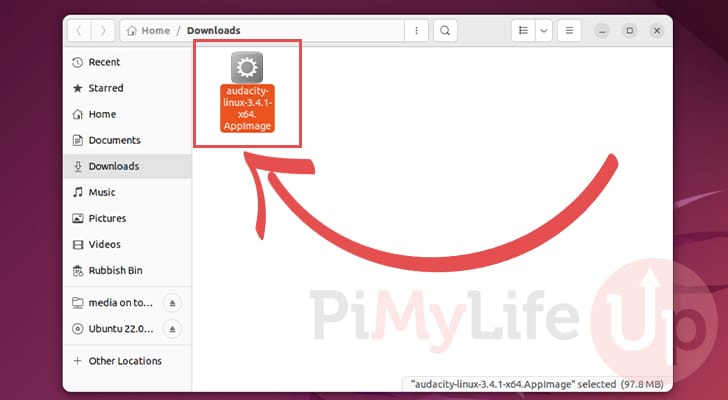
1. First, you must download the AppImage you intend to run on your system. For our example, we will be running Audacity.
Navigate to where you downloaded this image, then continue to the next step.

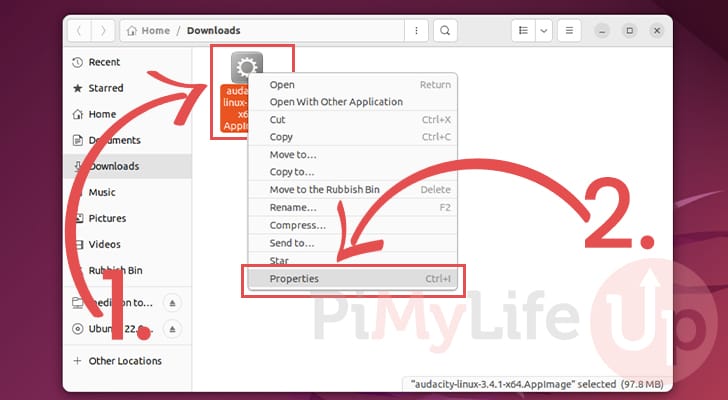
2. Once you have found the AppImage you want to run on Ubuntu, right-click it (1.) to bring up a context menu.
In this context menu, find and click the “Properties” option (2.).
3. With the “Properties” screen open, click the “Permissions” tab (1.).
Next, find the option labeled “Execute” and click the checkbox labeled “Allow executing files as program” (2.).

4. Now, all you need to do to run this application is double-click it’s icon.
After adding execute privileges an AppImage can be ran like any other application on your system.
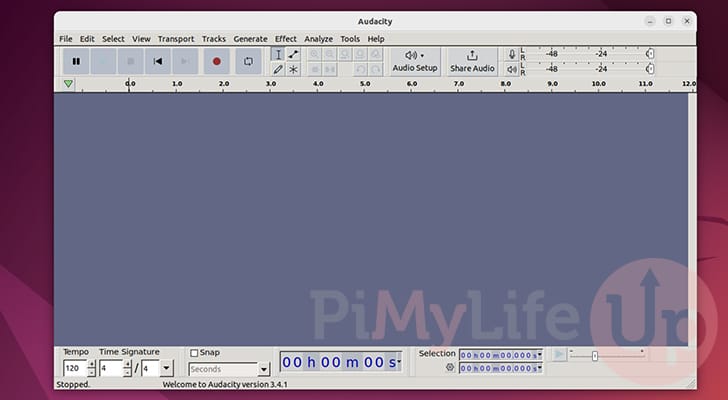
5. Below, you can see that we now have Audacity running on our Ubuntu system.
If the app for some reason refuses to load for you, try using the terminal instead. The terminal will output any errors that could be causing the AppImage to not work.
Using the Terminal to run an AppImage
1. You can also run an AppImage on Ubuntu from the terminal. This is super useful if it feels like the image is refusing to run, as you will see any errors the image throws.
start this section, you must open the terminal on your system. On Ubuntu desktop, you can press CTRL + ALT + T to open the terminal quickly.
2. With the terminal now open on your device, navigate to where you downloaded the AppImage you want to run.
For our example, we are in our downloads directory trying to run an AppImage with the filename “audacity-linux-3.4.1-x64.AppImage“.
3. The first thing you must do before you can run an AppImage is give it execute privileges.
To give the image execute privileges we will be utilizing the chmod command within the terminal. Just ensure you replace our filename with yours.
chmod a+x ./audacity-linux-3.4.1-x64.AppImageCopy4. You can now run your AppImage from the terminal by referencing its name in the terminal. Alternatively, you can run the file by double-clicking its icon on the desktop.
./audacity-linux-3.4.1-x64.AppImageCopyUninstalling an AppImage on Ubuntu
As mentioned throughout this tutorial, an AppImage is never actually installed on your Ubuntu system, so removing it is incredibly simple.
You only need to delete the AppImage file from your operating system. At that point, the application is completely removed from your system.
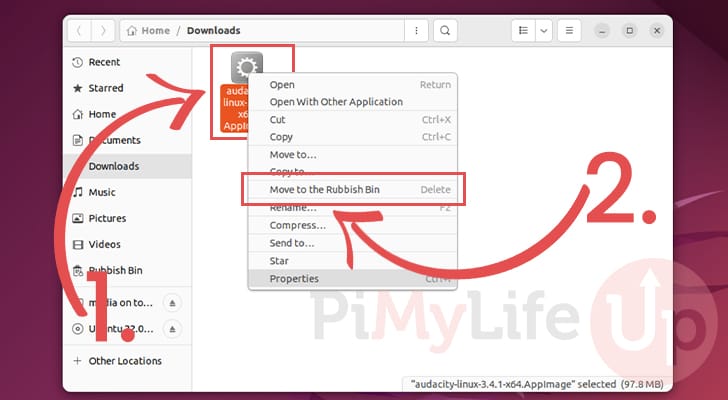
1. If you are deleting an AppImage, you only need to click the file and hit the DELETE key.
You can also right-click the file and click the “Move to the Rubbish Bin” option.
2. You can also delete an AppImage from Ubuntu while using the terminal.
All you need to do is use the rm command like we have below.
rm ./audacity-linux-3.4.1-x64.AppImageCopyConclusion
Hopefully, at this point in the tutorial, you will now have a good understanding of how you can run an AppImage on Ubuntu.
These specially packaged images make running applications incredibly simple as they don’t even need to be installed.
Please feel free to comment below if you have any questions about using these images on your Ubuntu system.
If you found this tutorial to be helpful, we highly recommend checking out our many other Ubuntu tutorials.