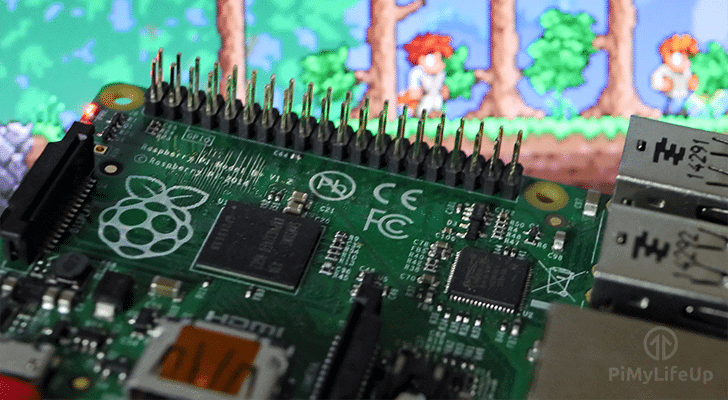
In this project, we will be walking you through all the steps to set up your very own Raspberry Pi Terraria server, allowing you to set up a low-cost and energy-efficient Terraria server.
The ability to run a Terraria server on your Pi is made possible by an open-source project called TShock.
TShock is a reimplementation of the official Terraria server, packed with even more features. On top of having more features, it has also been ported to significantly more operating systems and devices.
It’s ARM32 and ARM64 builds are what enables us to run an affordable and low-powered Terraria server off of our Raspberry Pi.
Getting this game server up on your Raspberry Pi is actually a pretty straightforward process, largely thanks to the TShock software. It includes its own installer, which will significantly simplify everything, as you don’t have to worry about getting the correct version of the .NET Framework on your Pi.
If you want to access your Terraria server outside your home network, you’ll want to set up a static IP address on your Pi and enable port forwarding.
There are other alternatives to port forwarding that allow people to connect to your Raspberry Pi-powered Terraria server, such as Tailscale or Pangolin.
Equipment List
Below are all the bits and pieces that I used for this tutorial on setting up a Terraria server on the Raspberry Pi.
Recommended
- Raspberry Pi Amazon 3 or newer
- Micro SD Card Amazon
- Power Supply Amazon
- Ethernet Cable Amazon or Wi-Fi Amazon
Optional
- Raspberry Pi Case Amazon
We tested this guide on a Raspberry Pi 4 running Raspberry Pi OS Trixie (64-bit).
Setting up a Terraria Server on the Raspberry Pi
In this tutorial, we will be setting up a Terraria Server on the Raspberry Pi. We achieve this by utilizing the Tshock server software.
Thanks to newer versions of the .NET Framework being open source and actively developed for ARM, we can actually run Tshock with relative ease on our Raspberry Pi.
Preparing your Raspberry Pi
1. Now, before we get started with setting up the Terraria server software on our Raspberry Pi, we will need to ensure our Raspberry Pi is entirely up to date.
The easiest way to update all your out-of-date packages is to run the following two commands in the terminal. The first command will update the package list cache, and the second will upgrade any packages it finds to be out of date.
sudo apt update
sudo apt upgradeCopy
2. With our Pi now up to date, we can move on to start preparing stuff to run the Terraria server. Luckily for us, TShock does a lot of the hard work for us, so there isn’t much we need to do on our Pi.
The first and most important thing for us to do is create a place on our Pi to store the server files. For this tutorial, we will be creating a directory named “tshock” within your current user’s home directory.
You can achieve this by using the mkdir command, as we have done below. The use of the tilde symbol (~) helps the terminal know we are referring to the home folder.
After creating the directory, we will change into it using the cd command.
mkdir ~/tshock
cd ~/tshockCopy
Downloading the TShock Terraria Server on the Raspberry Pi
3. Now that we are in our newly created folder, let’s download the Terraria server software to our Raspberry Pi by utilizing the wget command.
The version we are downloading onto your Pi is TShock 5.2.4, which has been built for Terraria 1.4.4.9. You can check for a newer release by going to the TShock GitHub page.
wget https://github.com/Pryaxis/TShock/releases/download/v5.2.4/TShock-5.2.4-for-Terraria-1.4.4.9-linux-arm64-Release.zipCopy3. We can now extract the zip file by running the following command on our Raspberry Pi. While unzip comes by default on the base Raspberry Pi OS installation, you may have to install it on slimmer installations.
unzip TShock-5.2.4-for-Terraria-1.4.4.9-linux-arm64-Release.zipCopy4. Within this zip file, you will find another archive we need to extract; however, this time we must use the tar command, as shown below.
tar xvf TShock-Beta-linux-arm64-Release.tarCopy5. Our next step is to clean up the two archive files that we have just extracted. They are no longer required, so there is no point in leaving them on your Raspberry Pi, and they aren’t required to run the TShock Terraria server.
You can remove the archive by using the following two commands.
rm TShock-5.2.4-for-Terraria-1.4.4.9-linux-arm64-Release.zip TShock-Beta-linux-arm64-Release.tarCopyRunning the Terraria Server on your Raspberry Pi
6. With the TShock server extracted onto our Raspberry Pi, we can now run the “installer”.
When it is first run, this installer will download and install a version of the .NET Framework compatible with your Pi. This saves us a bunch of hassle and lets us avoid relying on Mono for the Terraria server to run.
Despite the file’s name, you can use this same file to launch the Terraria server. It will save you the hassle of having to set an environment variable every time you want to start up the software.
To run the installer, use the following command in the terminal while you are still in the tshock folder we created earlier.
To do this, we need to run the following command on the Raspberry Pi while we are in our tshock folder.
./TShock.InstallerCopy7. You will be taken through several steps to set up your Terraria world on the Raspberry Pi.
We recommend starting with a small world, as larger ones can cause the Raspberry Pi to freeze during generation. Take note of the name of your world
After the generation completes, you will return to the command line’s main menu. Simply enter the number next to the name of your world and press enter. You will be asked for a few more details again, but it is usually safe to just press Enter to skip them.
Conclusion
You should now have a fully working Terraria server running on your Raspberry Pi and be able to successfully connect to it from your device. If you have run into any issues or want to leave some feedback on this tutorial, then feel free to drop a comment below.
If you are interested in looking into more gaming servers for your Raspberry Pi, you can also check out our Minecraft Raspberry Pi server tutorial and our Minecraft Pocket Edition server tutorial.


apt-key on trixie is not available, luckily was able to atp install mono directly then continue with install
Hi Eric,
Thanks for the heads up about this tutorial being broken. I have taken the time to go back over the whole thing and rewrite it significantly.
There is no longer any need to use Mono with the newer release of the TShock server we are using to run the Terraria Server. The new releases just download a variant of the .NET Framework.
Kind regards,
Emmet
will this run on a raspberry pi 5, running bookworm?
Hi Dennis,
Yes this should continue to function fine. As far as I can see, there has been no changes that should cause this tutorial to break.
If you do run into any issues, please feel free to drop a comment and I’ll try my best to resolve them.
Kind regards,
Emmet
This works ( just need to update the download ). It works on my ye old pi 3.