In this tutorial, we will show you how to use Docker to self-host GitLab on your Linux machine.
GitLab is one of the key competitors in the Git hosting space. It has become known for its rich feature base that rivals its many competitors.
A neat thing about GitLab is that it allows you to run your own self-hosted instance and remain in control of your data.
One of the best ways to self-host GitLab on Linux is to use Docker. Using Docker allows you to get all the required services up and running in minutes. Another advantage is that it makes updating to the latest release a simple three-command process.
GitLab is one of the heavier Git services that you can self-host. It requires you to have at least 4GB of memory free on your machine. If you are after something a bit lighter, you might want to check out Gitea.
One downside to using these containers is that you must have a valid and externally accessible domain name. The reason for this is that the container has been configured to fetch an SSL certificate before it starts automatically. It can’t generate one if Lets Encrypt can’t access your site.
You also require at least 2 GB of spare room on your machine. While this should be fine for most people’s setup, it may be problematic if you use a small VPS or try to minimize your usage with cloud services such as Azure and AWS.
Please note that this guide will not work on ARM machines such as the Raspberry Pi. GitLab do not provide builds of their containers for ARM devices.

Installing GitLab using Docker
Over the following sections, we will walk you through the very simple steps to install GitLab on your machine using Docker.
All of the following steps are written for the terminal. If you are using an operating system with a desktop interface, you can often open the terminal by pressing CTRL + ALT + T.
Preparing your Linux Machine to run the GitLab Docker Container
1. The first thing you will need to do before you set up the GitLab Docker container is to install Docker itself.
If you don’t have this runtime installed already, we highly recommend our installing Docker on Linux guide.
https://pimylifeup.com/linux-docker-install/2. Your next step is to create a directory where we will store the Docker compose file for this software. This directory is also the location where we will get GitLab to store all of its data.
To create the directory we will use for this guide, use the mkdir command as shown below.
sudo mkdir -p /opt/stacks/gitlabCopy3. Once the directory has been created, change to it by using the cd command in the terminal.
cd /opt/stacks/gitlabCopyWriting a Docker Compose File to Manage GitLab
4. Now that we are in the correct place, we can begin to write the Docker Compose file that will manage GitLab. A Compose file is like a set of instructions that Docker uses to set up and manage containers.
Begin writing this Compose file within the terminal by using the Nano text editor.
sudo nano compose.yamlCopy5. Within this file, enter the following details. With these lines we specify the GitLab community edition container. We specify a hostname for the server to use, the ports that should be exposed, and the volumes that will be mounted locally on your machine.
By default, this container is configured to use ports 80 and 443 for the web server, and port 2424 for GitLab’s SSH server.
There is only one placeholder that you must replace within this configuration.
<DOMAINNAME>: Replace this placeholder with the domain name you will use to access your self-hosted GitLab instance.
services:
  gitlab:
    image: gitlab/gitlab-ce:latest
    container_name: gitlab
    restart: always
    hostname: '<DOMAINNAME>'
    environment:
      GITLAB_OMNIBUS_CONFIG: |
        external_url 'https://<DOMAINNAME>'
        gitlab_rails['gitlab_shell_ssh_port'] = 2424
    ports:
      - '80:80'
      - '443:443'
      - '2424:22'
    volumes:
      - './config:/etc/gitlab'
      - './logs:/var/log/gitlab'
      - './data:/var/opt/gitlab'
    shm_size: '256m'Copy
6. Once you have filled out this file, save and quit by pressing CTRL + X, Y, and then ENTER.
Starting up GitLab
7. Now that you have written the Docker Compose file for GitLab, all you must do to start up the Git server is to run the following command within the terminal.
This process can take a few minutes as the initial run of GitLab requires the container to complete some additional set up steps that won’t need to be performed on subsequent loads.
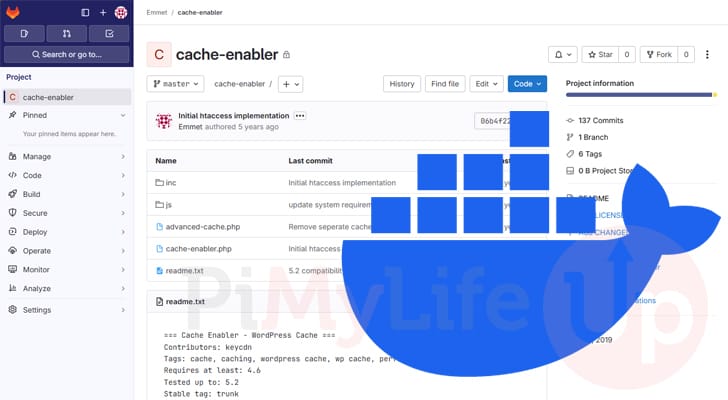
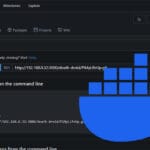
docker compose up -dCopy8. Once the container finishes starting up, you should now be able to access the GitLab web interface by going to your designated domain name.
https://<DOMAINNAME>/Once you have accessed the GitLab web interface you will be able to follow the initial set up process to create your user and manage your new instance.
Updating to the Latest Version of GitLab
As mentioned at the start of this guide, one key advantage of using Docker to run GitLab is that it makes the whole update process simple. You don’t have to worry about the new version of GitLab being incompatible with your operating system, as it is all contained within the Docker container.
The next three steps will walk you through the very straightforward update process.
1. Before you update GitLab to the latest release, you must change to the directory where we wrote the Compose file.
If you followed our guide exactly, you must run the command below.
cd /opt/stacks/gitlabCopy2. After changing to the correct directory, we will tell Docker to pull the latest images for our Docker Compose stack.
This will download a new release if one is available but will not apply it.
docker compose pullCopy3. To get Docker to apply the updated image, you can run the command we used to start the stack in the first place.
When checking over the Compose file, Docker will detect a new image is available for GitLab and restart the container.
docker compose up -dCopyConclusion
Hopefully, you will now have GitLab up and running on your machine at this stage.
GitLab is a great Git solution that gives you a wealth of tools through a well-polished web interface. Docker makes setting up and using this software such an easy process.
Please feel free to comment below if you have had any issues with self-hosting this software.
If you liked this tutorial, we highly recommend exploring the many other Docker guides to see what else you can easily self-host.