In this tutorial, we will show you how to set up the Moonlight streaming client on a Linux-based operating system.
Moonlight is an open-source client for the NVIDIA GameStream and Sunshine streaming protocols. This client lets you easily stream games from a more powerful machine to your Linux device.
This client fully supports HDR and hardware-accelerated video decoding. If you are using Sunshine to stream your games, Moonlight can even utilize the AV1 codec on your Linux device.
You don’t have to worry about whether your controller or mouse is supported. Moonlight has built-in support on Linux for gamepads, mice, keyboards, and even touch controls. However, touch controls will only work with the Sunshine streaming server.
While NVIDIA has discontinued NVIDIA GameStream, the Sunshine client has grown to offer more features than the original client. It even performs better and supports modern, more efficient video codecs. Additionally, it will even work if you use AMD graphics cards.
For this guide, we will be setting up the Moonlight client on an Ubuntu system. However, the steps should work fine for most Linux-based systems, especially those built on Debian.


Installing the Moonlight Streaming Client on a Linux System
There are two ways that the Moonlight team provide their streaming client.
The first is through a Snap package. The second is through a Flatpak. Both package types are ways of bundling an application such as Moonlight with all its dependencies.
With newer versions of Ubuntu, we ran into issues when trying to use the Snap to run Moonlight, so this guide will focus purely on how to use a Flatpak to install the streaming client.
Preparing your Linux System to Run Moonlight
1. We will perform some initial setup steps before setting up the Moonlight streaming client on our Linux machine.
The first step will be to ensure your packages are up-to-date by running the following two commands.
sudo apt update
sudo apt upgrade -yCopy
2. Your next step is to install the “flatpak” package. We will use Flatpak to install and run Moonlight on our Linux machine. As we are using Ubuntu, this package is available directly through its repository.
sudo apt install flatpakCopy3. With Flatpak installed, you must add “flathub” as a remote repository. We need this to install the Moonlight client later on in this guide.
sudo flatpak remote-add --if-not-exists flathub https://flathub.org/repo/flathub.flatpakrepoCopyInstalling the Moonlight Streaming Client using Flatpak
4. We are finally at the point we can install where we can install the Moonlight streaming client using Flatpak.
All you need to do to install this streaming client to your Linux system is use the following command within the terminal.
sudo flatpak install flathub com.moonlight_stream.MoonlightCopyLaunching the Moonlight Client on Linux
5. You should now have Moonlight installed on your Linux system and be able to launch it. Depending on your operating system, you should be able to find it within your applications list. (Sometimes, a restart is required).
Launching the Moonlight streaming client directly from the terminal is also possible by running the command below.
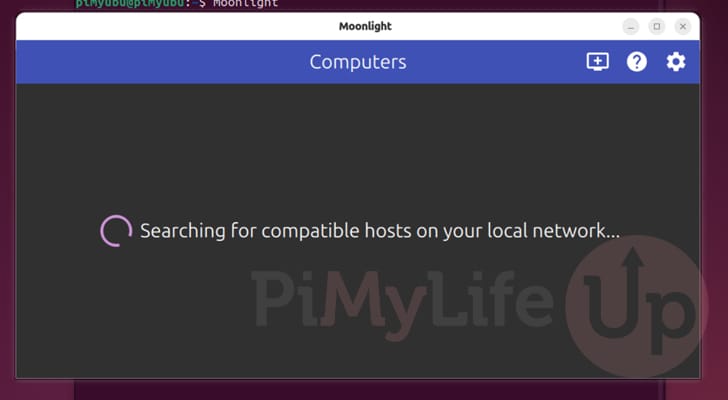
flatpak run com.moonlight_stream.MoonlightCopy6. Below, you can see that we have successfully got the Moonlight client running on our Ubuntu machine.
Since we haven’t yet set up Sunshine on our main PC, the client is still currently just searching for compatible hosts.
Connecting to a Streaming Server using Moonlight
7. Now that you have Moonlight set up on your Linux device you will want to know how to use it to connect to a streaming PC. Your main computer will need to have Sunshine or NVIDIA GameStream for this to work.
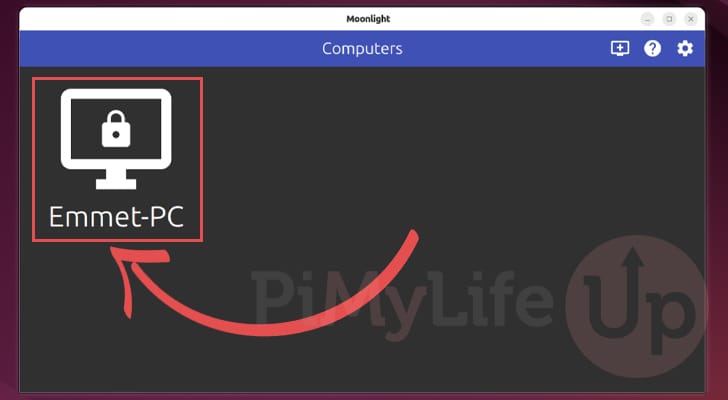
As you can see below, we haven’t yet connected our Moonlight client to our server it has a lock symbol on it.
8. After clicking our server, a PIN will appear within a message box. You must use this PIN on either Sunshine or NVIDIA GameStream to connect your client to the server.

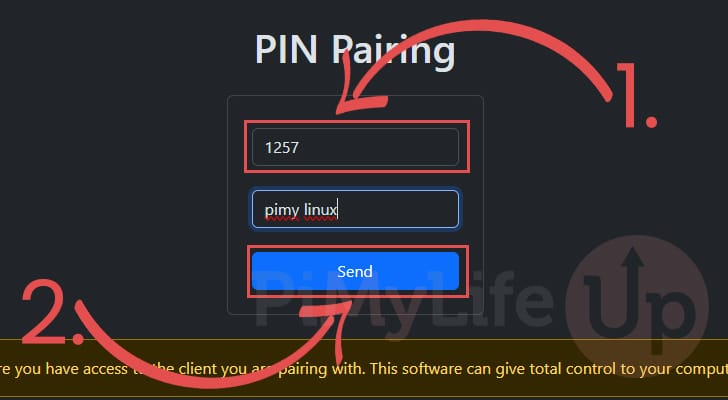
9. For this example, we will connect our Linux Moonlight client to our Sunshine server. On this screen, we must enter the PIN we saw on Moonlight (1.).
After typing in the PIN, we must click the “Send” button (2.) to finish the connection.
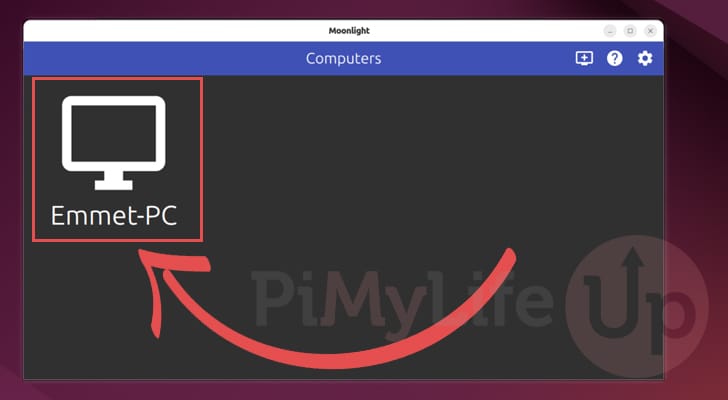
10. You can see that the lock symbol on our PC is now gone. If we click it now, we will be connected to the PC.
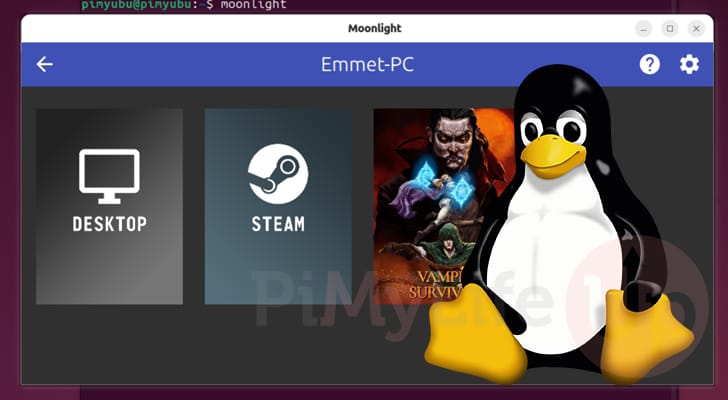
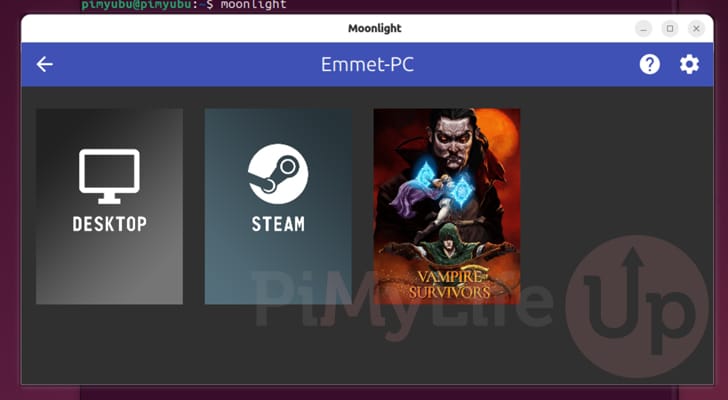
11. Below, you can see the applications that we have set up through the Sunshine streaming server.
Selecting any of these will begin streaming them straight to the Moonlight client running on our Ubuntu machine.
Conclusion
Hopefully, at this stage, you will now understand how to install and use Moonlight on your Linux machine.
This streaming client is super useful and allows you to stream from your more powerful machine to a potentially smaller and weaker device.
Please feel free to post a comment below if you have had any issues running Moonlight on your machine.
If you like this tutorial, we highly recommend that you investigate our many other Linux guides.