In this tutorial, we will show you how to set up and use MQTT on Home Assistant.
For those who do not know, MQTT is a lightweight message protocol many smart devices use. It has become a popular standard for IoT devices because it is effortless to implement an MQTT client. This protocol also works well under limited bandwidth situations.
Setting up your Home Assistant server to act as a MQTT broker is a straightforward process. A broker is where your smart devices will send MQTT messages using a topic/message format.
With the help of an MQTT broker, your smart home server can easily subscribe to MQTT topics. By subscribing to a topic, the server can read every message sent to that particular topic.
For example, you could have a temperature sensor in your lounge room sending an MQTT message to your Home Assistant server with the topic “home/loungeroom/temperature“. The message, in this case, would contain the temperature. Home Assistant can then read this value, and you can display it within your dashboard.
A popular brand that uses MQTT is Shelly. These units send and receive status updates over MQTT.
By the end of the following section, you will have your Home Assistant server set up with an MQTT broker to receive messages.
Within this guide, we will be using the official MQTT add-on. If you use Docker to run Home Assistant, this guide won’t work due to the lack of support for add-ons. Instead, we recommend checking out our Home Assistant Docker Compose installation guide.
Setting up MQTT on your Home Assistant Server
In this section, we will work you through setting up MQTT on your Home Assistant server.
This process is reasonably straightforward thanks to the official Mosquitto Broker add-on. This add-on makes adding an MQTT broker super simple. It also integrates seamlessly with the MQTT integration with a single-click configuration.
Installing the MQTT Broker Addon on Home Assistant
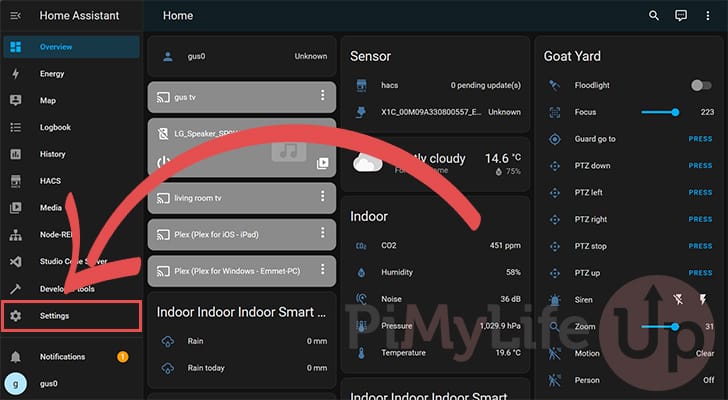
1. To install the MQTT Broker Add-on to your Home Assistant installation, you must first change to the settings page.
You can access the settings by clicking “Settings” in the sidebar.
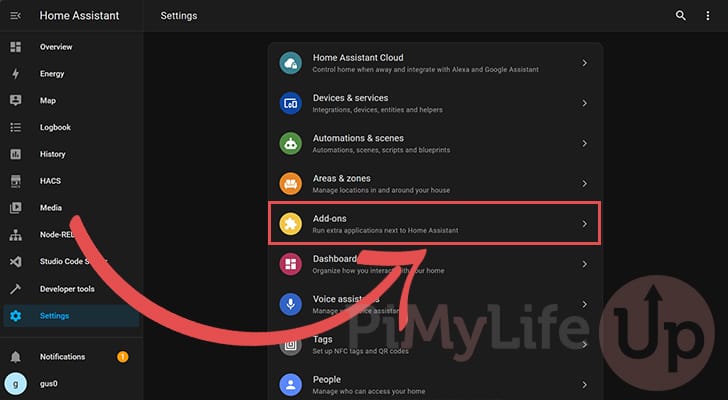
2. Once in the “Settings” menu, find and click the “Add-ons” option.
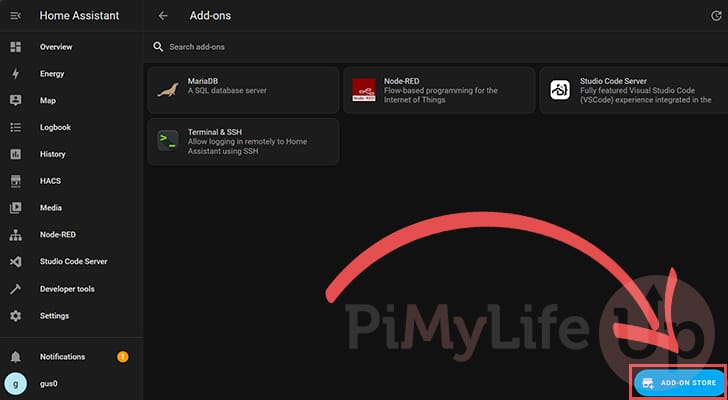
3. On this screen, you will see a list of add-ons that you have already installed to your system.
However, we want to add the MQTT Broker to our Home Assistant installation, so we must click the “ADD-ON STORE” button in the bottom-right corner.
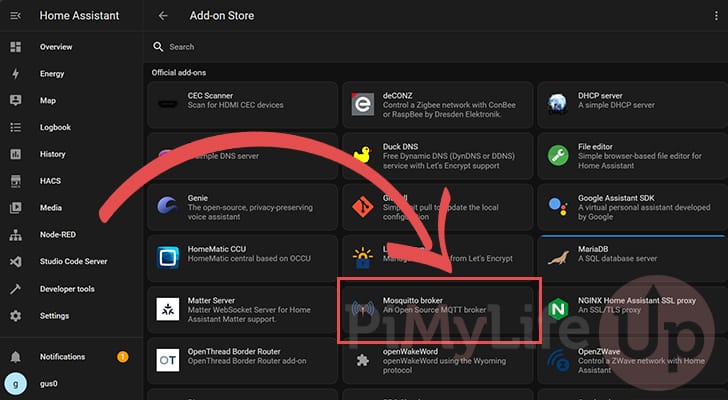
4. You will now be introduced to a list of officially supported add-ons.
Within this list, you should find an entry labeled “Mosquitto broker“. Click this entry to go to its install page.
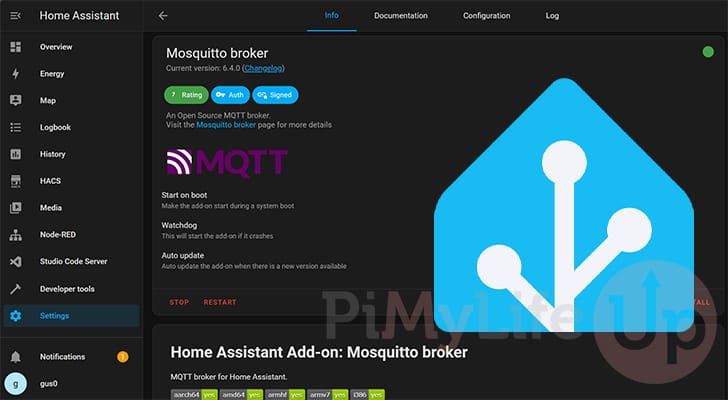
5. We are now on the add-on page for “Mosquitto broker“. Mosquitto is an open-source MQTT broker that is fully supported by Home Assistant.
To install this MQTT broker, click the “Install” button as shown below.

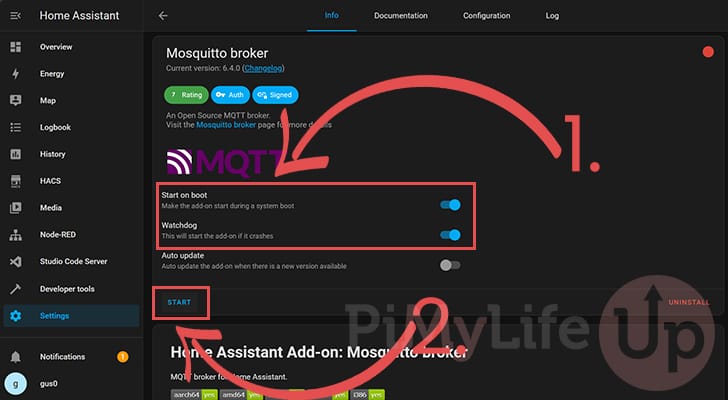
6. Once the MQTT broker finishes installing, you must ensure the “Start on boot” and “Watchdog” options are toggled on (1.). These options ensure the MQTT Broker starts when Home Assistant does and is restarted if it crashes.
After enabling these options, click the “START” button (2.).
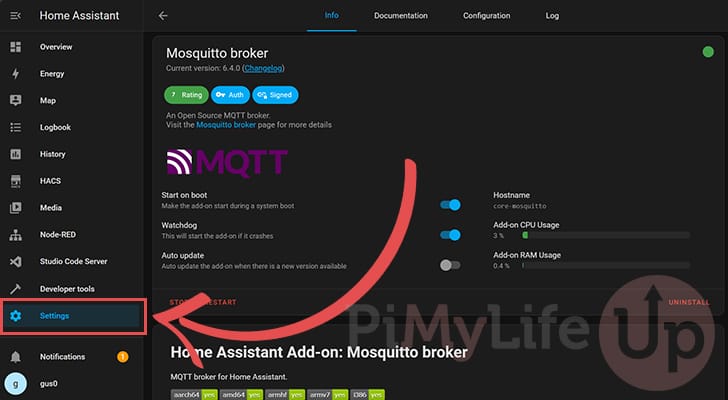
7. Once the MQTT broker is up and running, you will want to switch to the “Settings” page.
Even though our MQTT broker is now installed, it isn’t integrated into Home Assistant yet. That is something that we will sort out very shortly.
Setting up the MQTT Integration
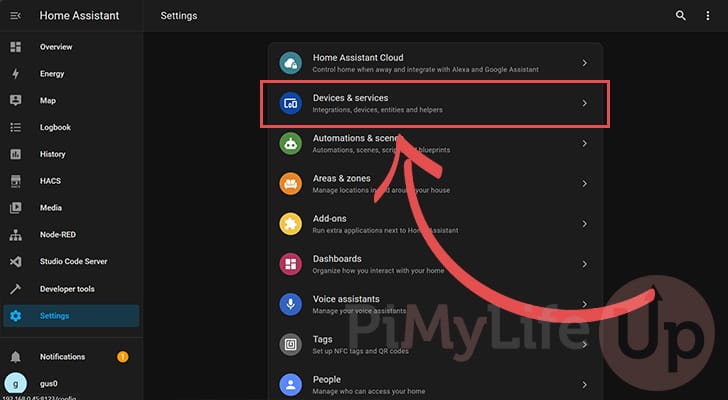
8. Now that you are back in the “Settings” panel, swap to the “Devices & services” menu.
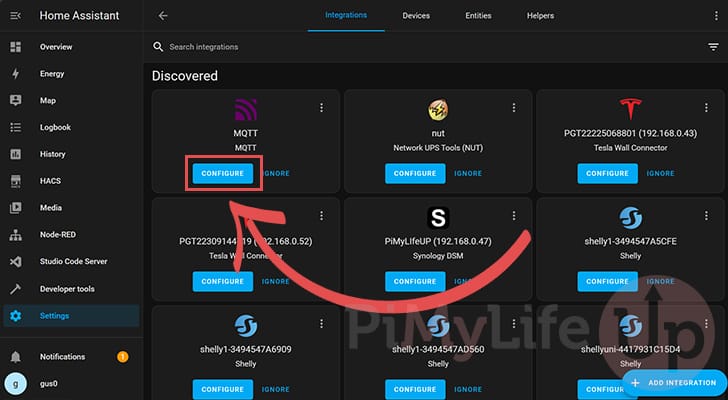
9. You should see an entry labeled “MQTT” within the discovered list of integrations.
Once you have found the listing, click the “CONFIGURE” button to proceed.
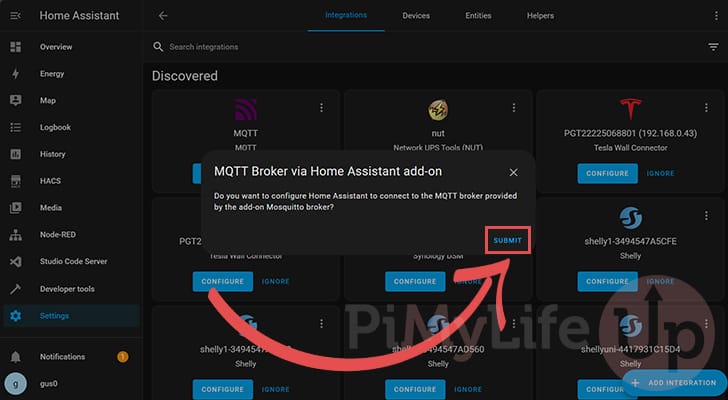
10. Here is where the benefit of using the MQTT Broker Add-on comes in.
The MQTT integration will automatically detect your new MQTT broker. All you need to do is click the “SUBMIT” button, and the integration will take care of all the configuration for you.
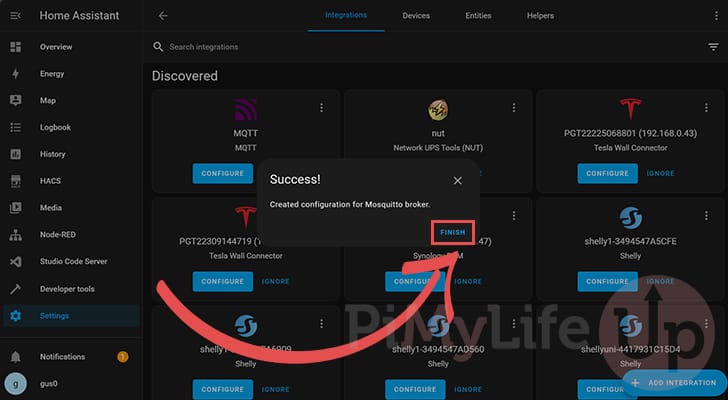
11. Once you see the “Success” message, you have successfully set up the Mosquitto broker and the MQTT integration on your Home Assistant installation.
You can now start receiving and processing messages through your smart home server.
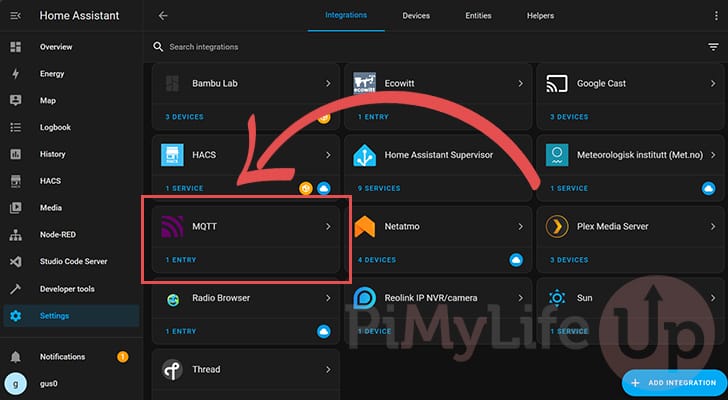
12. If everything works properly, you should see “MQTT” under the “Configured” heading.
It should have at least one entry: the MQTT broker we set up during this tutorial.
Conclusion
At this stage, you should now have an MQTT Broker and the MQTT integration set up on Home Assistant.
As mentioned throughout this guide, MQTT is a messaging protocol many IOT devices use. It allows devices to send messages without consuming too much of their precious resources.
After completing this tutorial, you can now use your Home Assistant server as the broker for these messages. As the broker, your smart server can easily subscribe to topics and interpret the data.
Please feel free to comment below if you have any questions about setting up MQTT on your smart home server.
If you found this guide helpful, we highly recommend checking out our other Home Assistant tutorials.


Thanks for sharing- very helpful!
One thing I noticed: After completing step 6 (installing broker), the reported CPU usage increases by 25%. This is concerning, but I found that after completing step 10 (Integration), the CPU is back to back to normal when returning to examine the Mosquitto broker under Add-ons.